Customize Tags (App)
To learn how to customize tags in the Skimmer app, see the video below. Or, if you prefer, scroll past the video to view our step-by-step text instructions.

Step-by-step instructions . . .
- 1
- To manage tags on the app, log in and go to the Customers tab.
-

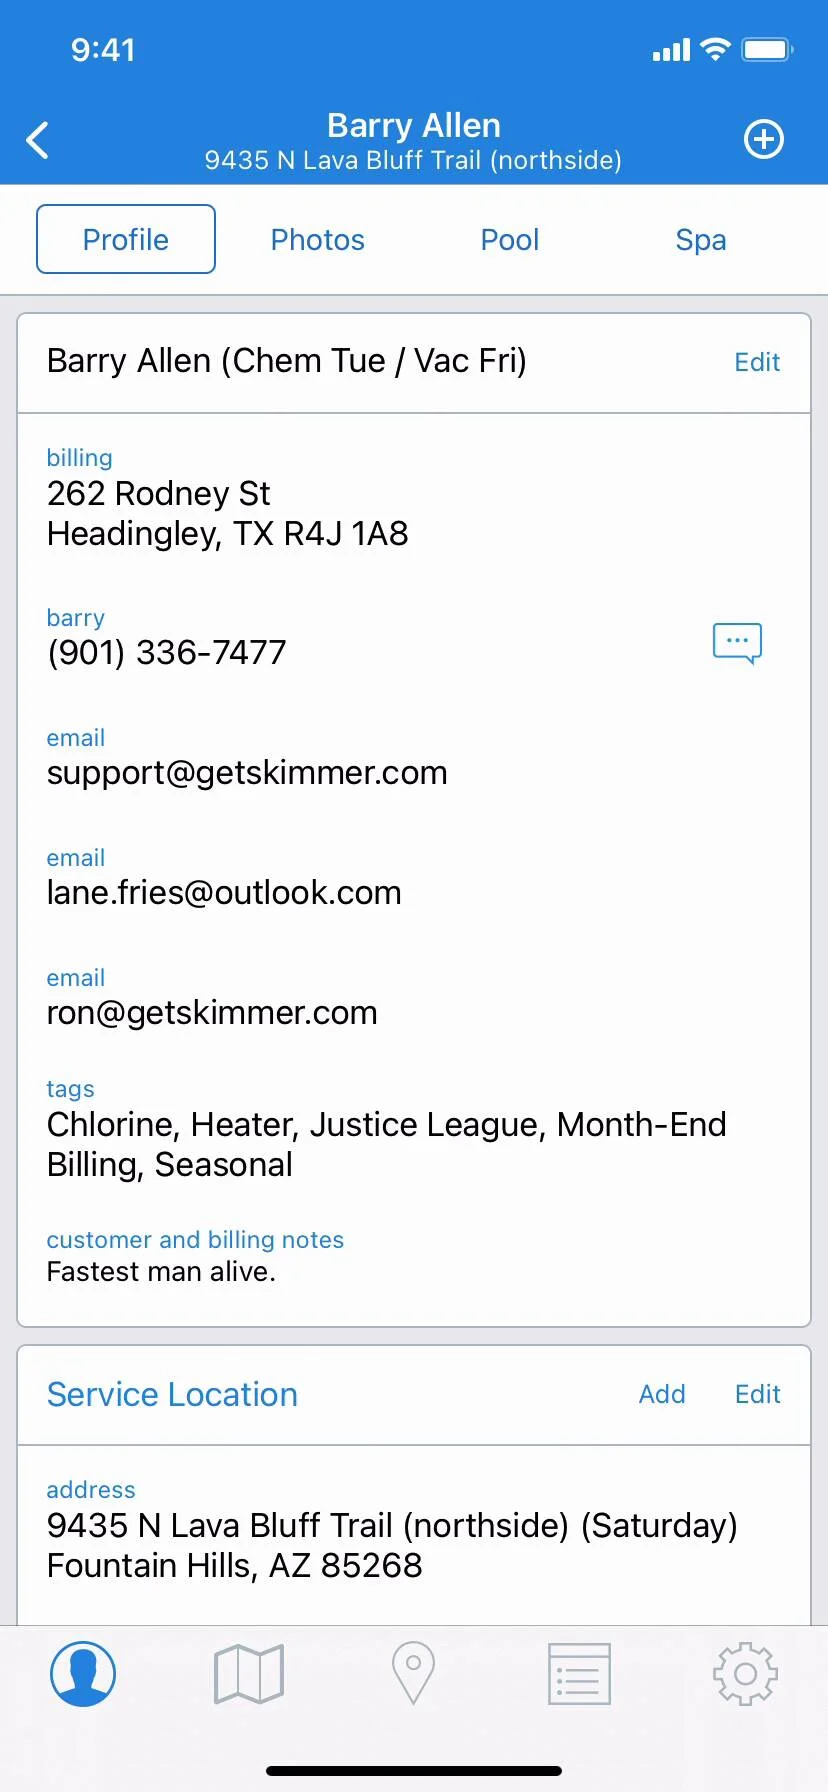
- 2
- Click on a customer’s profile tab to see their assigned tags. To change them, tap Edit, tap on the tags box and you'll move to the Select Tags screen. You'll see check marks for the current tags. To add more, just tap on them.
-


- 3
- To assign a new tag that doesn’t exist yet, type the new tag name into the box at the top and tap Add Tag. This will create the new tag, assign it to the customer, and make it available for other customers. Tap Save twice to finish.
-

-


- 4
- In the Customers tab, tap the Tags icon on the top right. This shows all current tags. You can filter your customer list based on these tags. To see all customers who live in a certain area and have a heater, tap both tags and tap Save. The customer list will be filtered and you'll see the new total number of customers.
-


- 5
- To remove any tag filters, look under the search bar and tap the X next to a tag. This will change the filter to show only customers with the remaining tag(s).
-

- 6
-
When creating a new user, tap the Plus icon in the top right corner. On the Add Customer screen, scroll down to the tags box. Tap on it and add any relevant tags.


