Add a Scheduled Time to Work Orders – Admins (App)
To learn how admins can add a scheduled time to work orders using the Skimmer app, see the video below. Or, if you prefer, scroll past the video to view our step-by-step text instructions.

Step-by-step instructions . . .
- 1
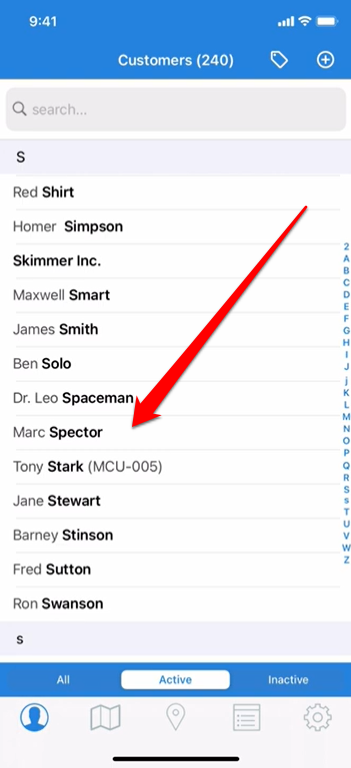
- There’s more than one way to add a scheduled time to work orders on the Skimmer app. In another video, we show you how techs can do this from their route dashboard, and that method is also available to admins. For this tutorial though, we are going to focus on a method that is reserved for admins only. We’ll start on the Customers tab, which techs are not able to access on the app. This gives you access to all your customers and their information. On this tab, find your customer and tap on their name.
- 2
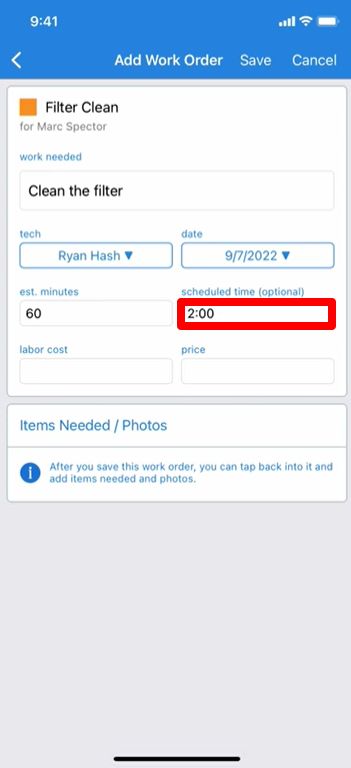
- Once you’re on their profile, scroll down until you see the Work Orders box. There isn’t a work order here yet, so we’re going to tap Add. Then we’ll choose our work order type. On the next screen, we’ll assign it to a tech and a day and then give it a time. There are other things we can do with the work order, of course, but for this tutorial we are focused on the Scheduled Time box. Note that it says “optional.” That’s because scheduled times are not required to create and assign a work order. But if you want to indicate a time, the option is here for you.
- 3
- So, what can you put there? Well, this is an open text box, so you’re not limited to a standard time format. You can put whatever you need to get your tech there at the required time. You could use the standard format, or something more casual, or you could give a general range. Once you have something you’re happy with, tap Save.
- 4
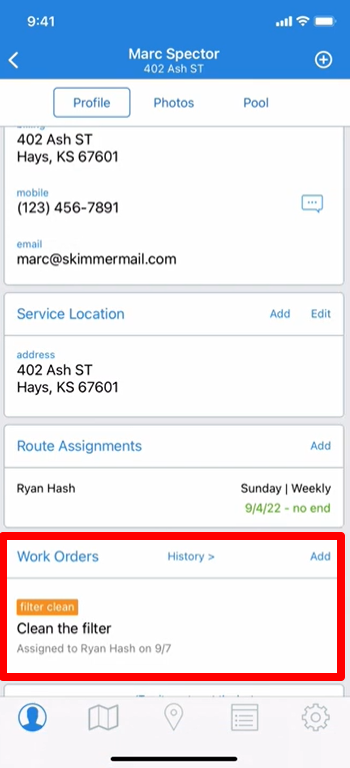
- Now the work order is there, on the customer profile. But what if you just got word that the original time won’t work for your customer? Simply tap on the work order and edit the time, then tap the back button.
- 5
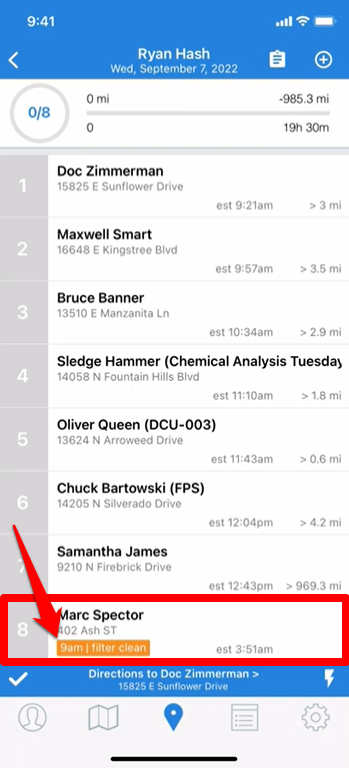
- You may wonder why we’re not seeing the scheduled time here, but that’s because we’re just on the customer’s profile, and this isn’t where work is completed. Let’s go to the Route Dashboard and find our work for the day. Scroll down and you’ll see the work order we just added. And there, right next to the work order type, we see our scheduled time.