Quotes – Select Settings
Watch the video or scroll down for step-by-step instructions.
Tiers: Scaling Up, Owning The Market


Step-by-step instructions . . .
- 1
-
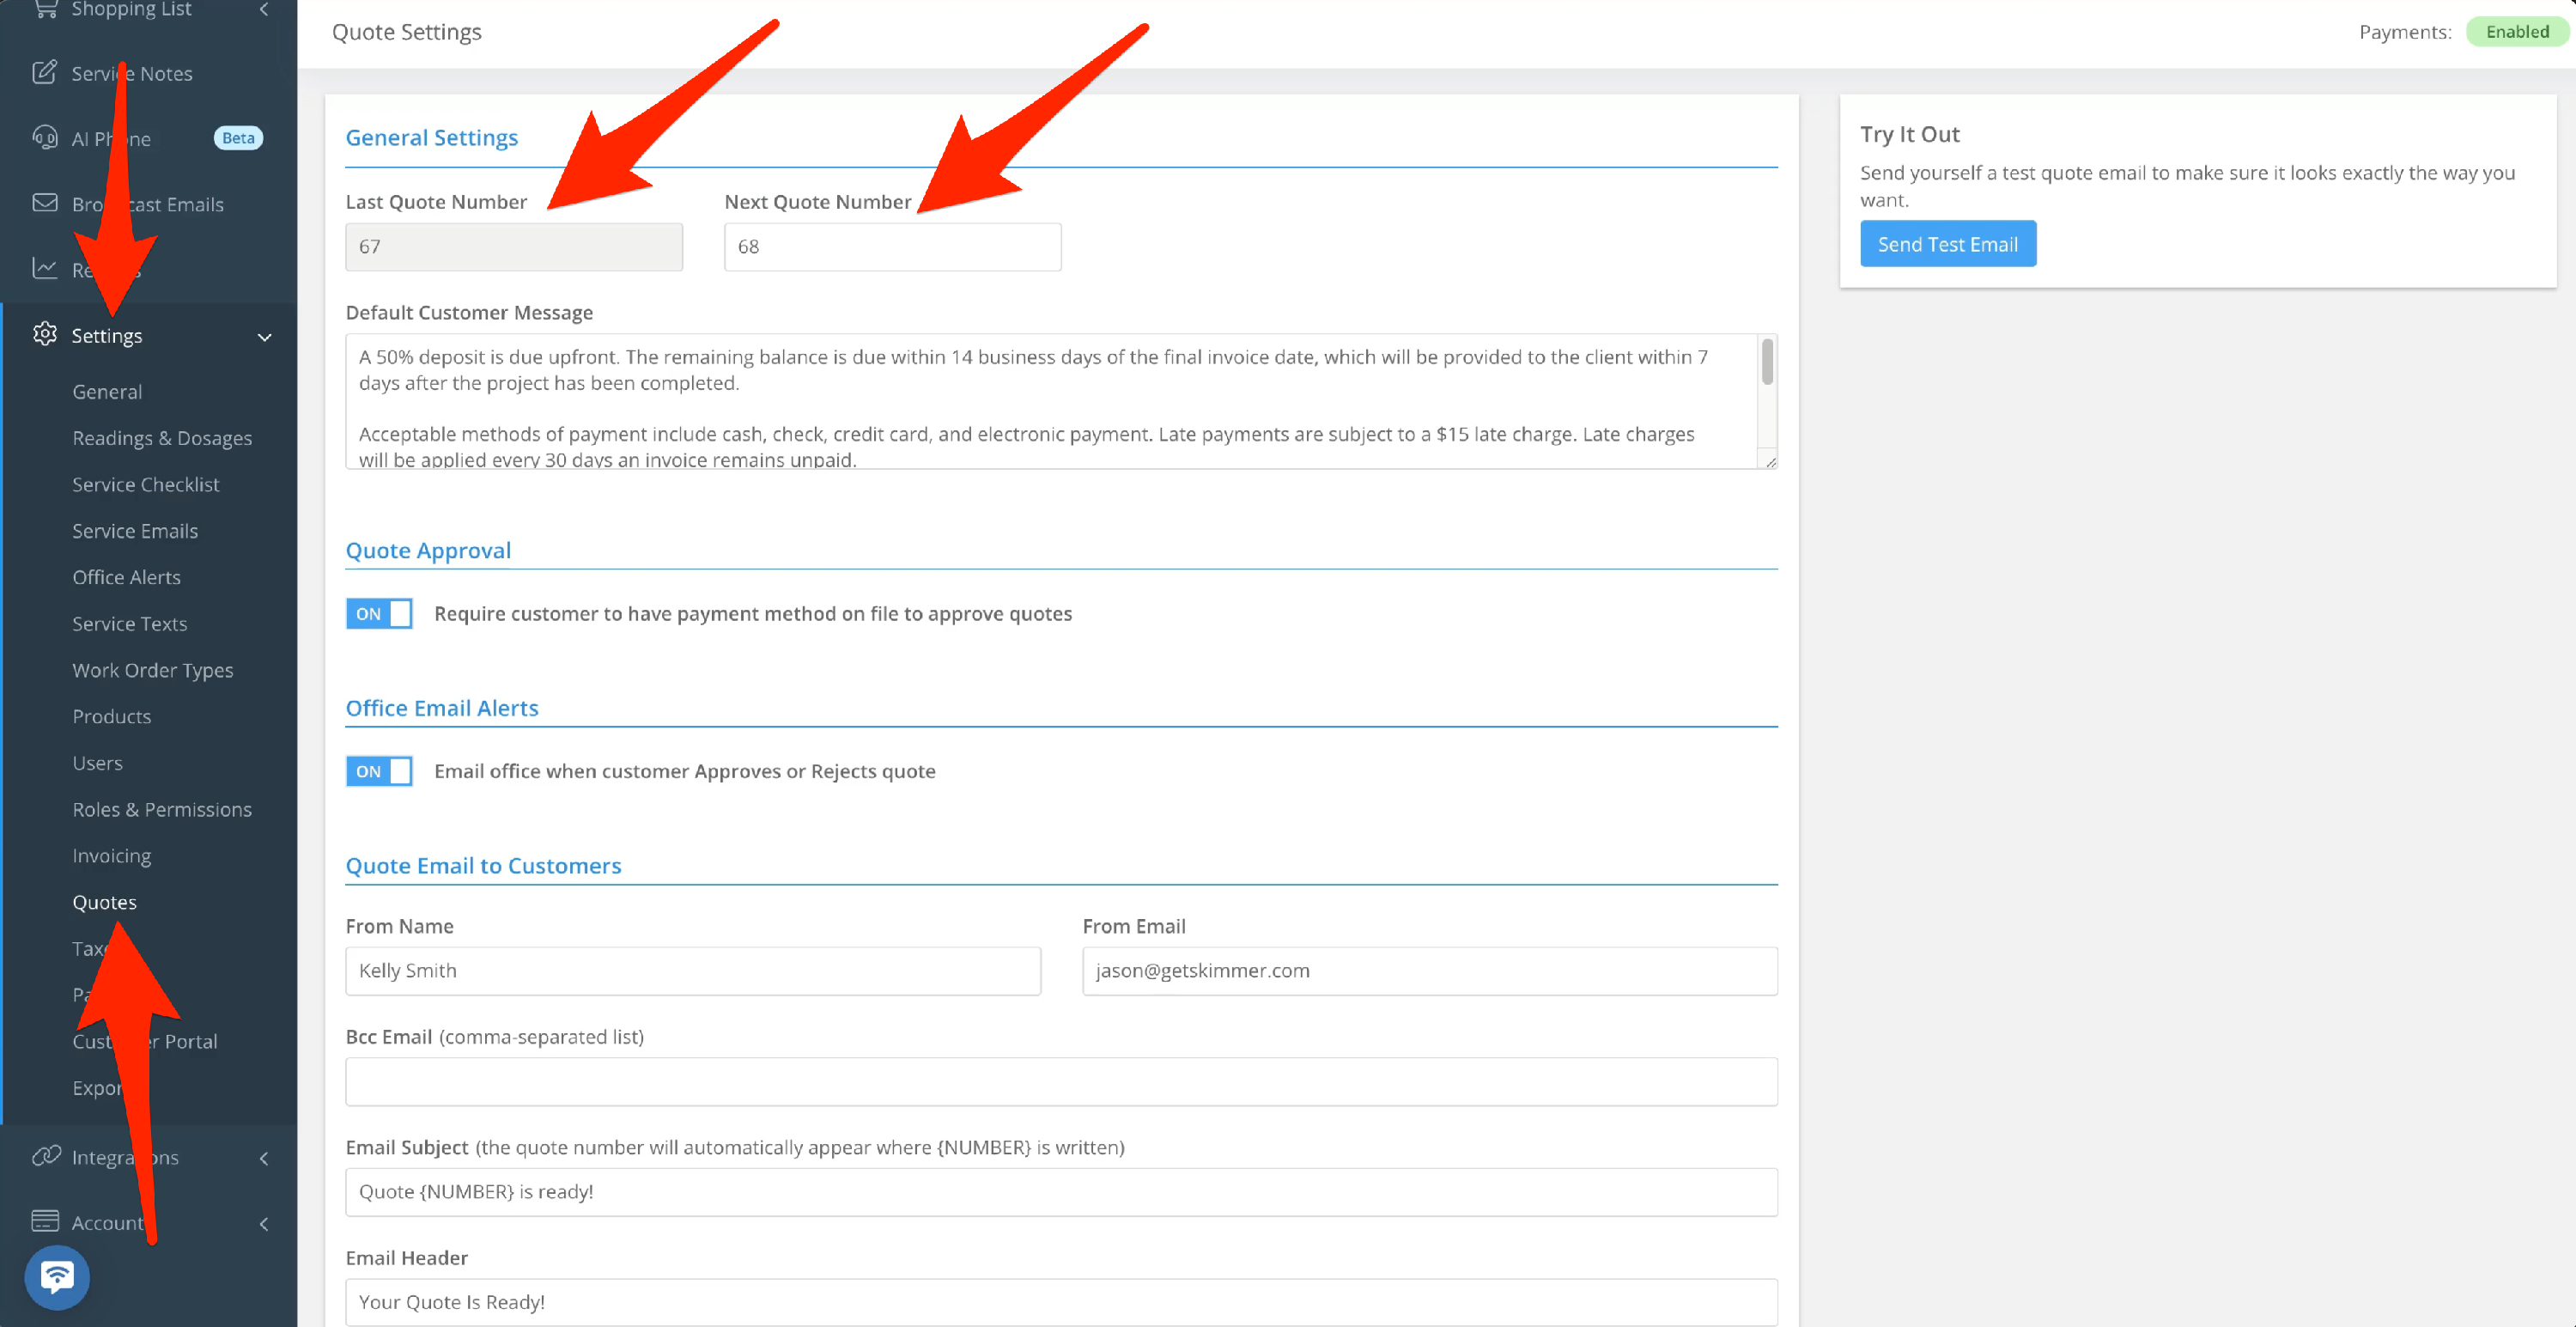
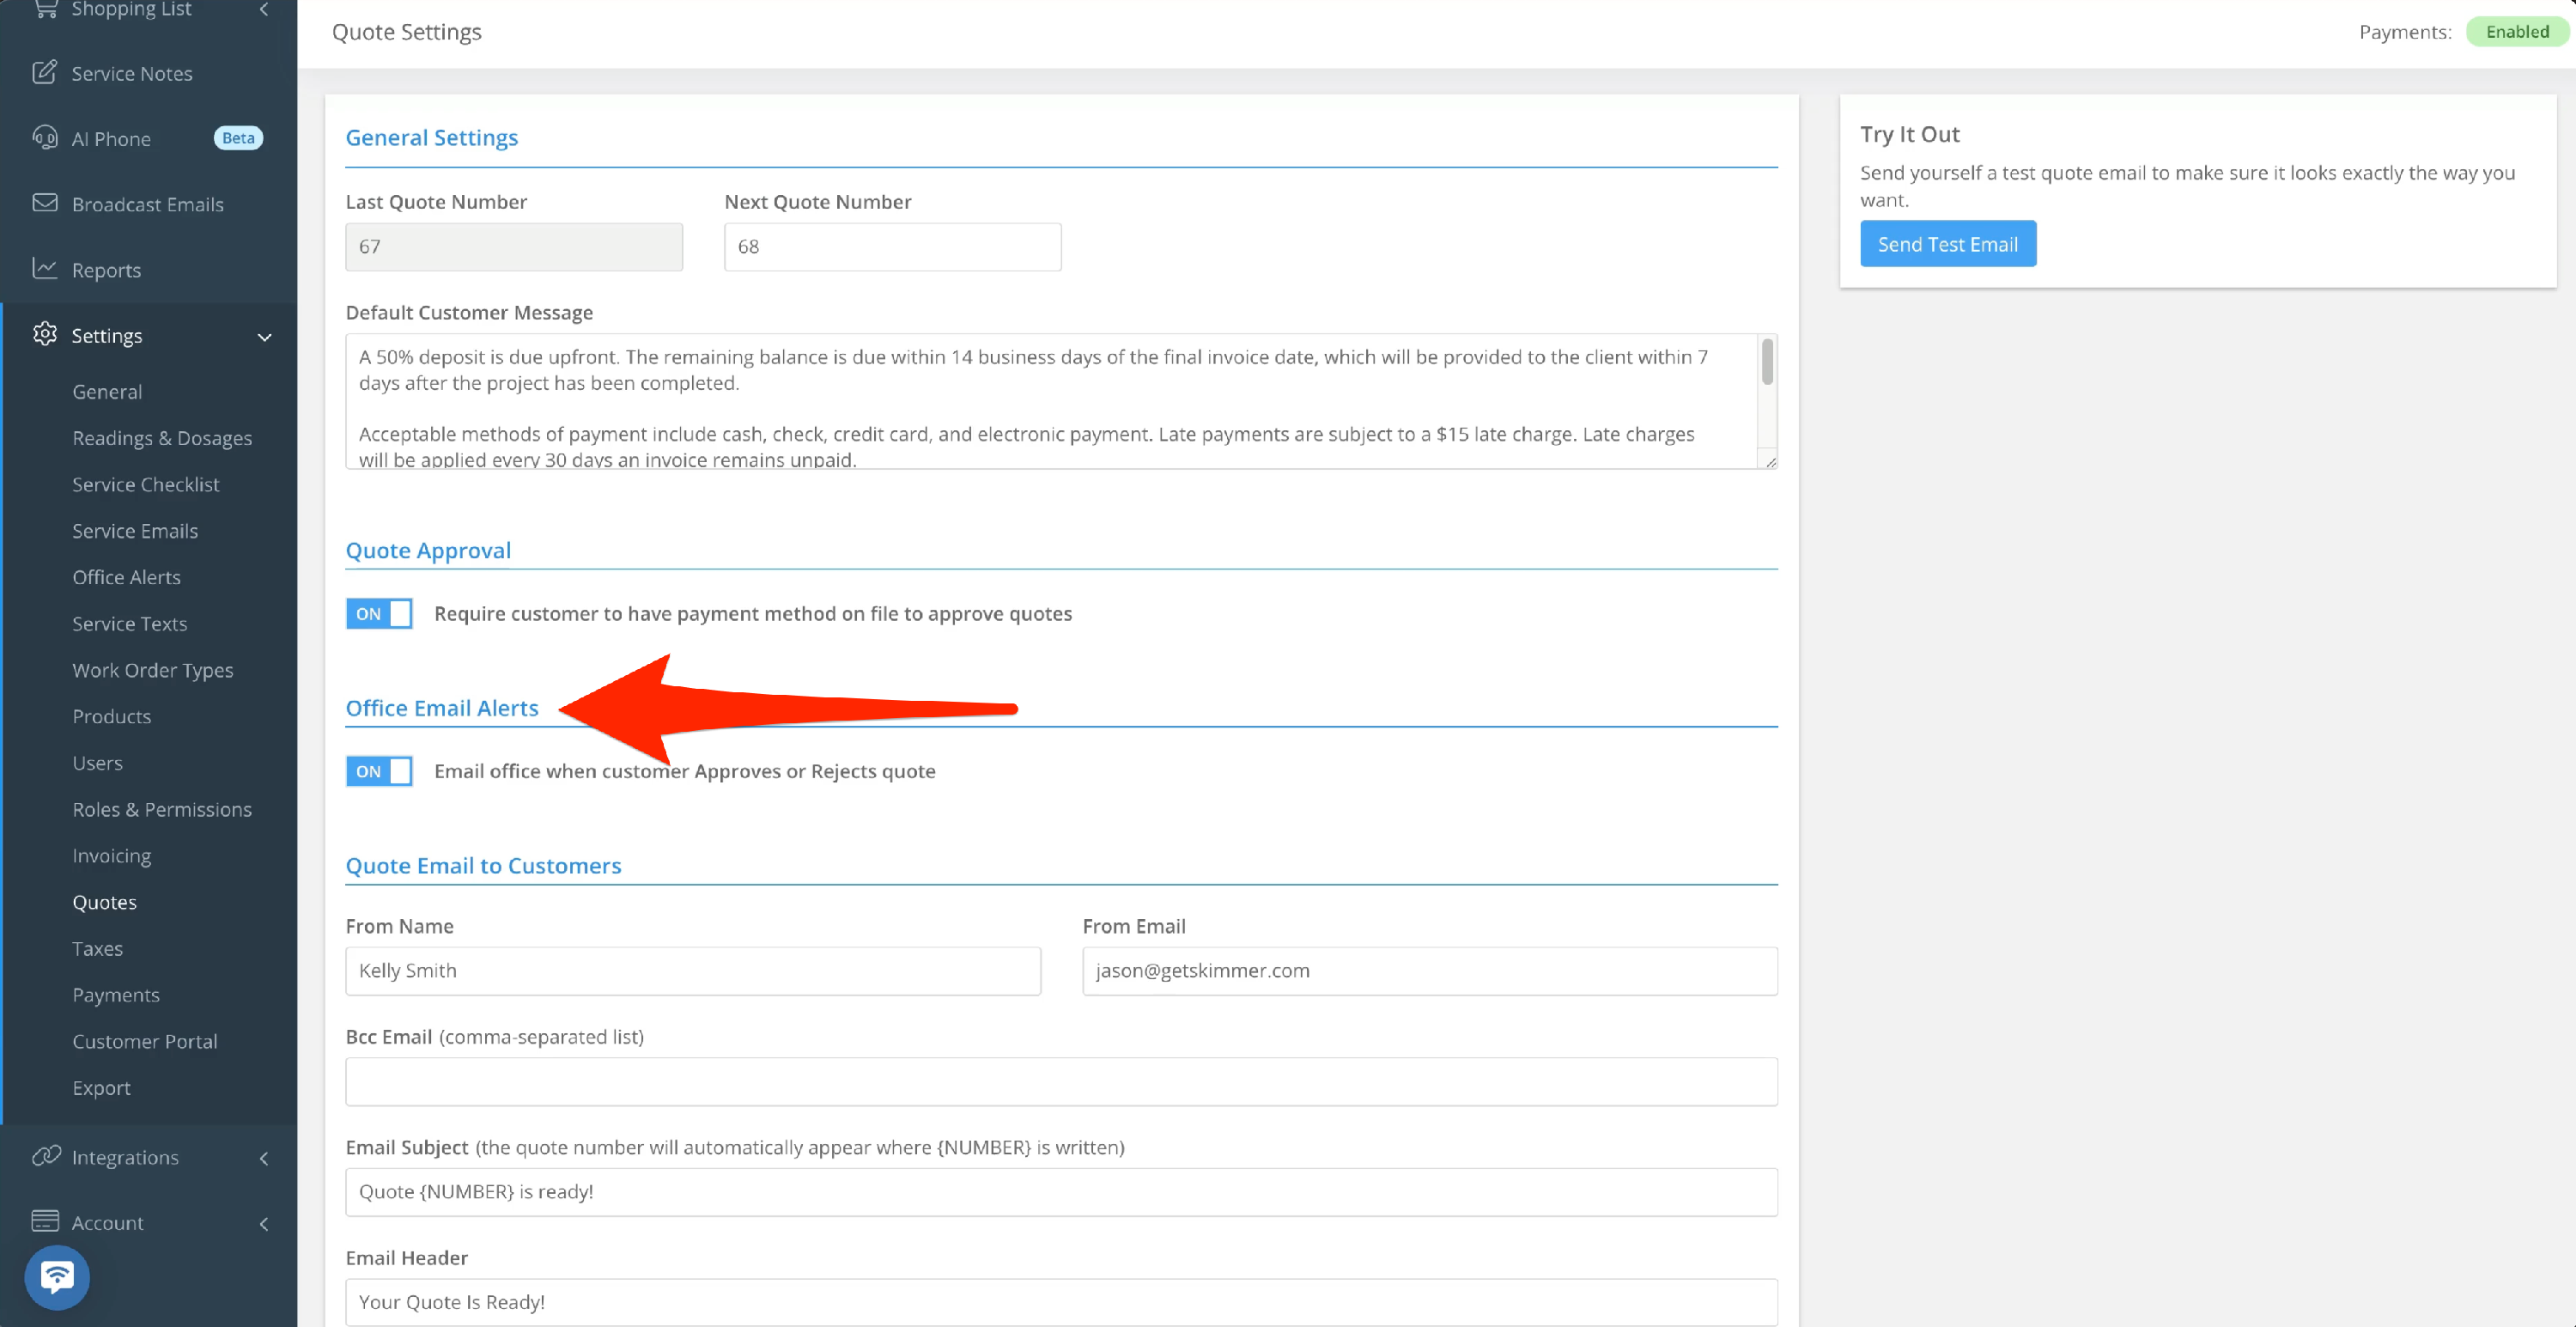
On the website, go to Settings and then Quotes. The first box shows the number assigned to the most recent quote. In the next box, you can choose the next number to be assigned. If there are numbers you want to skip, or if you want to begin a new numbering system, change that here and Skimmer will count forward from the number you enter.
- 2
-
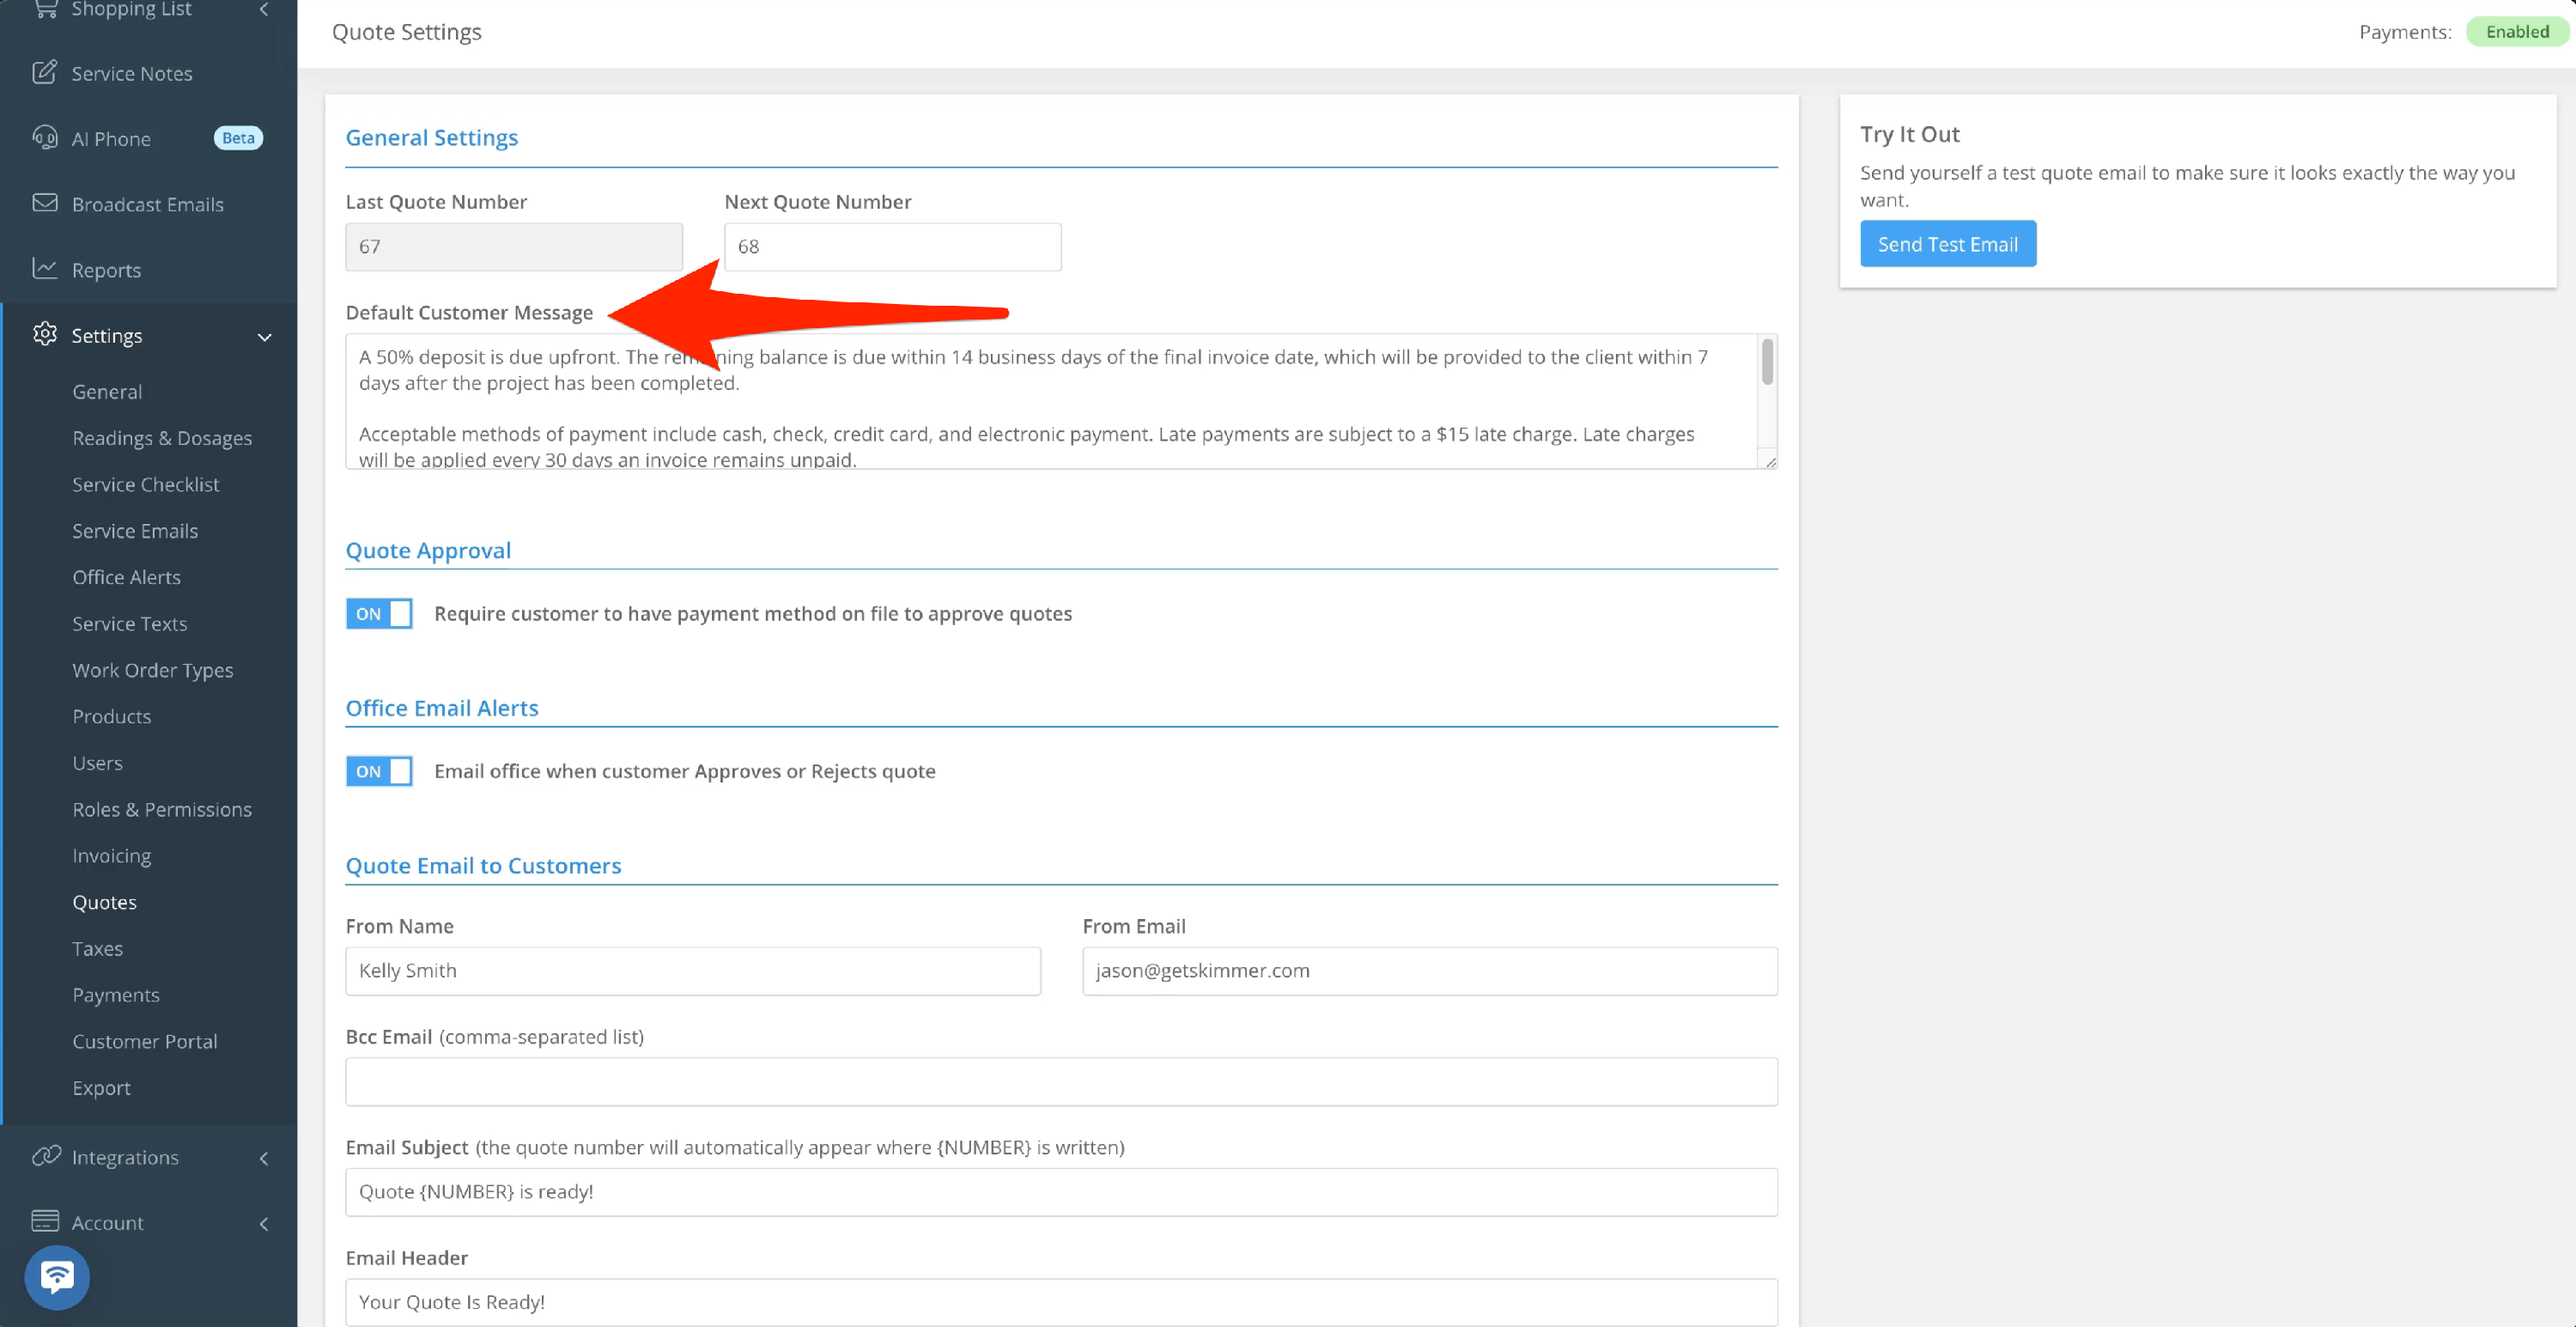
Default Customer Message is where you’ll add text that you want to appear on all generated quotes, such as terms of service or company policy. You can edit this on individual quotes, and it will only change the message for that quote. The default will stay the same.
- 3
-
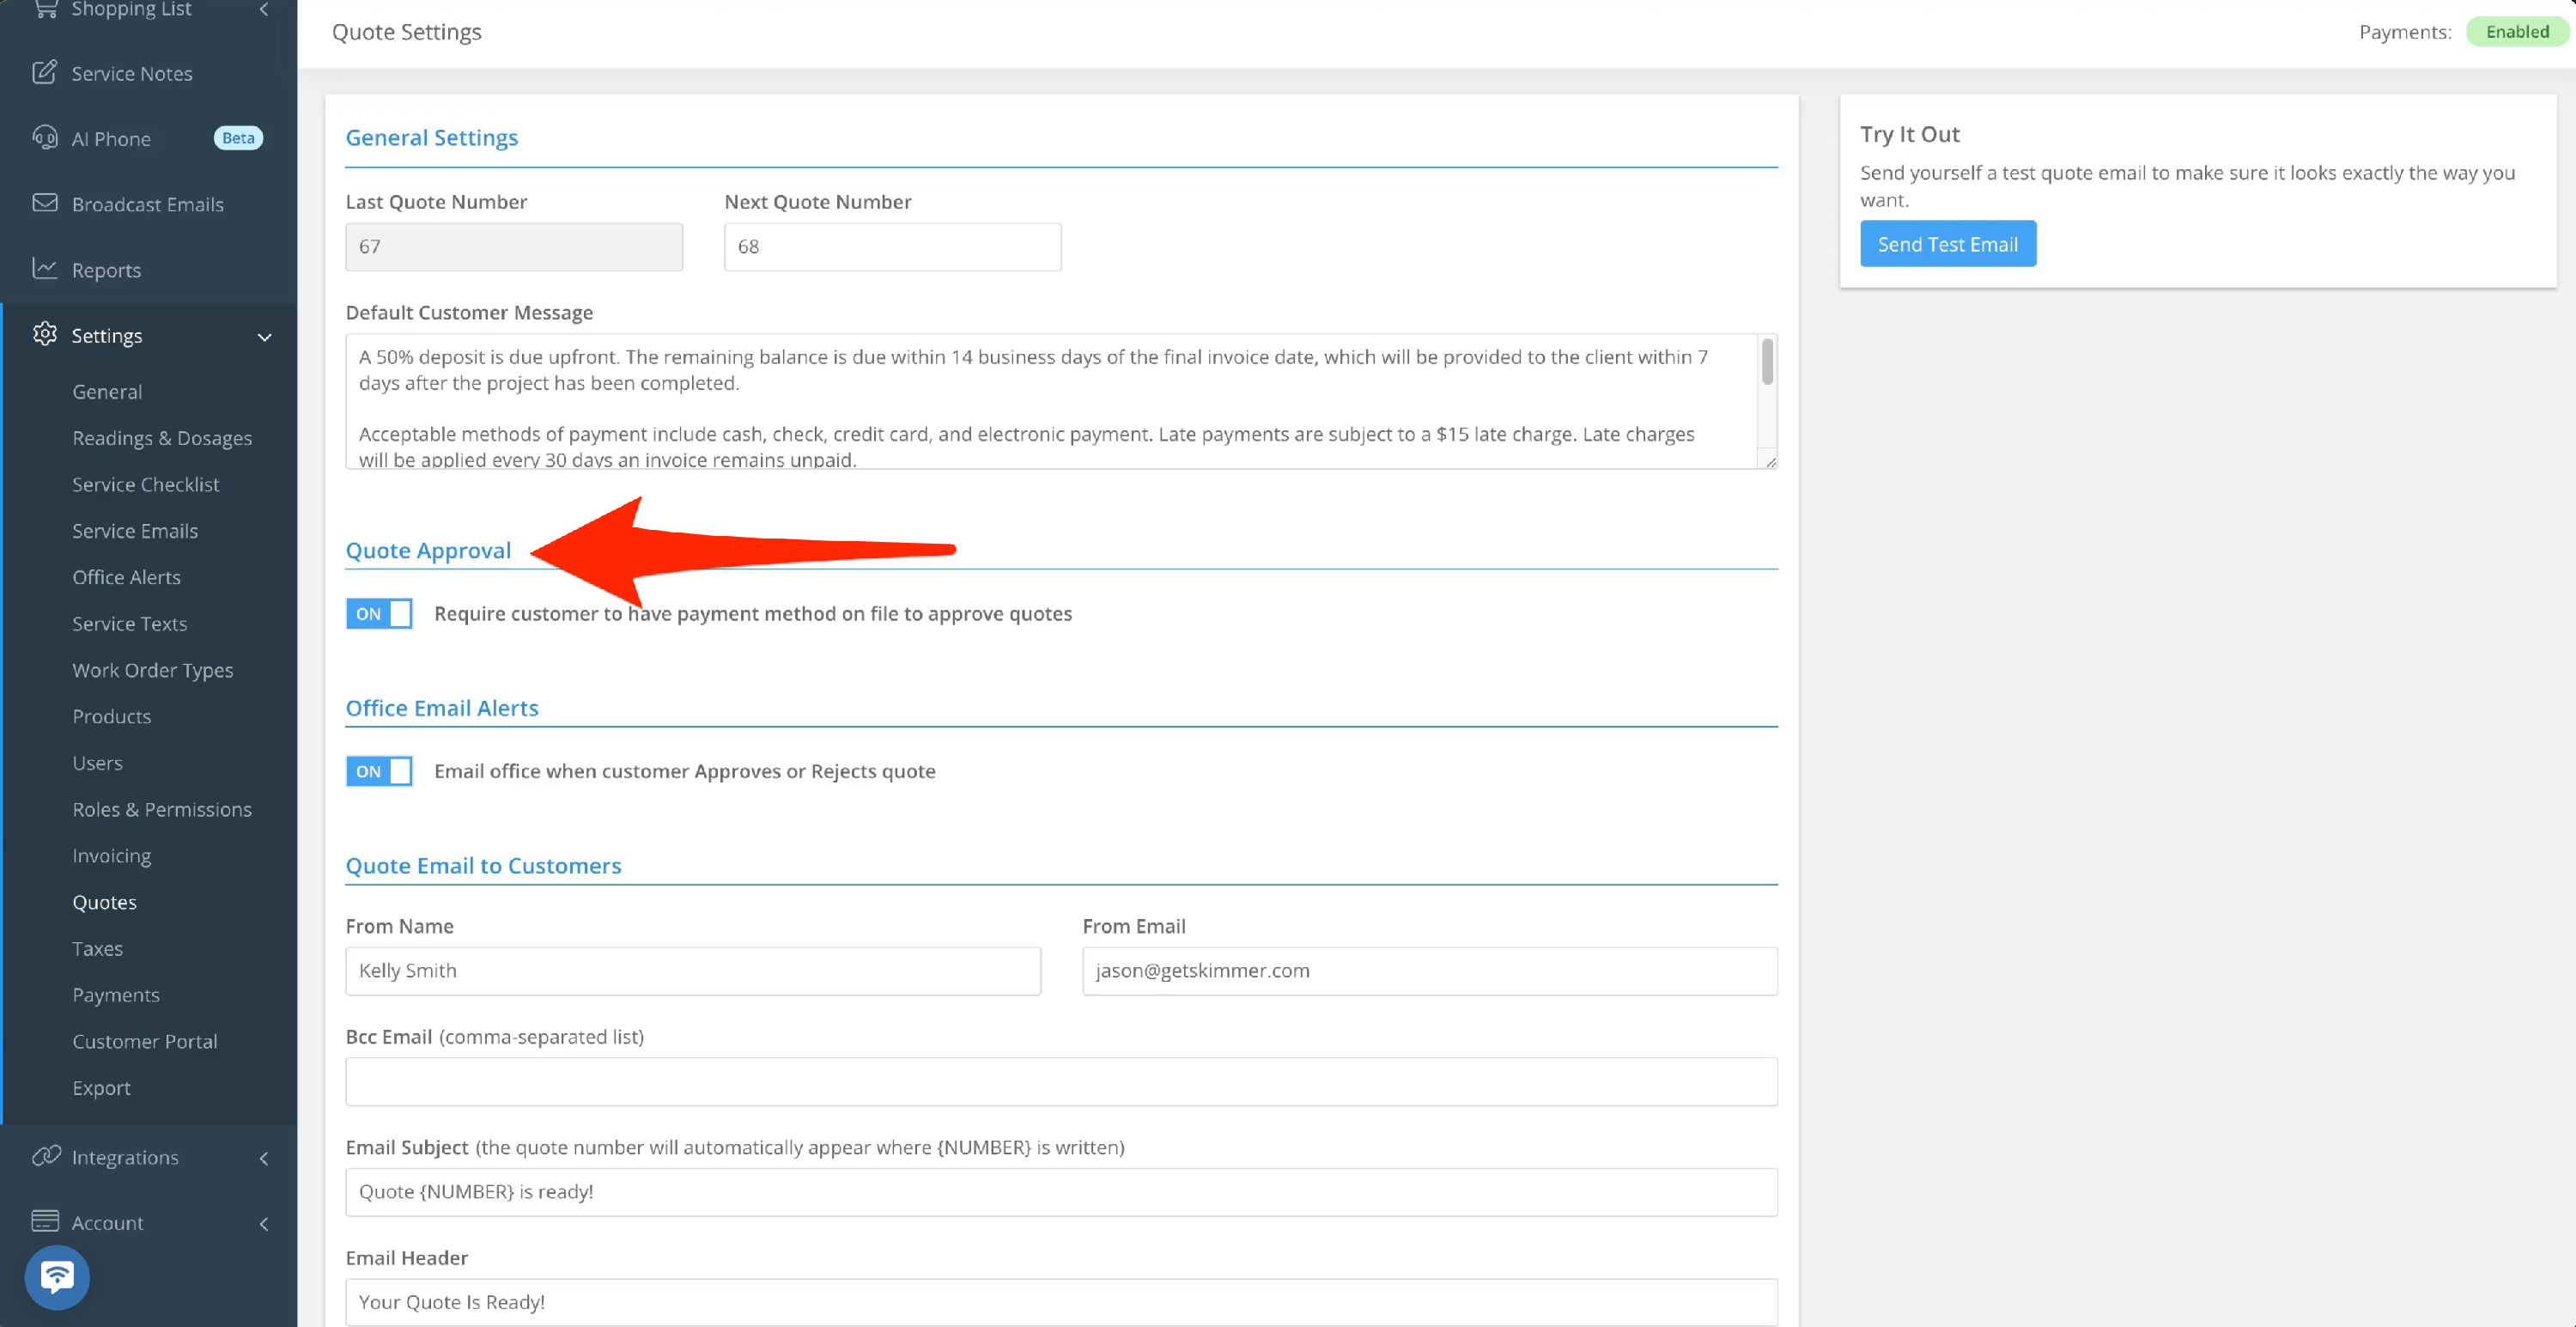
You can require the customer to have a payment method on file before they can approve quotes. If you toggle this on and then send a quote to a customer who doesn’t, when they click to approve the quote they’ll get a pop-up window asking them to add a payment method. Once they provide it, they’ll be able to approve quotes, and the payment method will be kept on file. If you’re working with Skimmer in the back office and have the appropriate access, you can go in and approve the quote yourself without a payment method.
- 4
-
You can receive email alerts when a quote is approved or rejected. These emails will go to the same addresses you’ve chosen to receive alerts.
- 5
-
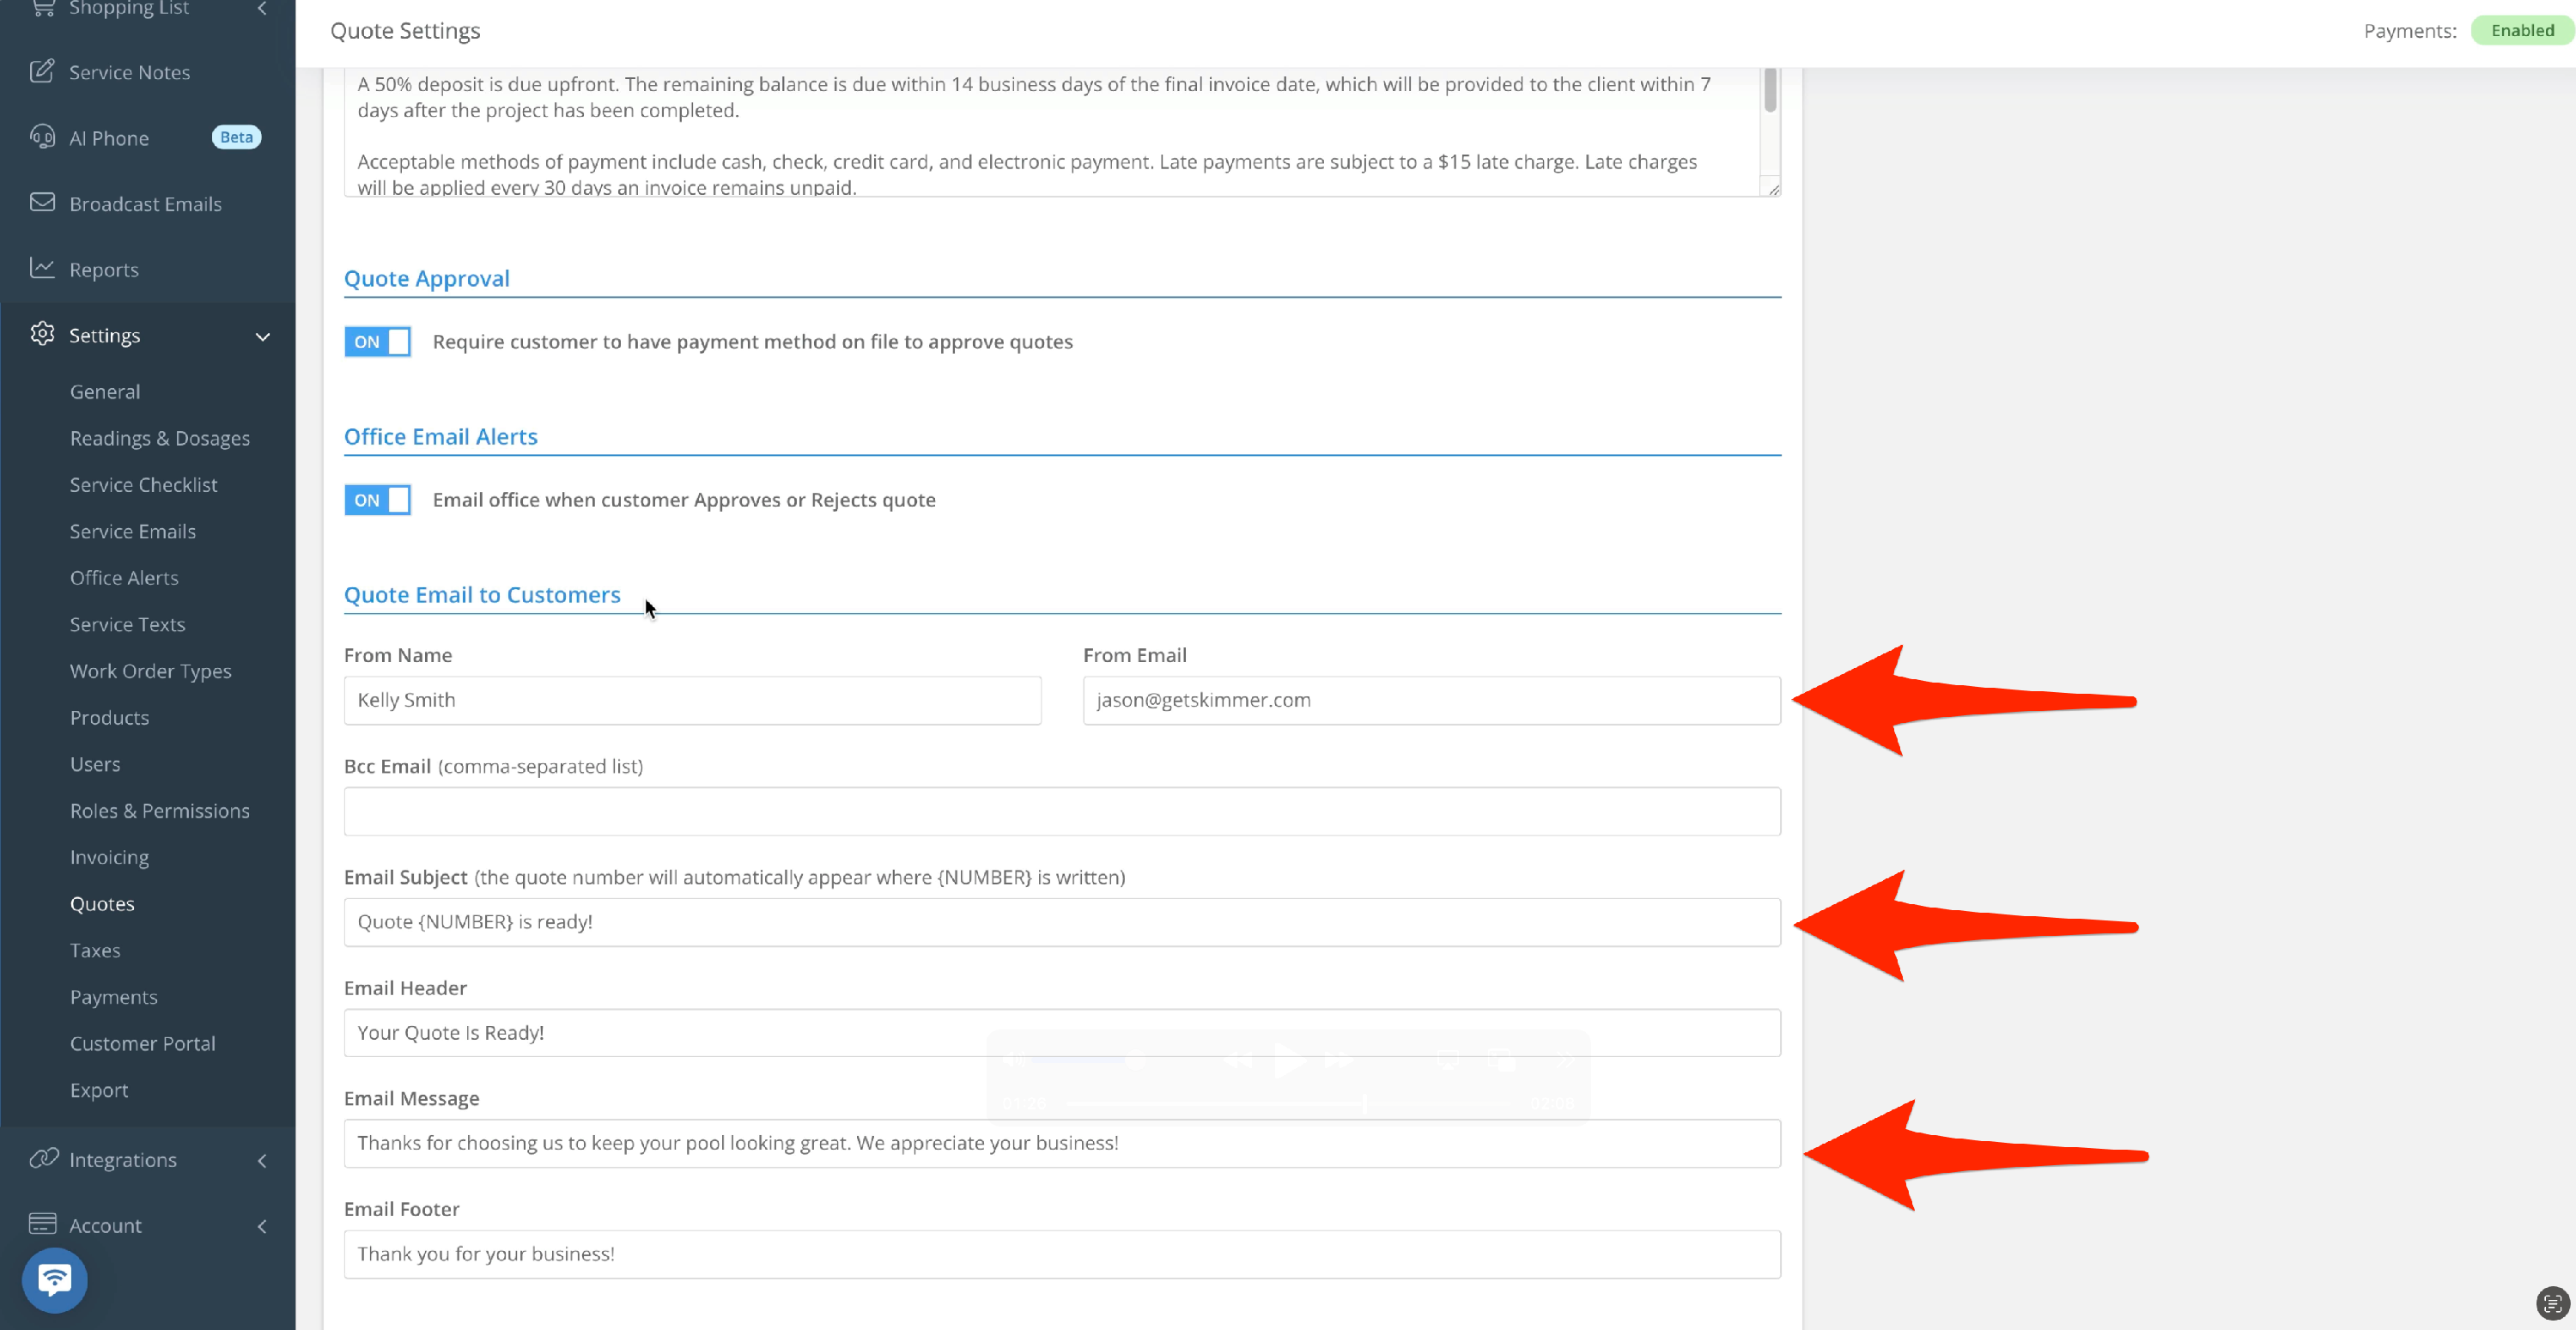
Customize defaults for the email that will deliver the quote to your customer.
- 6
-
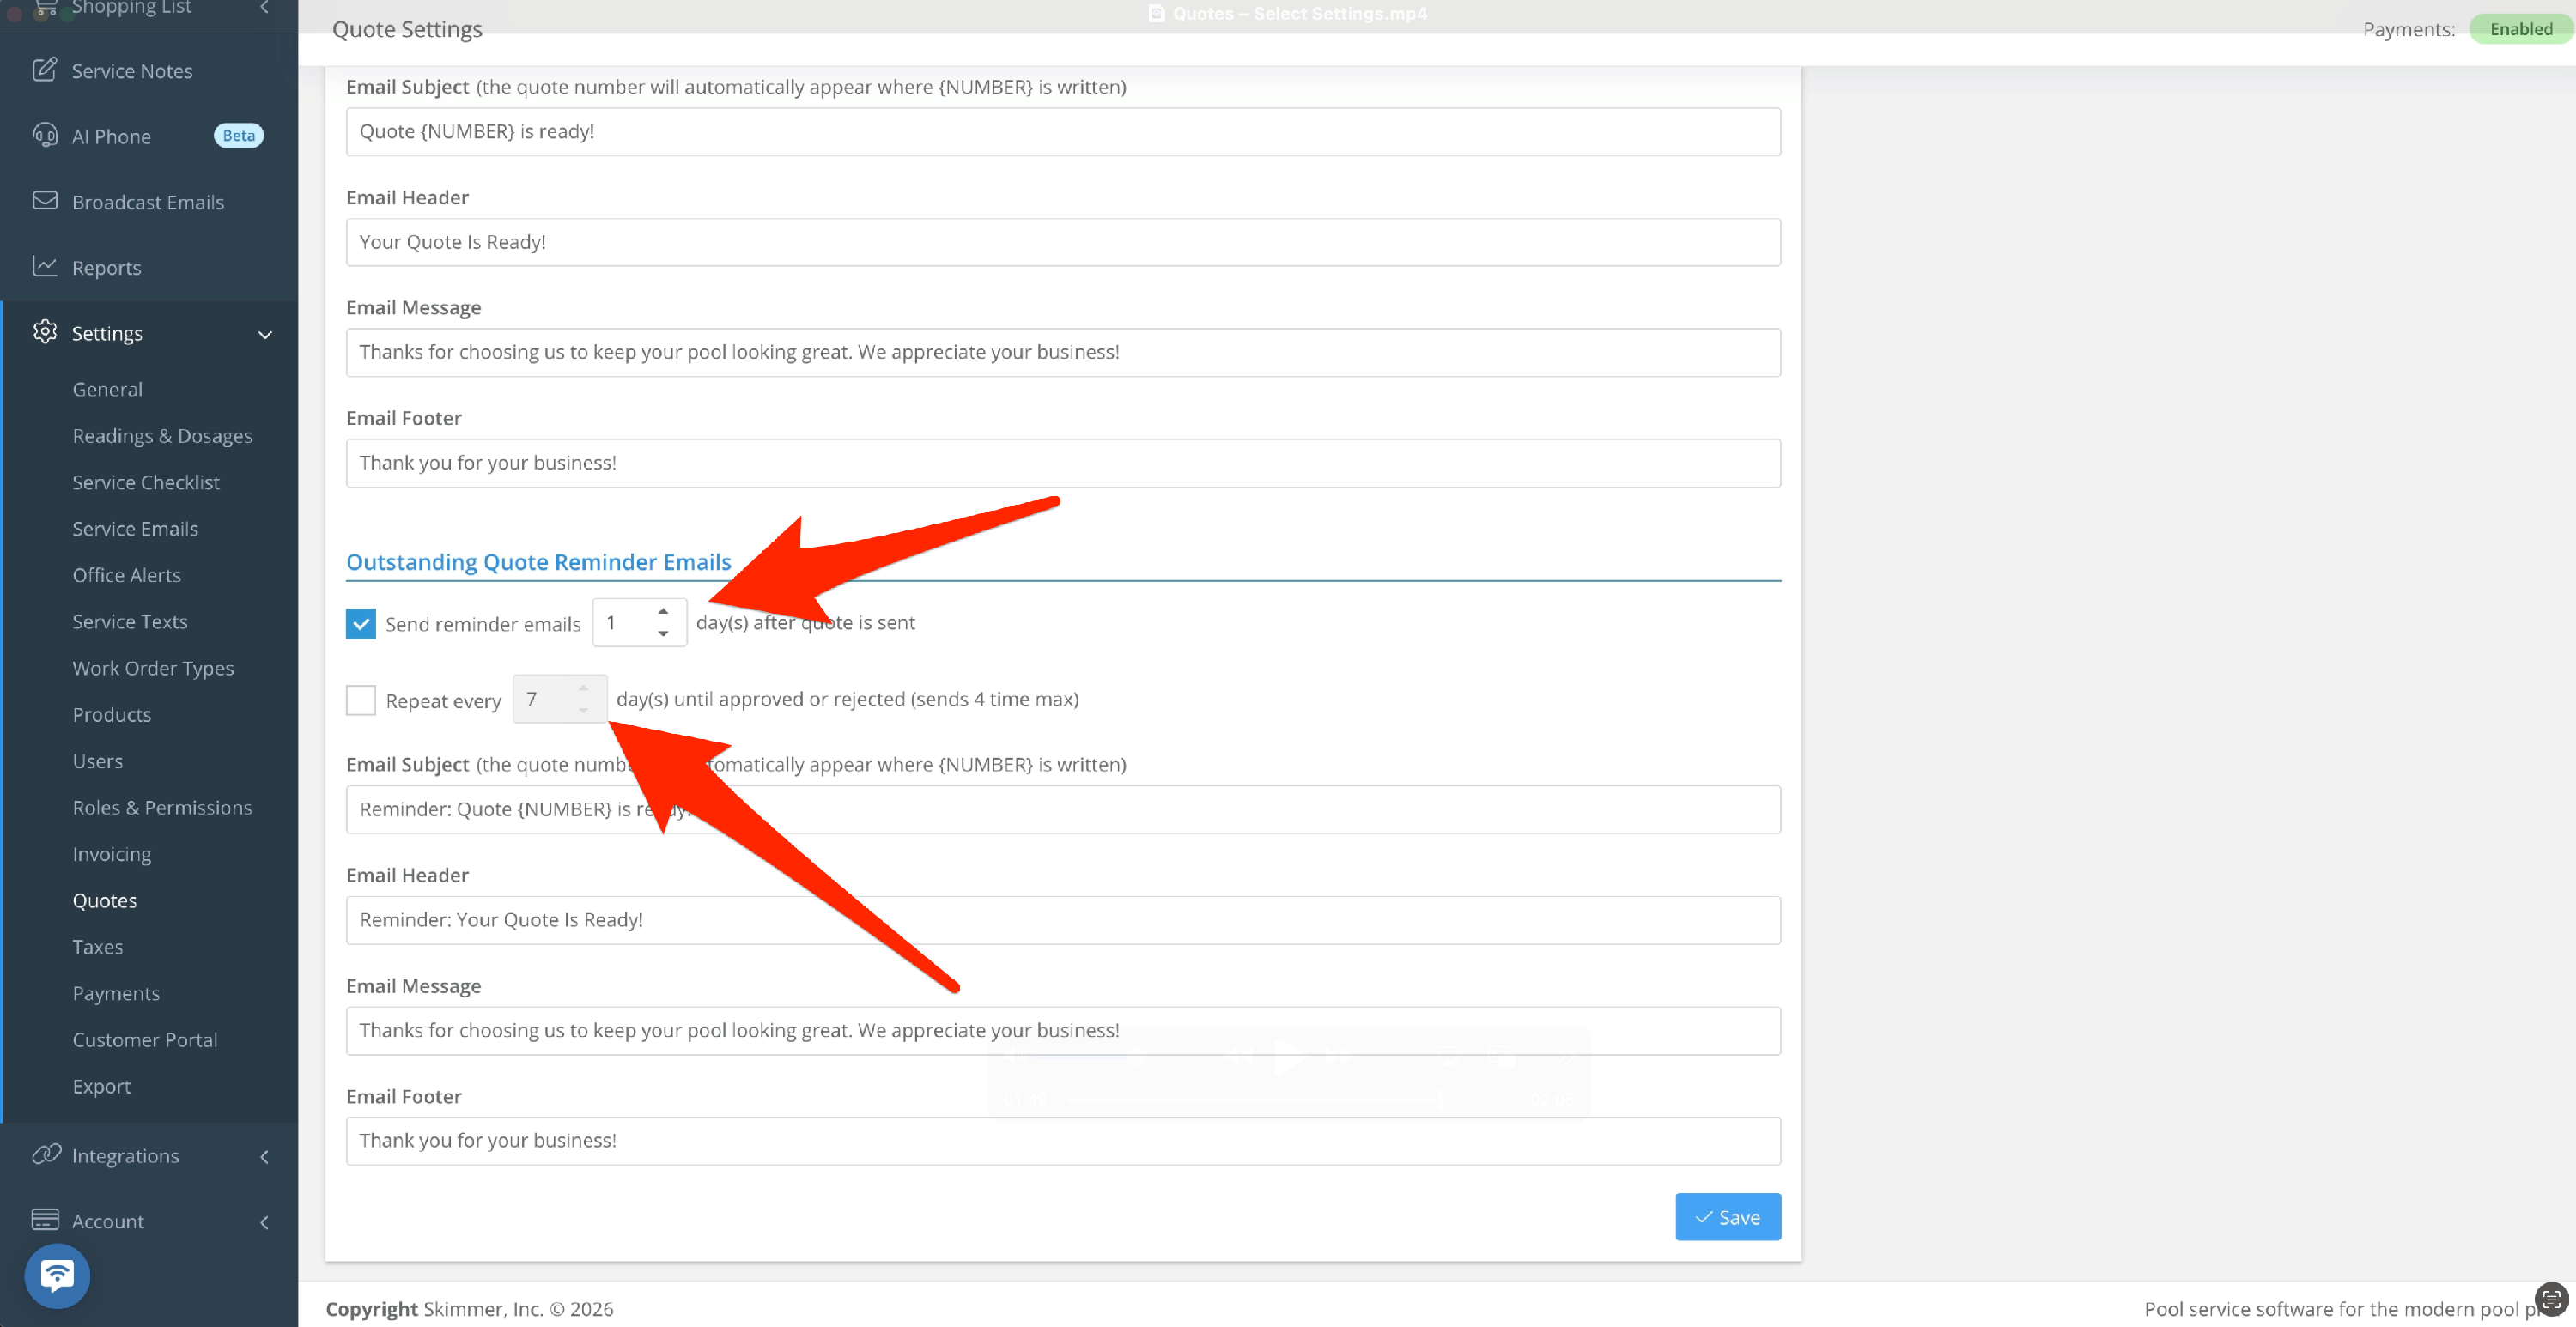
Skimmer can send email reminders automatically for quotes that haven’t been approved or rejected. You can choose for the reminder to go out after a set number of days, then send again after a set amount of days, and for a set number of times. You can also customize the content of the reminder. This will apply to quotes that are created after the feature is activated.
Click Save.