Quotes – Customer Approval Process
To learn how your customers view and approve a Quote, see the video below. Or, if you prefer, scroll past the video to view our step-by-step text instructions.

Step-by-step instructions . . .
- 1
-
When the customer receives the Quote, it will look like this. The email gives a basic overview, including price total, down payment, and expiration date. When your customer is ready to examine the full Quote and send a response, they’ll click Review and Respond.

- 2
-
This opens their web browser and takes them to the full Quote. Here they can see all the details that you included when you created the Quote. Then, at the bottom, the customer has response options.
If they want more information before making either choice, they can email you back. If they approve the Quote, they’ll be required to give a name and submit approval. Skimmer will store the name of the approver. If they reject the Quote, they’ll be required to give a name, and given the option to provide comments, which will be useful for providing context as to why they rejected the Quote.
You can require the customer to have a payment method on file before they can approve quotes. That option is activated on the Quote settings screen, which we show you how to do in another tutorial. If you toggle that option ON and send a quote to a customer who doesn’t have a payment method, when they click to approve they’ll get a pop-up window asking them to add a payment method. Once they provide it, they’ll be able to approve, and the payment method will be kept on file. If you’re working with Skimmer in the back office and have the appropriate access, you can approve the quote yourself without a payment method.
What if a customer rejects the Quote and then changes their mind? They can just click on the same Quote button and change their rejection to approval. However, the opposite is not true, meaning they cannot change an approval to a rejection. Approval, once given, is locked in.

-

-

- 3
-
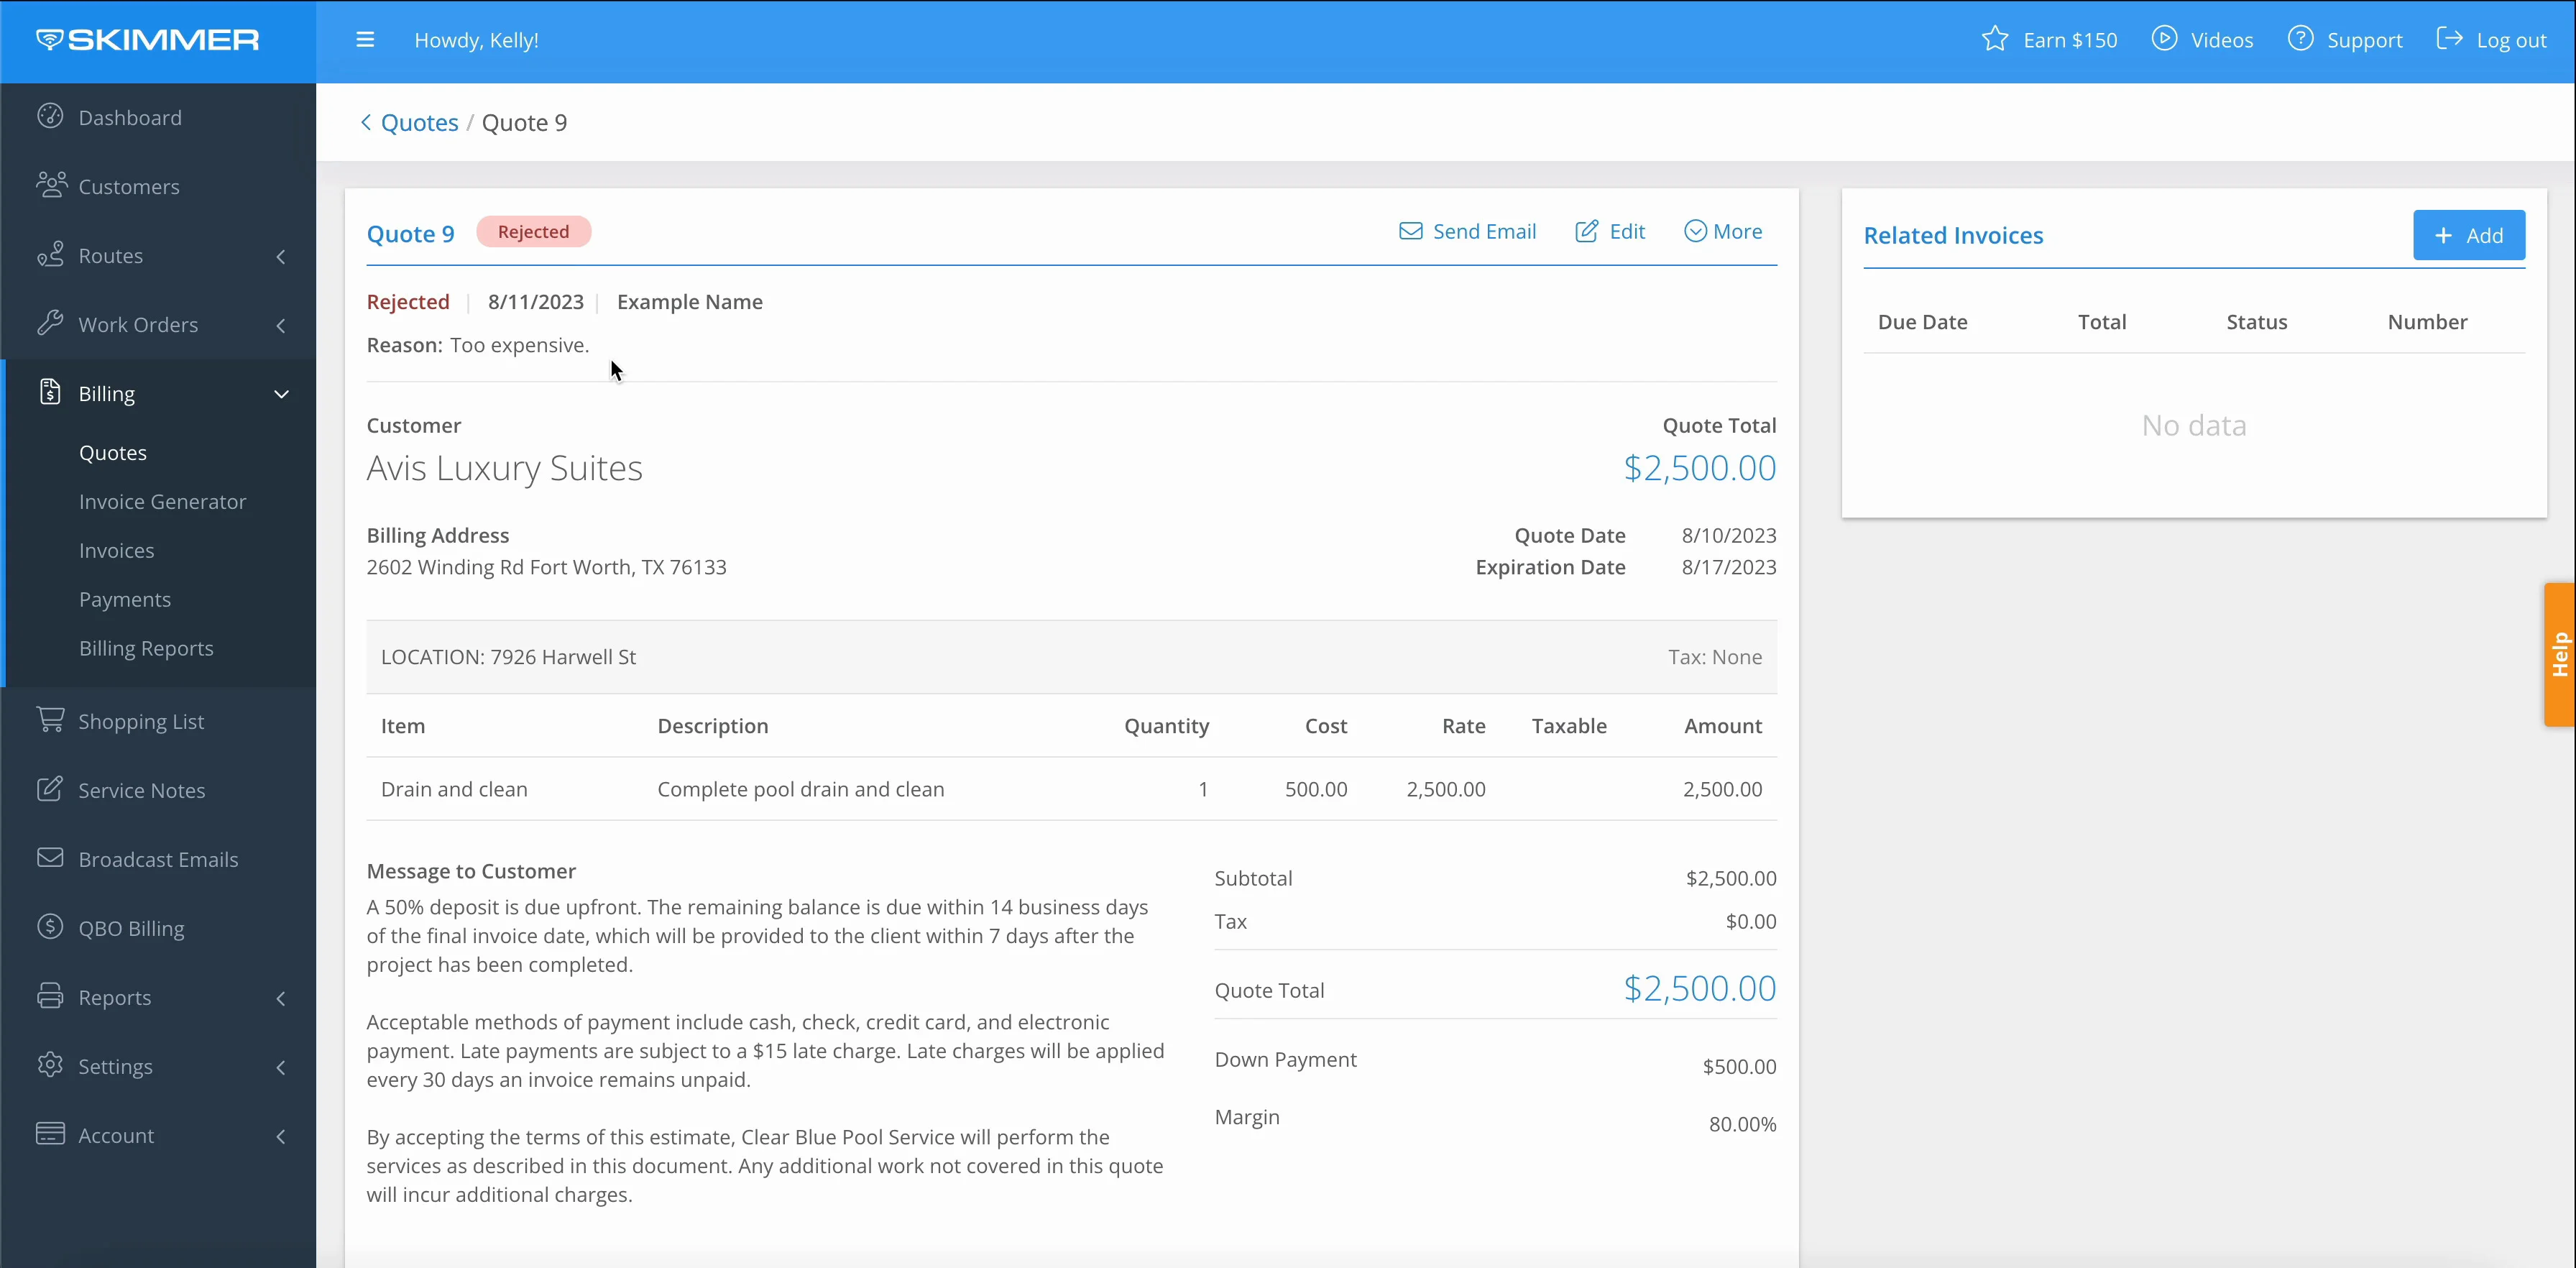
Once they’ve chosen to approve or reject, the status of the Quote in Skimmer will update. Navigate to that Quote and you’ll see the new status. Since for demonstration we chose to reject this Quote, you can also see the reason has been included. If they don’t supply a reason, you won’t see that line there.

-

- 4
-
You can leave it in a rejected status and move on. However, if you want to try again, it’s easy to edit and resubmit that Quote. For instance, if the price was too high, you may choose to Edit the Quote and include a discount. Then Save and Send and the new Quote will be sent to the customer. When you do, the status of the Quote has returned to Sent, and the rejection reason is gone because we have technically submitted a new version.
If the customer receives this new Quote and likes it, they can approve it. Then you’ll see the status in Skimmer change to Approved. And if you’ve selected the option to receive alerts, when a Quote is either rejected or approved, you’ll receive an email alerting you to a status change.
If the expiration date passes, they will not be able to approve an expired Quote. If you’re past the expiration date and they want to approve it, you’ll need to edit the Quote and give it a new expiration date. As an alternative, you can go into the expired Quote and mark it approved yourself, at which point it will prompt you to move back the expiration date.

-

-

-

-

- 5
-
Approving a Quote is the final action you can take to change its status. This Quote has been approved. So if we attempt to edit and change the status to Rejected, that change will not be permitted, because this is a signed agreement. The one thing you can edit after approval is the Internal Notes box, but everything else is locked in. However, you will be able to create invoices related to this approved Quote.


