Mark Customers as Active or Inactive in Bulk (Web)
Watch the video or scroll down for step-by-step instructions.
Tiers: All

Step-by-step instructions . . .
- 1
-
Select Customers.

-
- 2
-
Click the checkboxes to select customers > select Make Inactive.
- More than one customer must be selected.

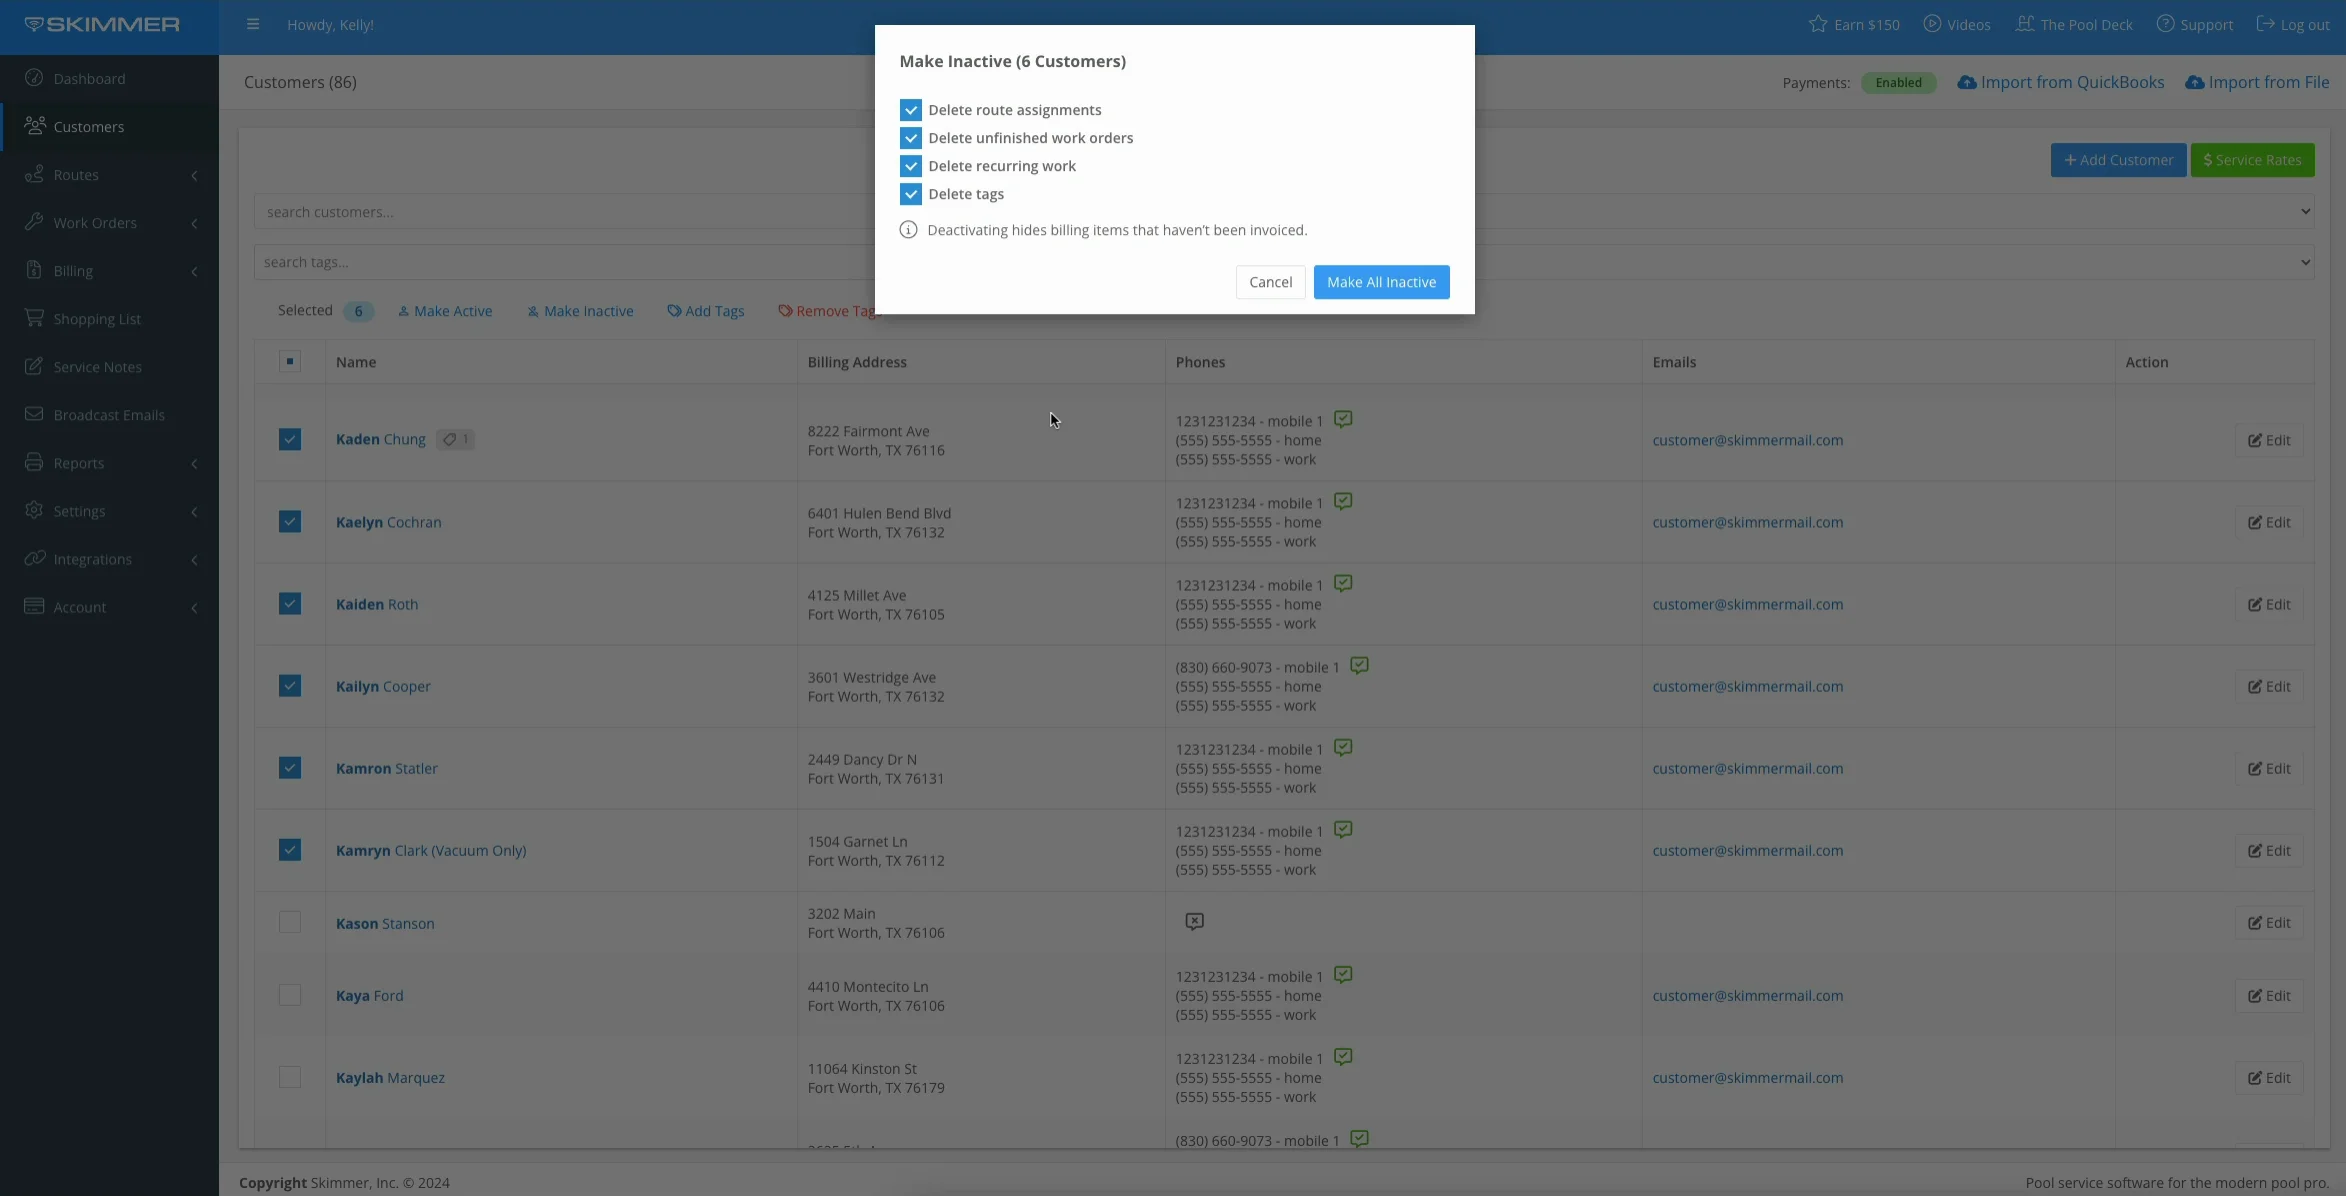
- 3
-
Unselect the checkboxes to remove and/or keep customers' information, and select Make All Inactive.
- Customer information cannot be restored once removed.


- 4
-
To reactivate customers, click the checkboxes to select customers > select Make Active > confirm Make Active.


-


