Add a Service Location (Web)
Watch the video or scroll down for step-by-step instructions.
Tiers: All
Step-by-step instructions . . .
- 1
-
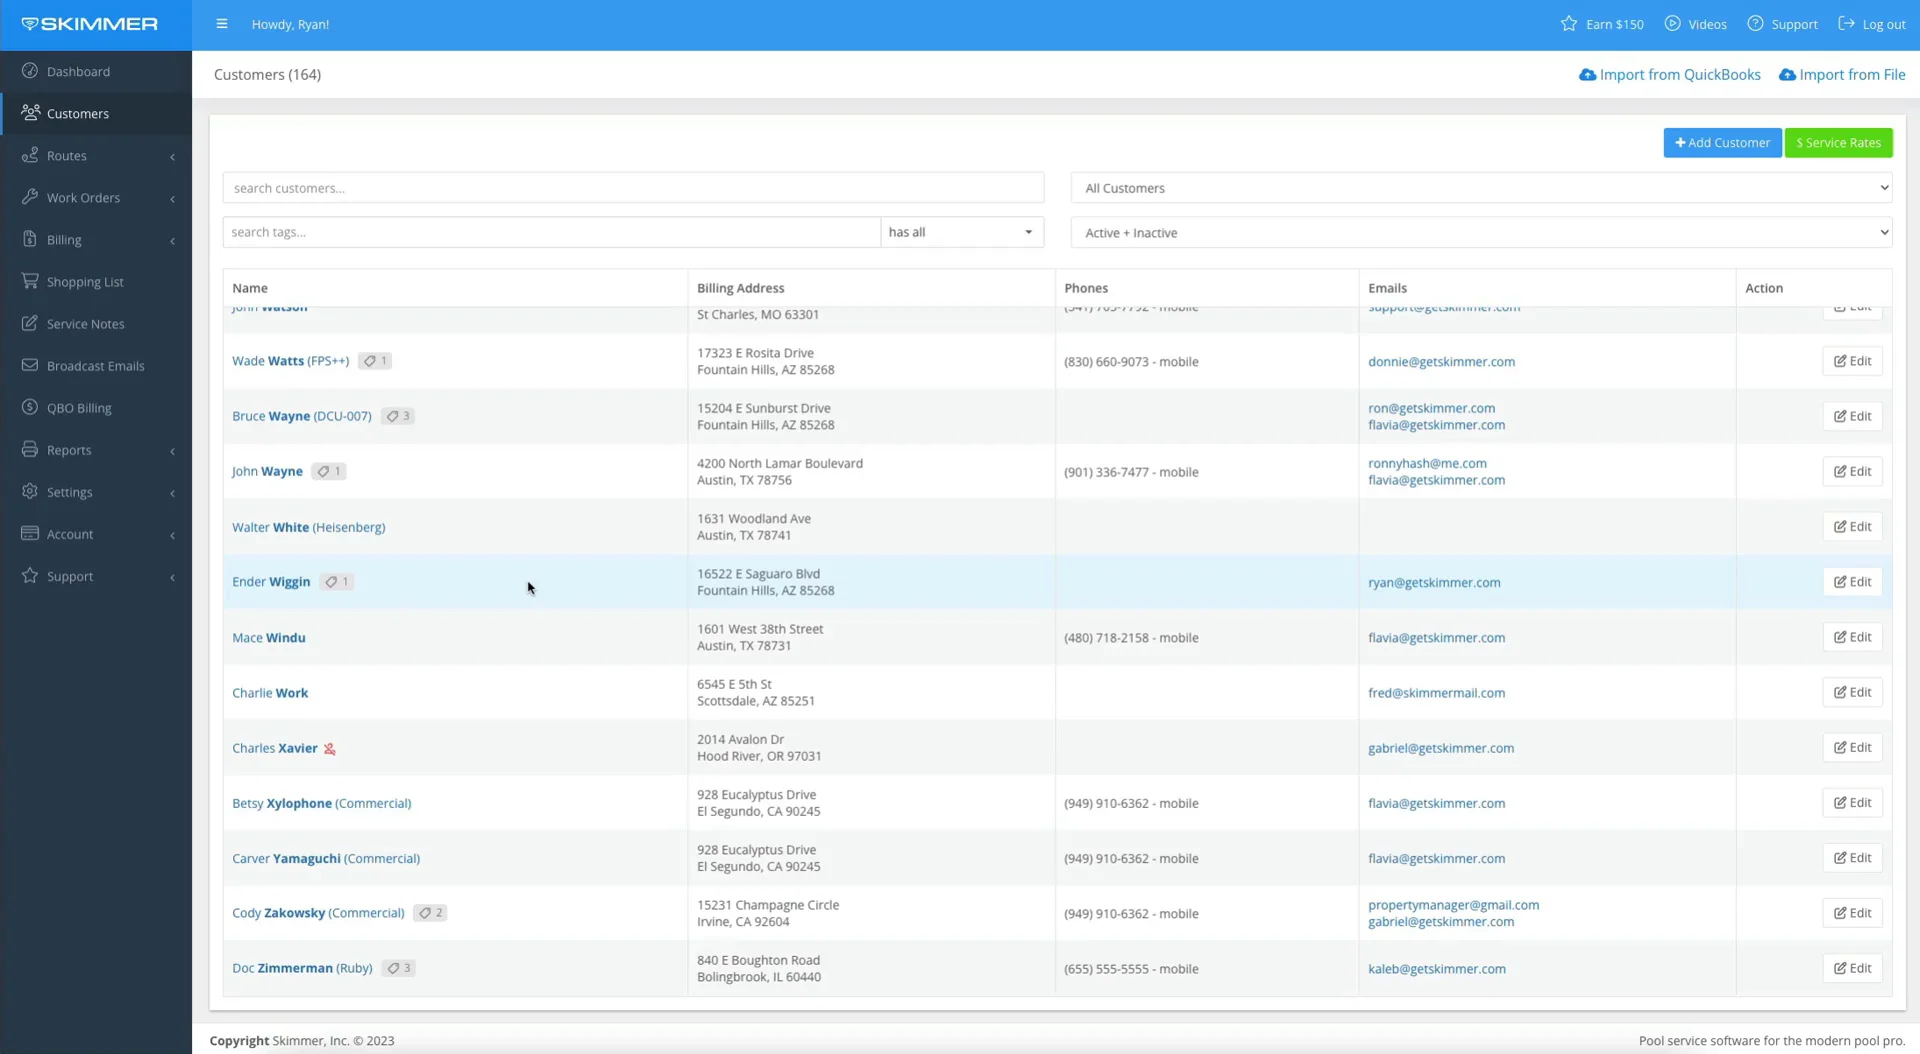
Select Customers > click customer name.

-
- 2
-
Under the Service Location section, select Add.

-
- 3
-
Enter the required Service Location Info fields.

- 4
-
Select Body of Water Info. You need to select at least one body of water. You can edit the name of the body of water after the service location is created.

- 5
-
Enter Route Assignment Info (optional) > Save.
- You can add a route assignment later.

-
- 6
-
Click the dropdown next to Service Location to switch between service locations.
- Service locations will also be listed on the right-hand side of the customer profile.


