Add, Edit, or Delete a Body of Water (Web)

To learn how to add, edit, or delete a body of water for a customer using Skimmer's website, see the video below. Or, if you prefer, scroll past the video to view our step-by-step text instructions.


Step-by-step instructions . . .
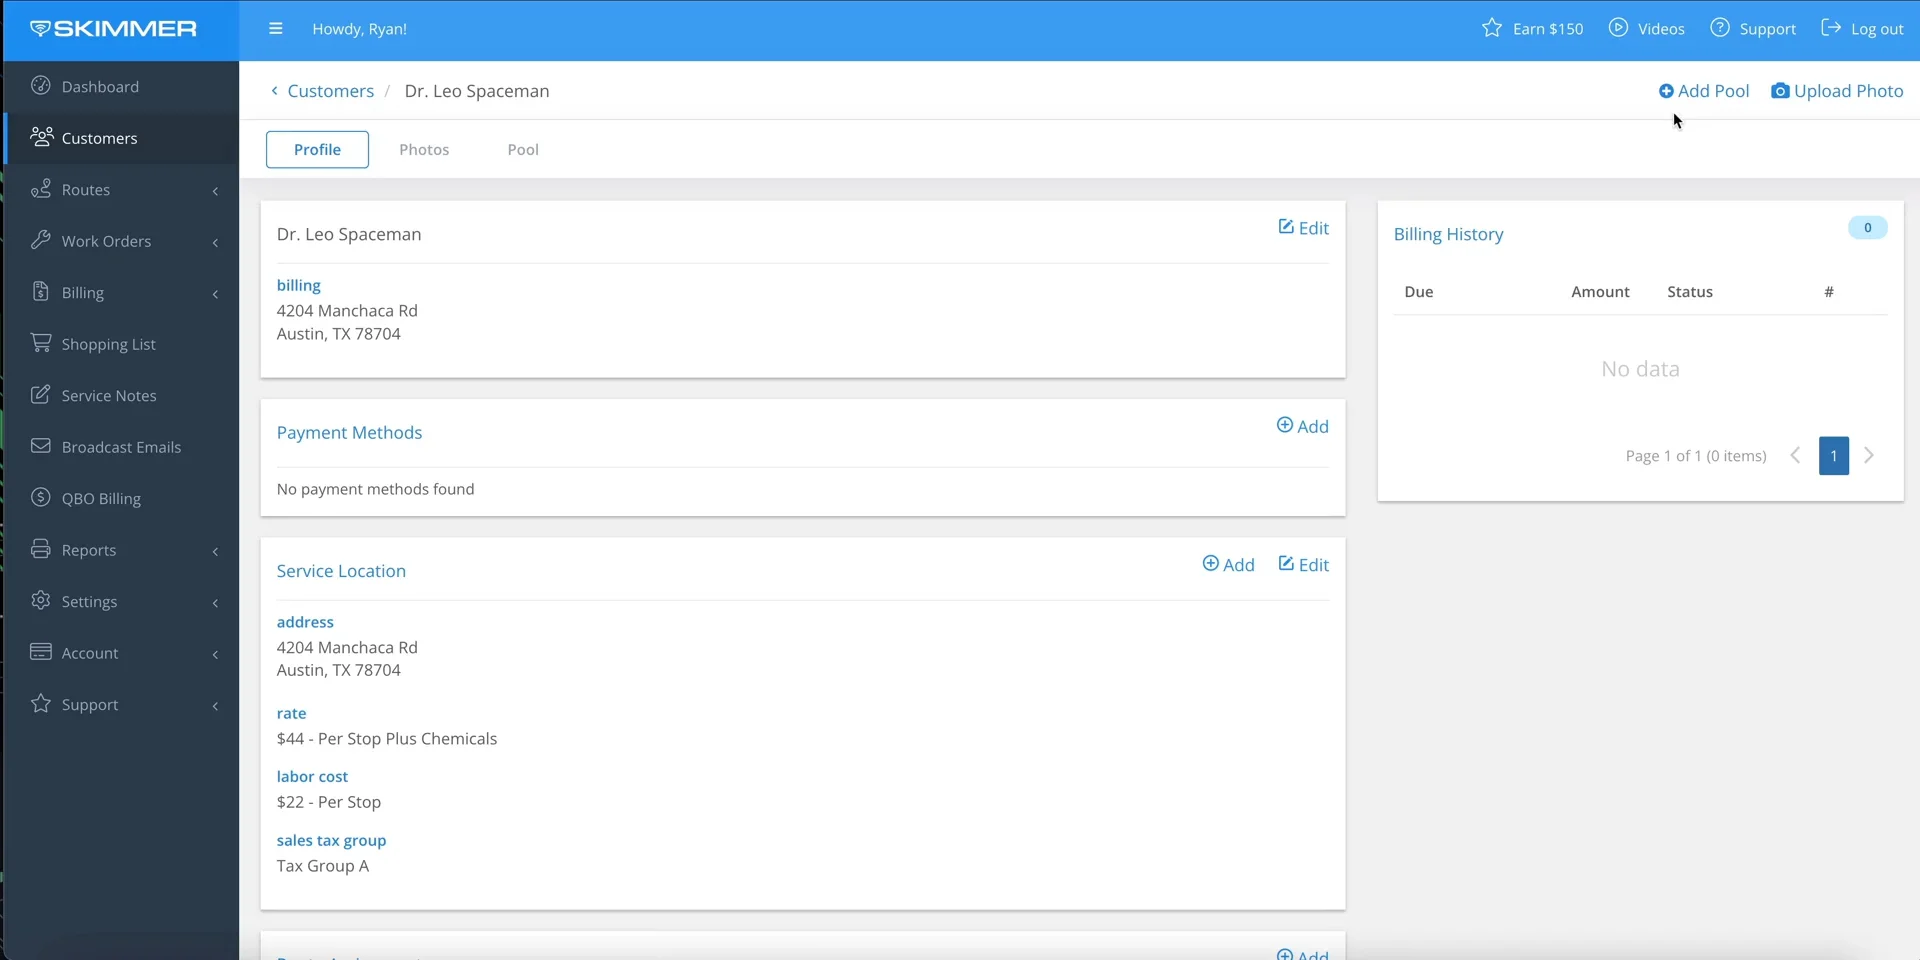
1
Let’s say a customer has a new body of water they want you to start servicing. You can easily add it to their profile on Skimmer’s website. Here’s how to do it. Once you log into the website, go to the Customers list and scroll until you find the customer. Then click into their profile.

2

Once you’re there, look at the top right corner and click the button that says Add Pool. This will open a box where you can add a name for this new body of water, as well as gallons, baseline filter pressure, and any general notes that you want techs to know about it when they perform a service. If you don’t want to add those now, you can come back anytime and add them later.

When you’re finished, click Save. Now the customer has a new tab for this body of water on their profile. You can attach equipment, create custom service checklist items, and more. And when the tech goes to service this location, now they’ll see a tab for both bodies of water, so they can enter their service information for each, and each will have its own history.

3
What if you want to go back and add or change some information? It’s as easy as clicking the Edit button, which opens the box we initially used to create it. Now you can change or amend the name, or edit any item you see here. When you’re done, click Save, and all your new edits are there.

4

If you need to delete this body of water, that’s simple, too. Just click the Delete button, confirm, and it’s gone.

Managing bodies of water in Skimmer is just that easy.