Customize the Service Checklist (Web)
Watch the video or scroll down for step-by-step instructions.
Tiers: All (please note that the required checklist and custom schedule functionality is exclusive to the Scaling Up and Owning the Market tiers)

Step-by-step instructions . . .
- 1
-
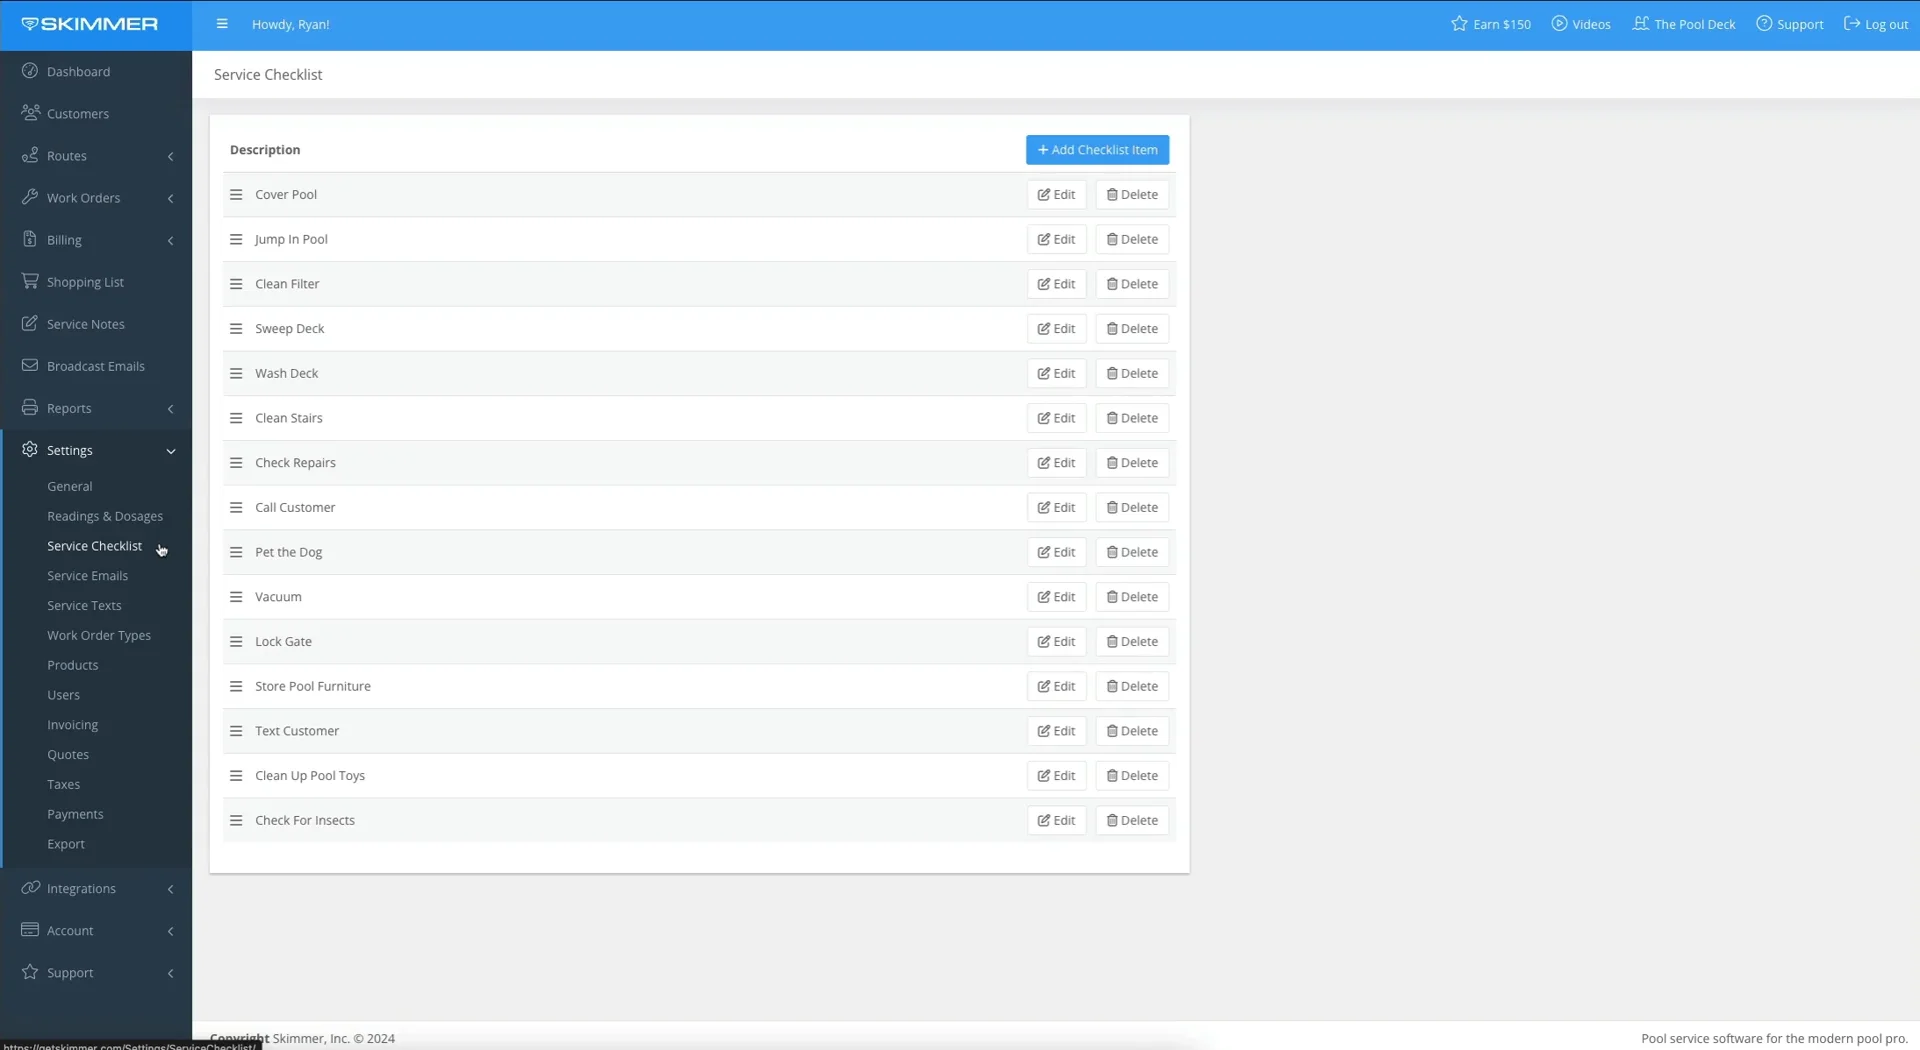
Click Settings and then Service Checklist, and you’ll be taken to the universal checklist. What you customize here will apply to every route stop for every tech. It does not include work orders, which have their own checklists.
To add a new task, click Add. This will open a pop-up window. Start by creating two names for this task. Description is what your techs will see before they swipe to complete it. Description When Complete is what the name will change to after completion. It’s also what the customer will see in the service email, if you choose to include it there.

-

- 2
-
Choose how often you want the task to be completed. If it’s a standard maintenance task that you want to be done on every route stop, choose to make it due with every stop. But if you don’t want it done every time, you can set your own frequency. Choose between days, weeks, months, and years, and specify a number for the specific recurrence you want.

- 3
-
You can also choose when you want the task to begin. It defaults to the next stop, but if don’t want it to begin yet, click the button and choose from today, next step, or a specific day and date on the calendar.

- 4
-
You can require that this be completed before the tech can finish the route stop. You can also require the tech to provide a photo for this checklist item.
Click Save. There’s now a new task on the universal checklist. Click Edit and you’ll get the same pop-up window, where you can make changes.

-

- 5
-
You can rearrange the list. To move a task, click and hold, drag and drop.
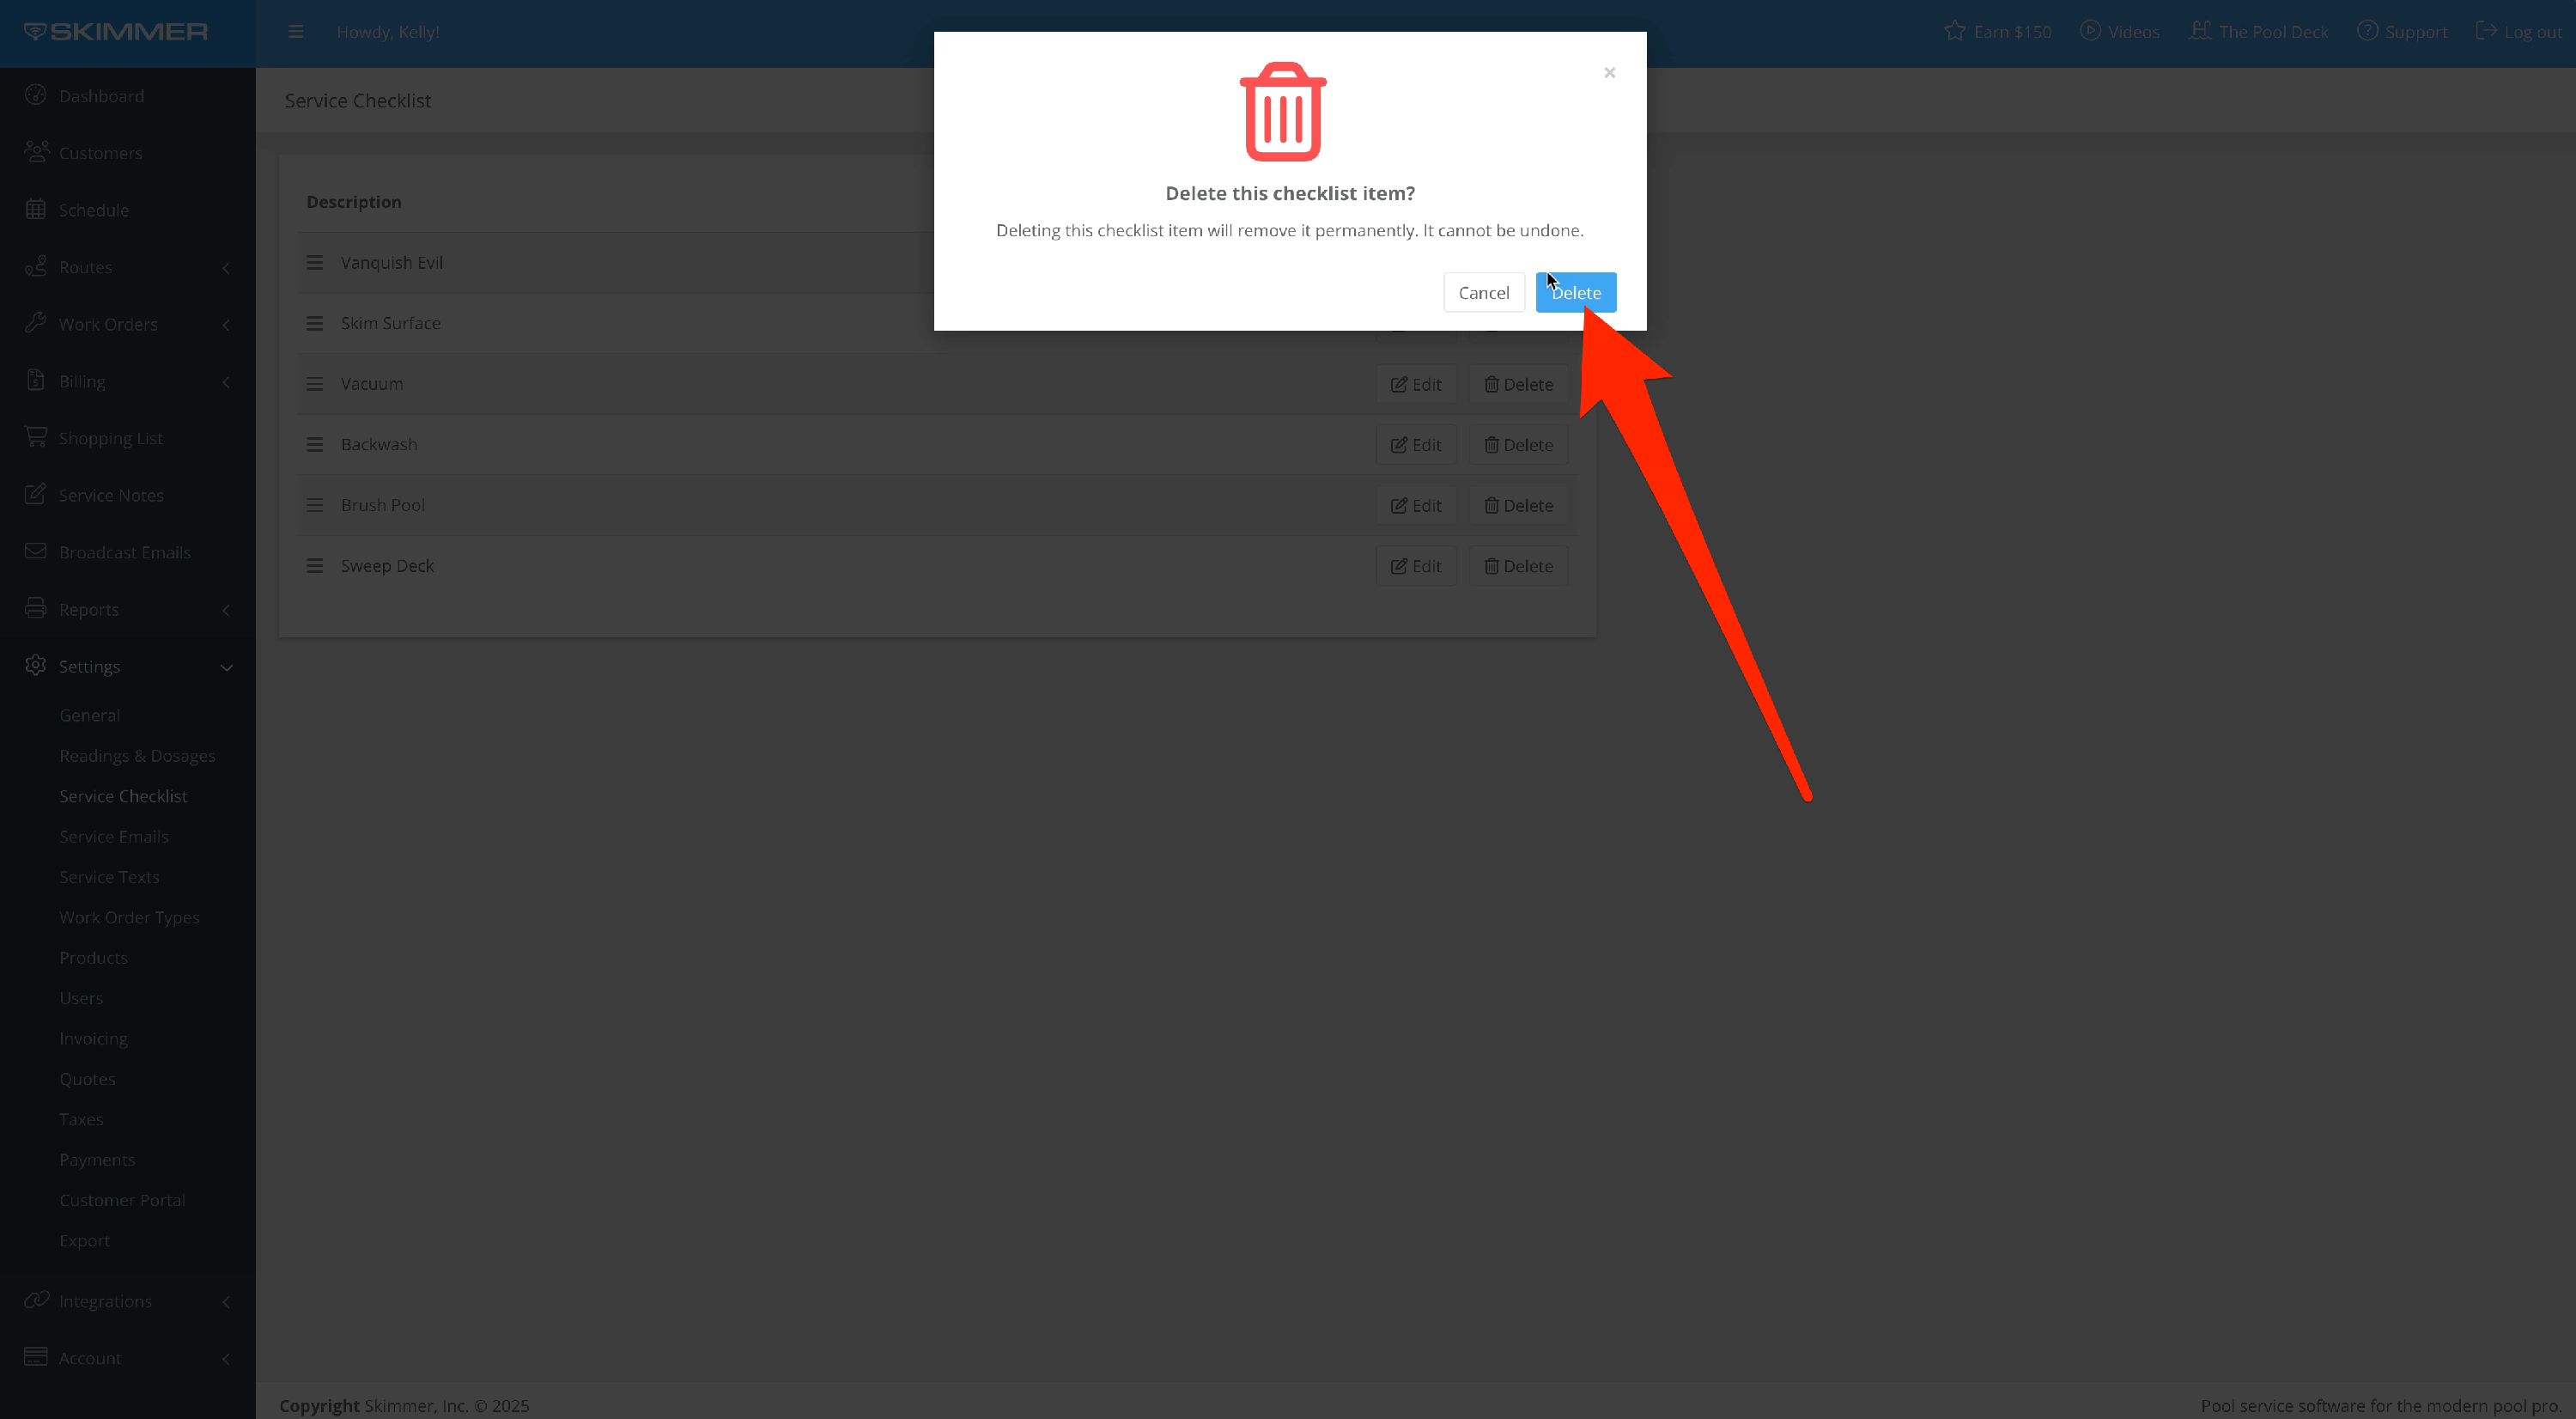
If there’s a task you don’t need, click Delete, confirm, and it’s gone. Any task you delete will also be removed from the service history.

-
- 6
-
You can add custom checklist items to a single location. Click on the Customers tab and open any customer’s profile. If they have more than one service location, make sure you’ve chosen the correct one. Then click the tab for whatever body of water this will apply to. Here you’ll see another Service Checklist box. It works just like the universal list, except any task you add here will apply only to this body of water.

- 7
-
Click Add. Enter your descriptions, desired frequency, and parameters for completion. Then click Save. You can also edit or delete when needed.


