Create, Edit, or Delete a Work Order (App)
To learn how to create, edit, or delete a work order in the Skimmer app, see the video below. Or, if you prefer, scroll past the video to view our step-by-step text instructions.

Step-by-step instructions . . .
- 1
-
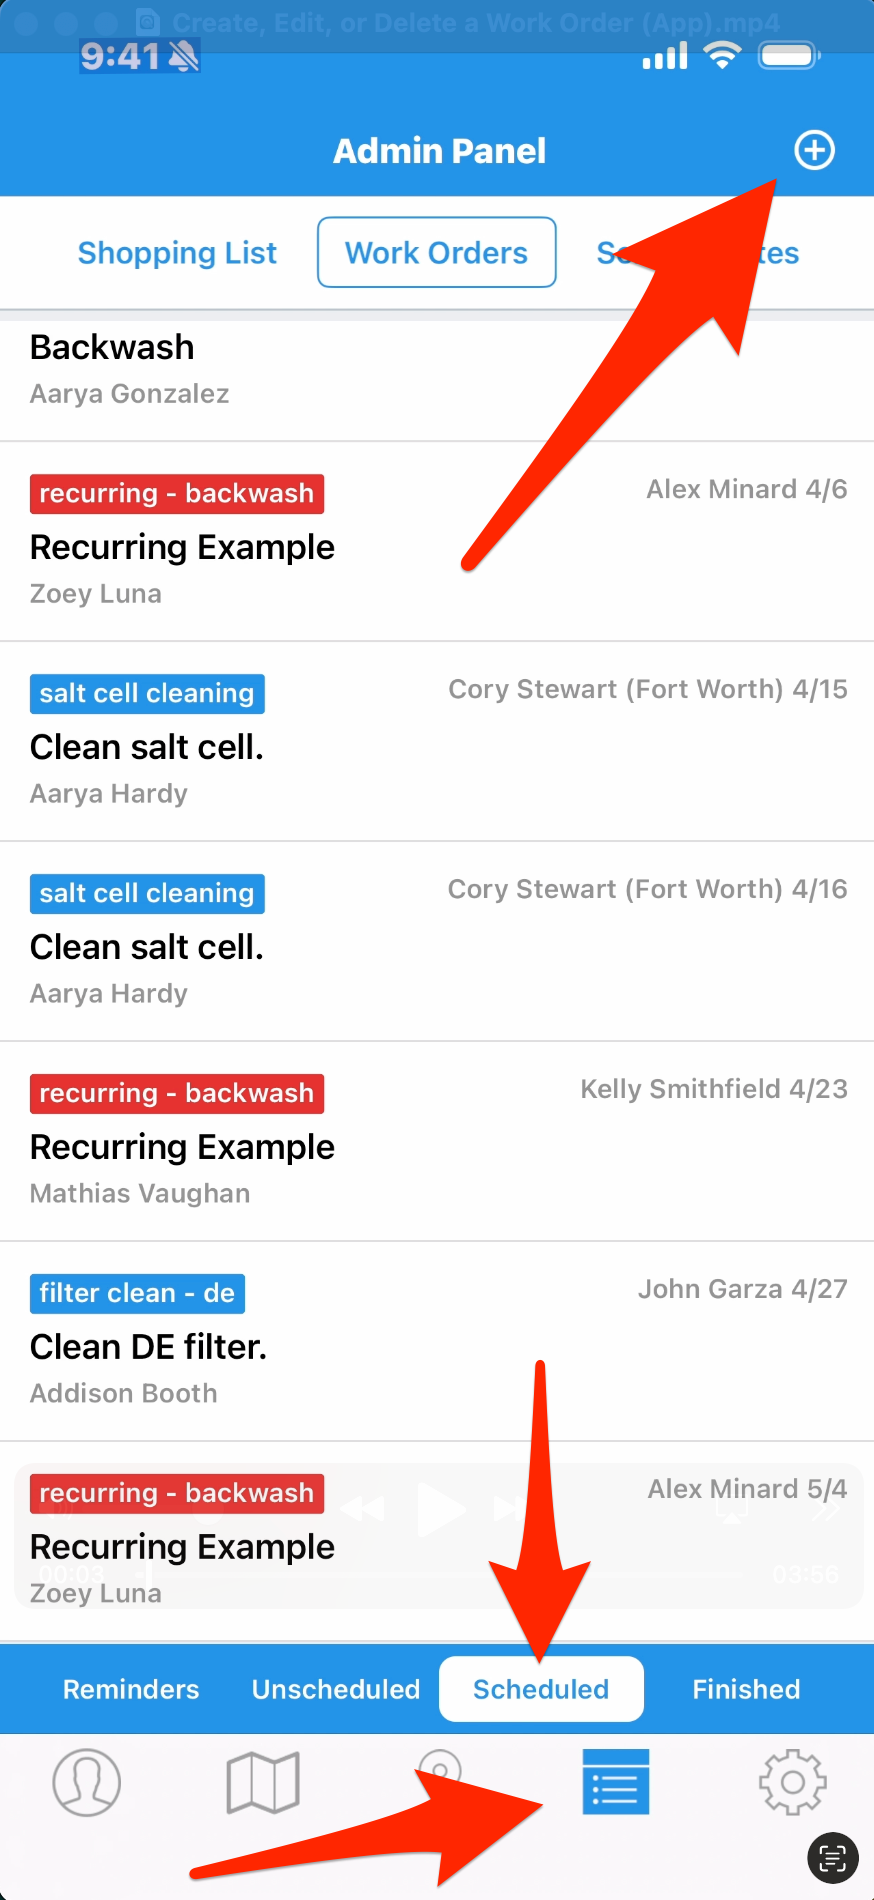
You can create a work order from multiple places on the app, including the Work Orders box in a customer profile, or the Work Orders tab under the Admin Panel. Start by tapping the Plus in the top right corner.
- 2
-
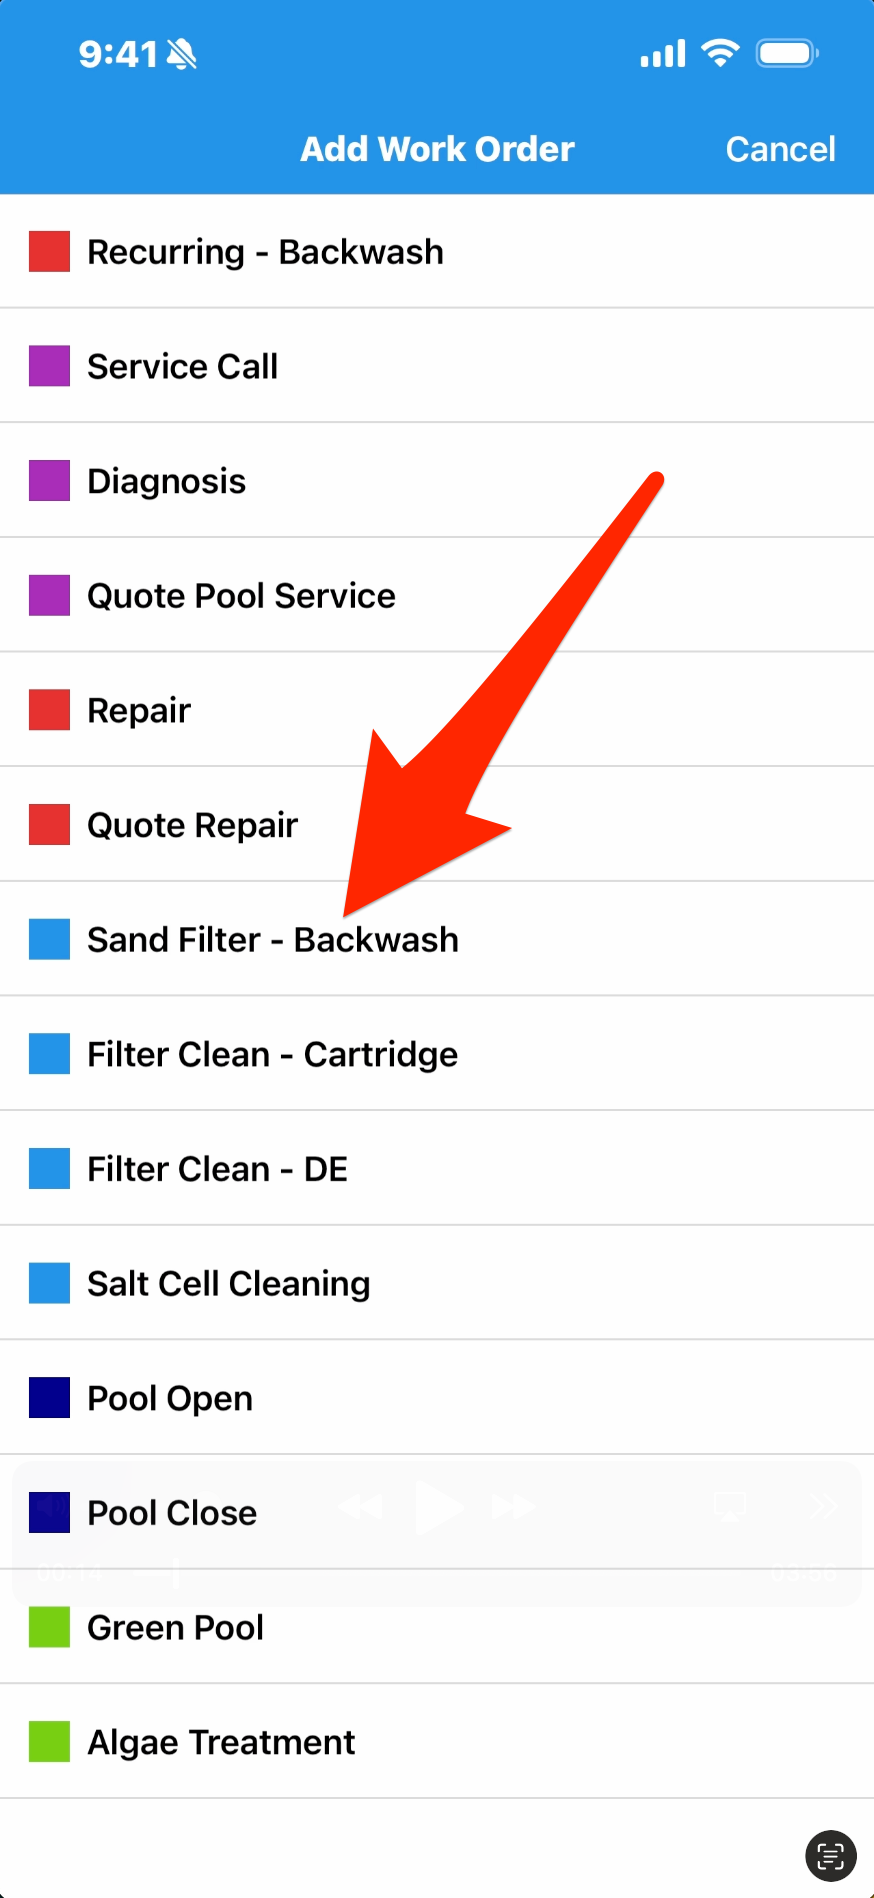
Start by choosing the work order type, which is like selecting a premade template for the kind of job you’re going to create.
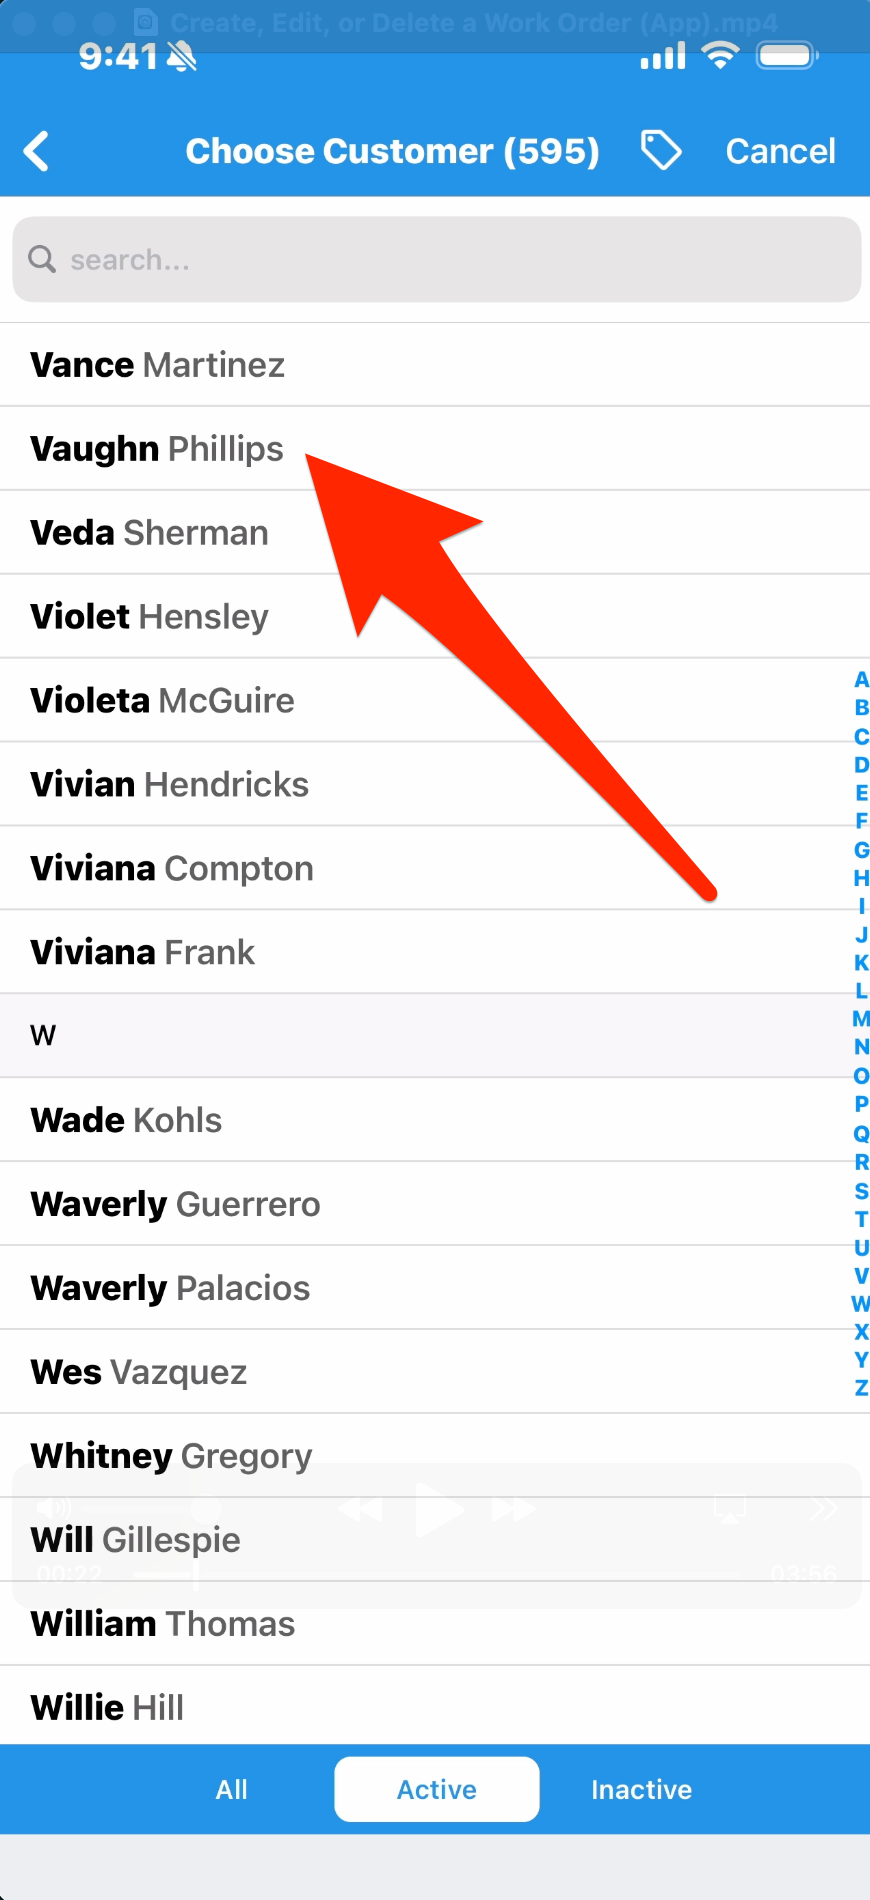
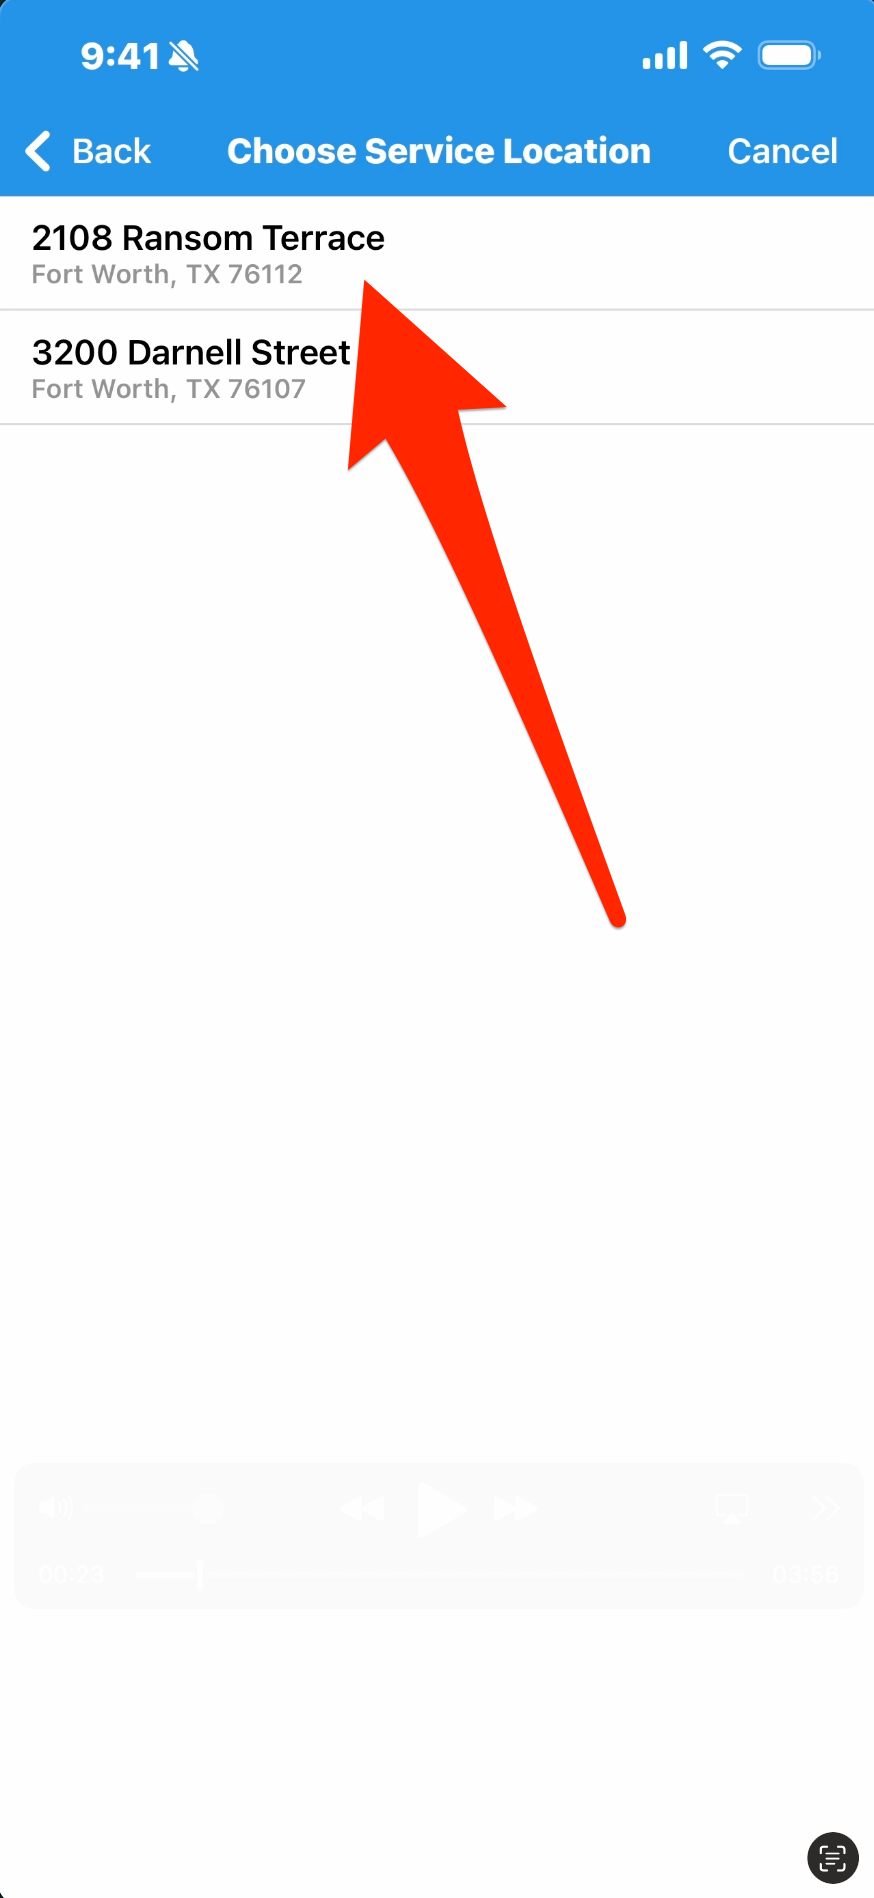
Next, choose the customer. If they have multiple service locations, select one.
- 3
-
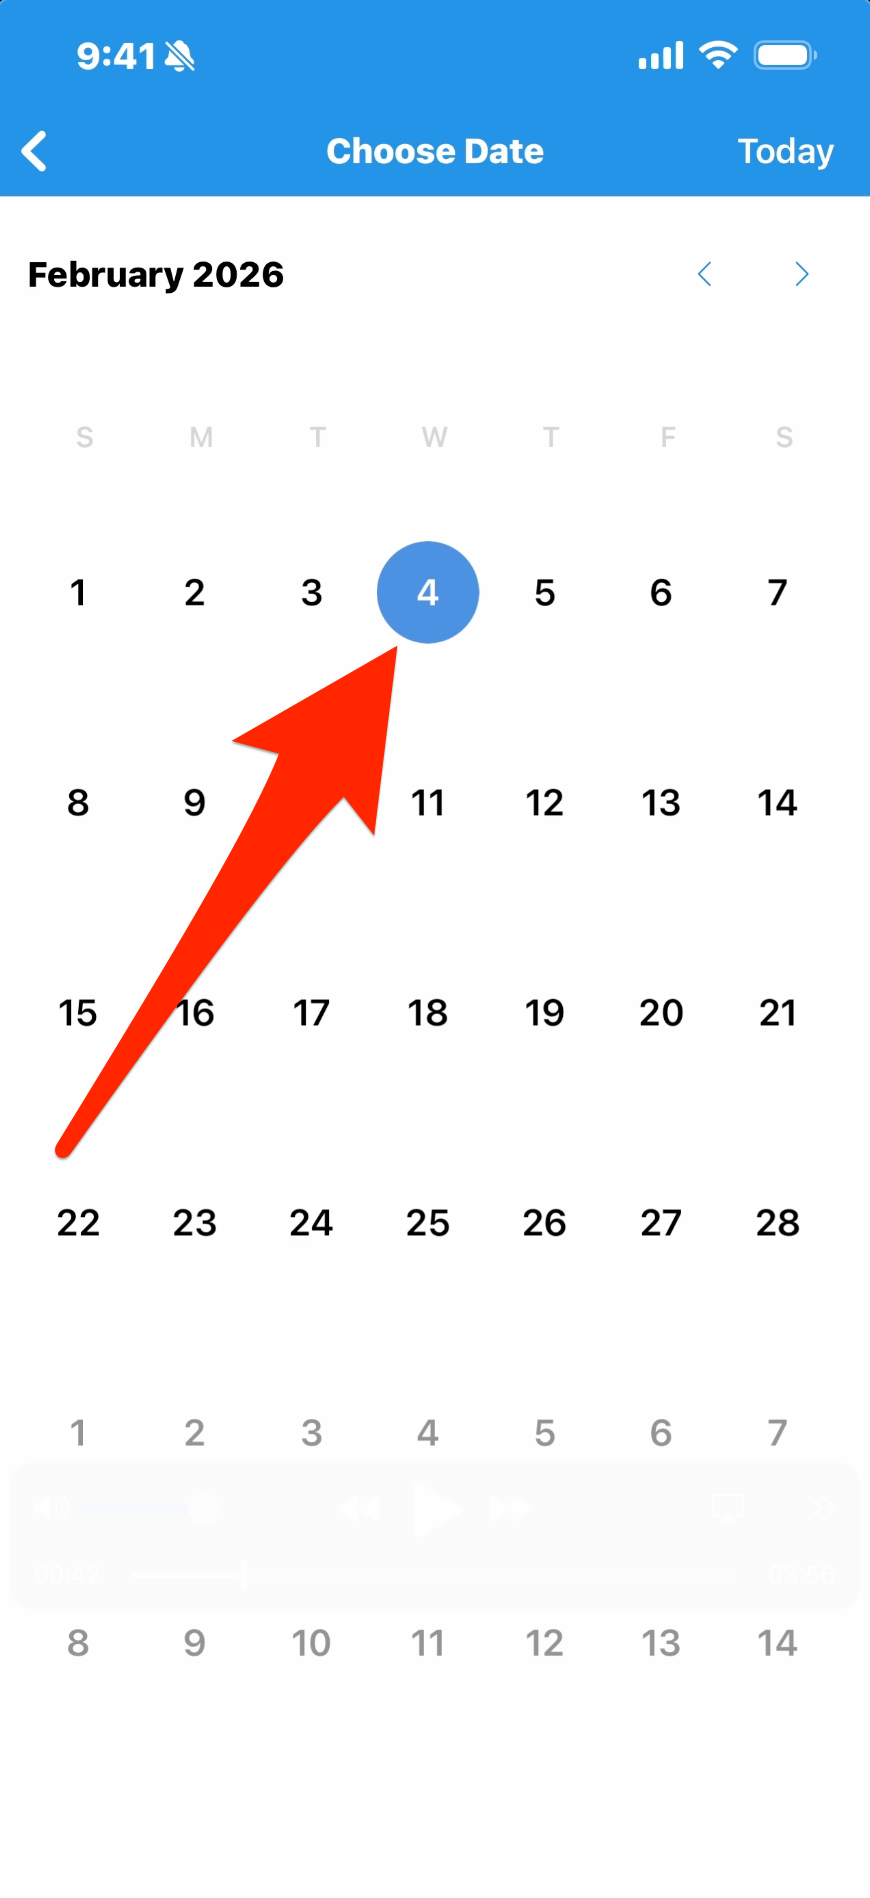
The next screen will populate with details you’ve added to that work order type. You can leave those as-is or edit what you need to for this job, and it will not affect the default information in the work order type. Pick a service date now, or leave it to schedule later. If you don’t assign a date or a tech at this time, the work order will save as Unscheduled and wait there until you assign it a date and a tech.
Indicate a Price for the job and the Labor Cost, which is what you’re paying the tech or techs to complete it. Note that this is a total for all assigned techs, not the labor cost per tech.

- 4
-
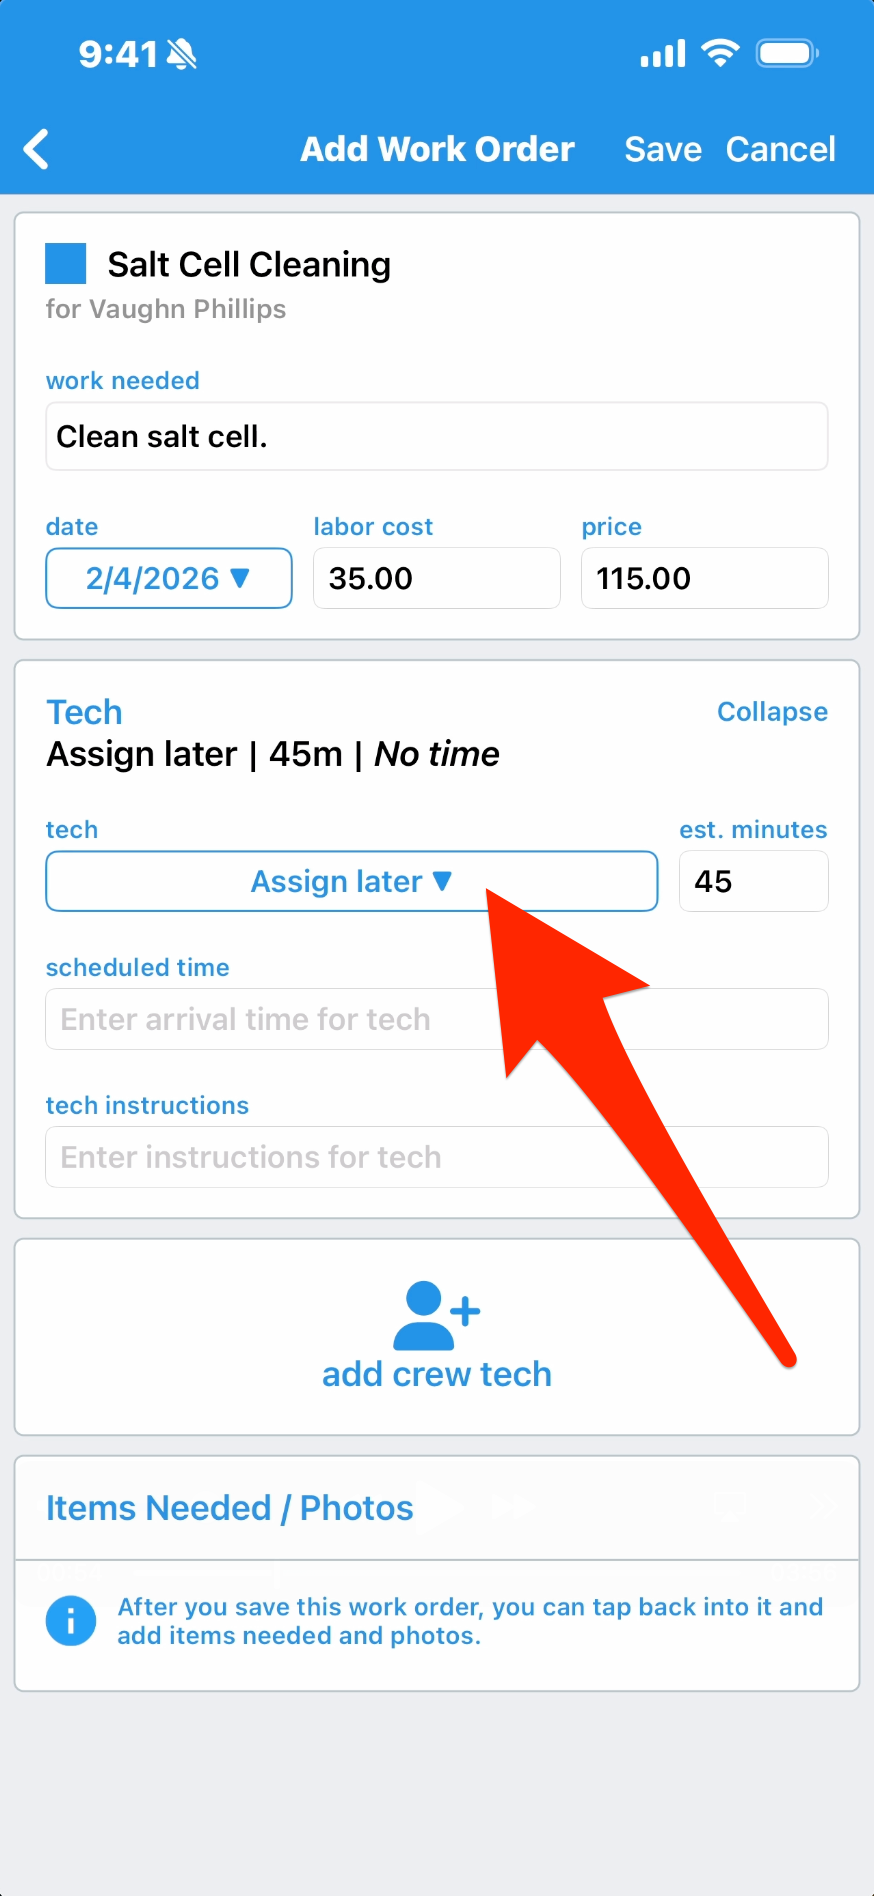
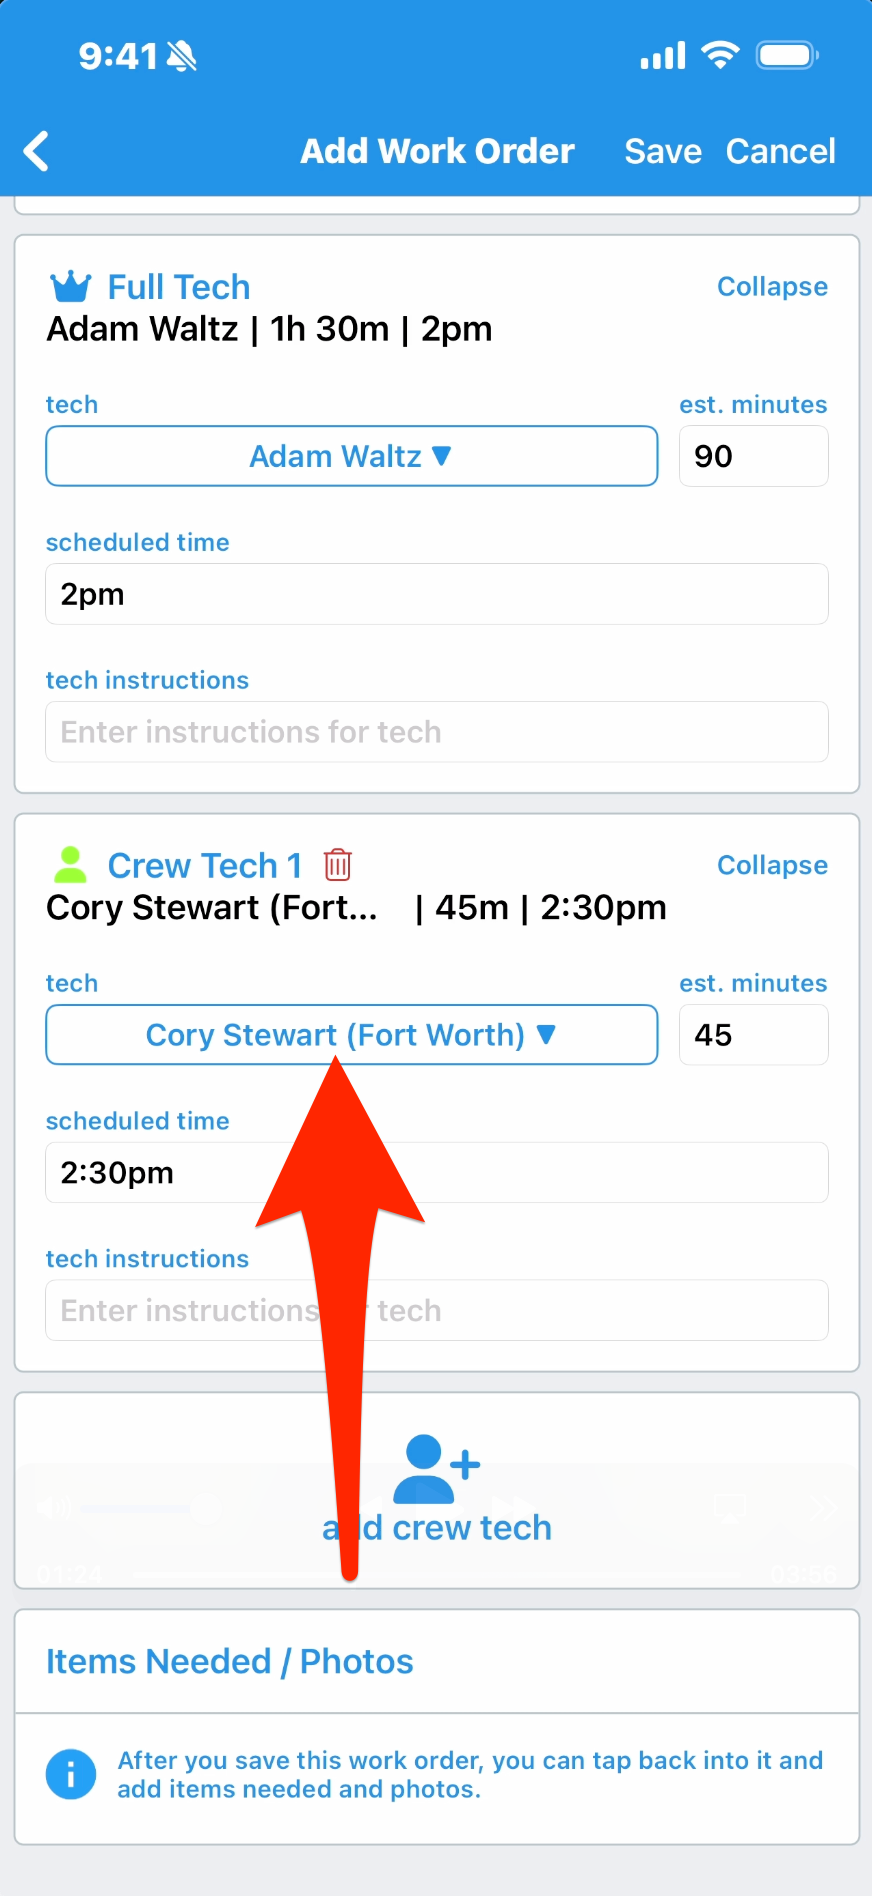
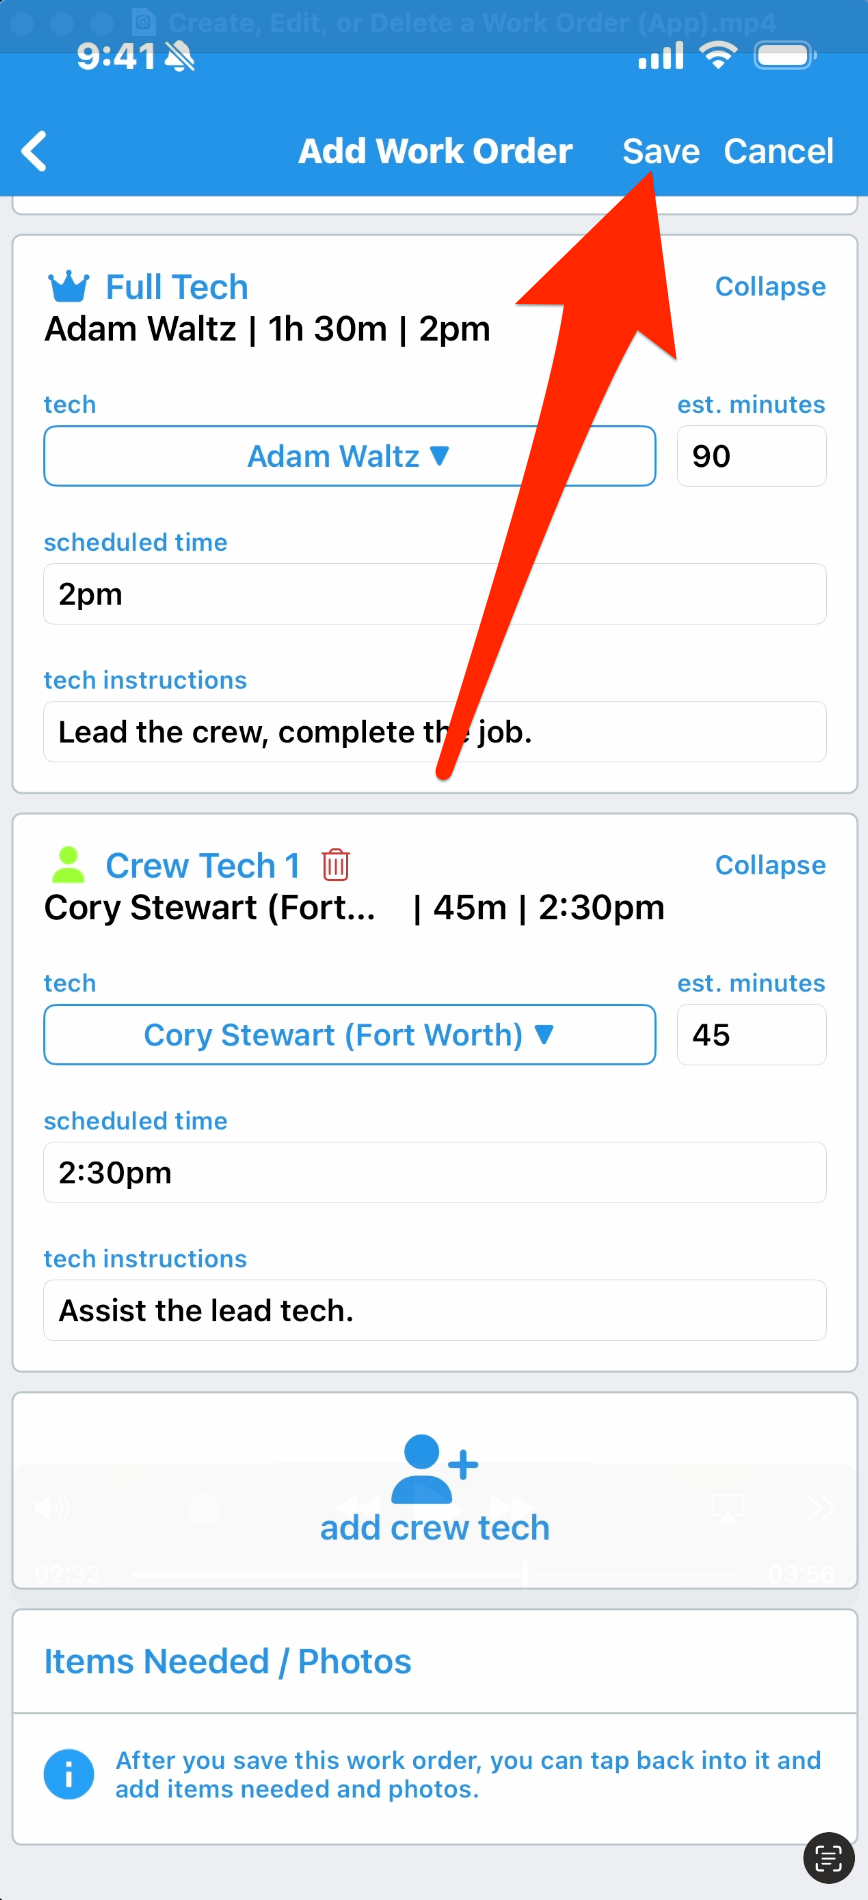
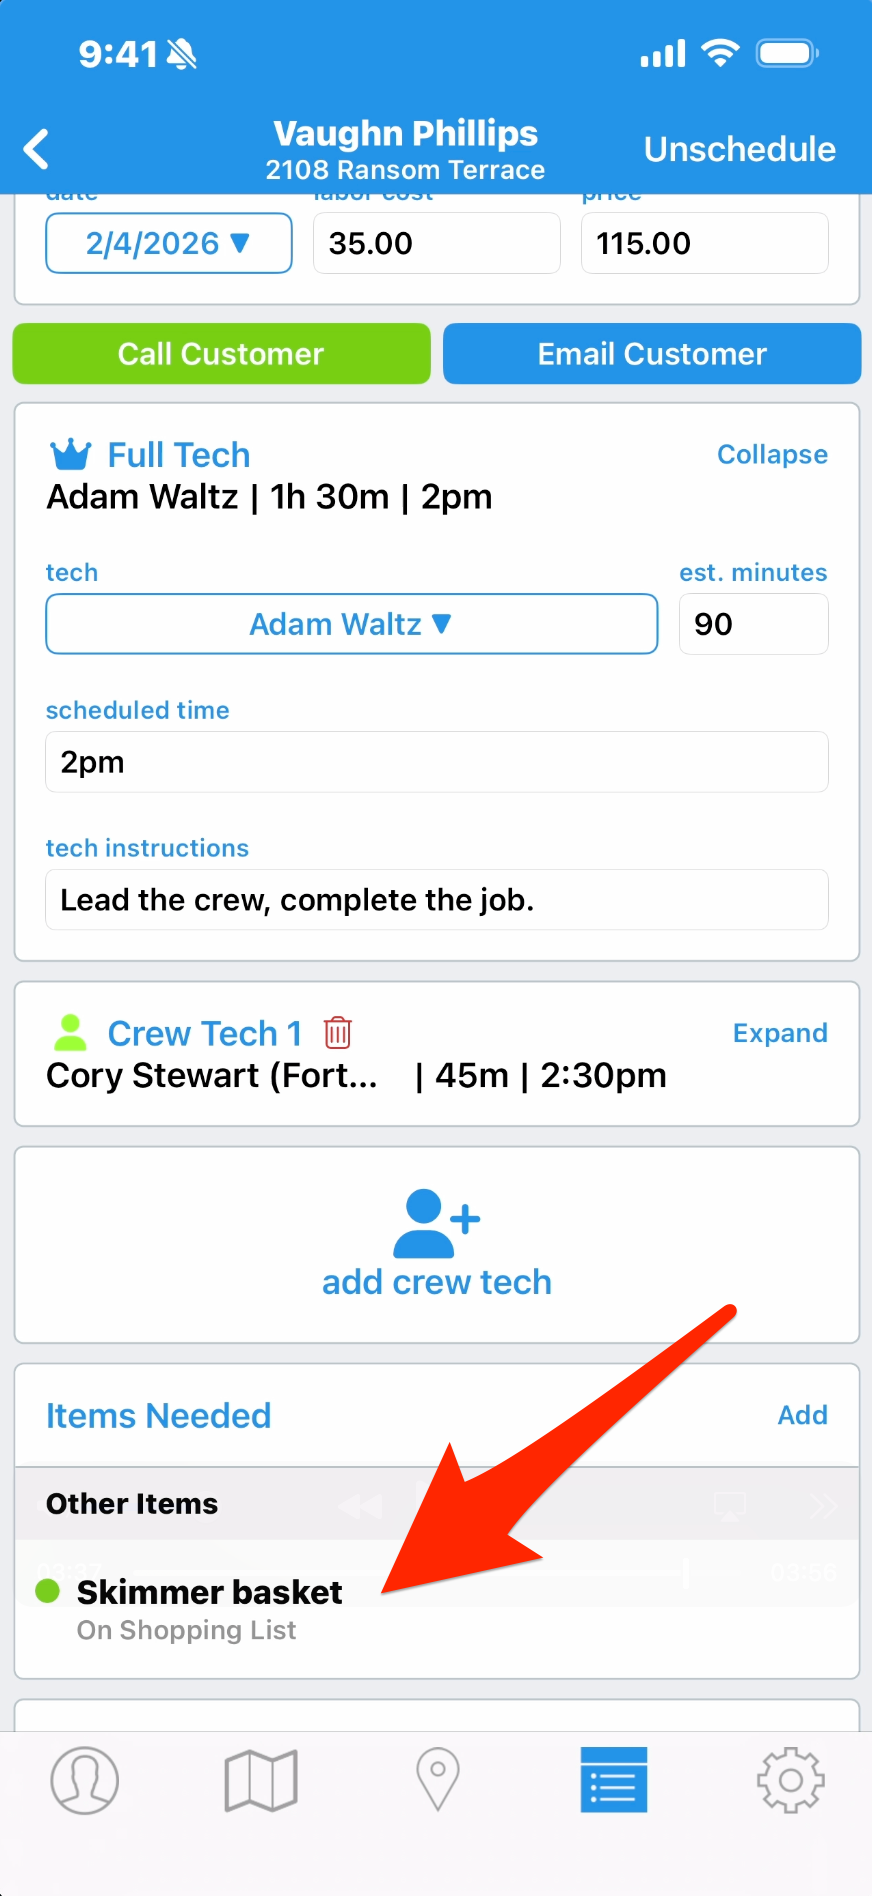
Under Assign Techs, assign at least one tech to put this job on the schedule. You have the option to assign multiple techs, which you can do by tapping Add Crew Tech. Note that the first one you assign is called the Full Tech, and that will be the one responsible for completing the job record in Skimmer. The system allows up to nine Crew Techs. The Scheduled Time label will likely be more important in a multi-tech situation, so you can coordinate getting them all to the same place at the right time.
Crew techs will see a reduced version of the work order on the app, which only allows them to submit the work they performed. You can also provide instructions individual to each tech. which allows you to differentiate responsibilities and who is expected to do what. Note that, when it comes to multi-tech work orders, these jobs are all on the same day and don’t currently span multiple days.
Also, checklist Items cannot be added or edited here on the individual work order. They must come from the work order type.

- 5
-
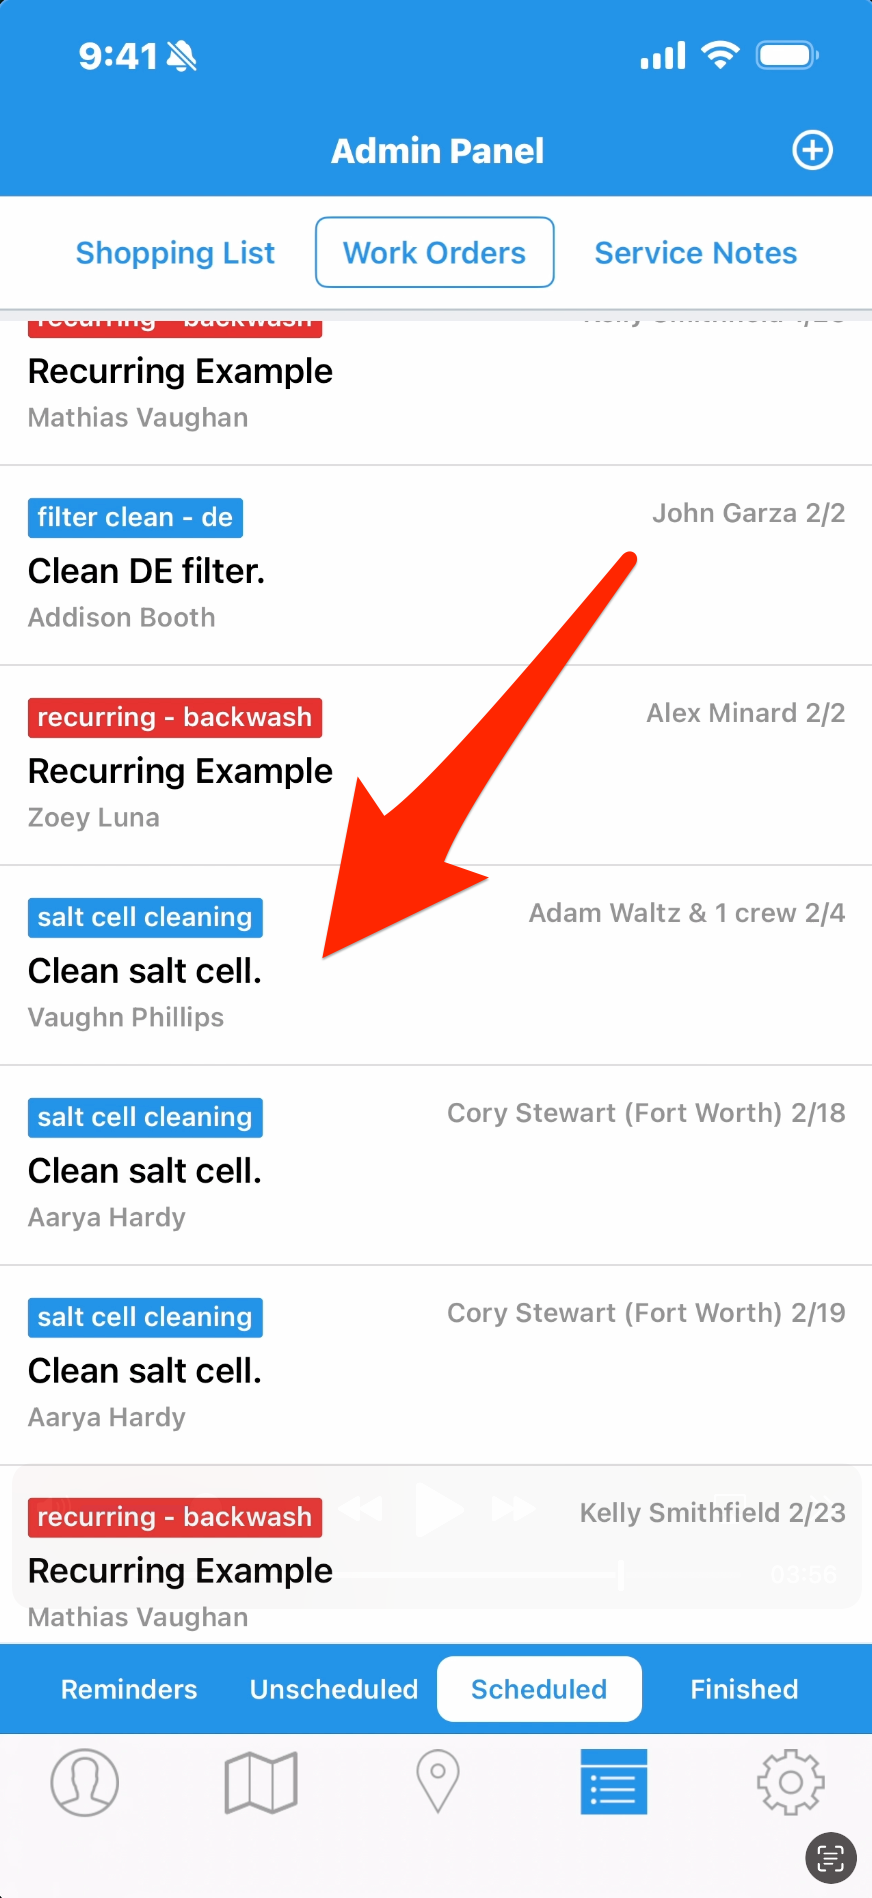
Tap Save. If you haven’t assigned a tech or a service date, the work order will go to the Unscheduled tab. If tech and date are assigned, it will appear on the Scheduled tab and on the route.
- 6
-
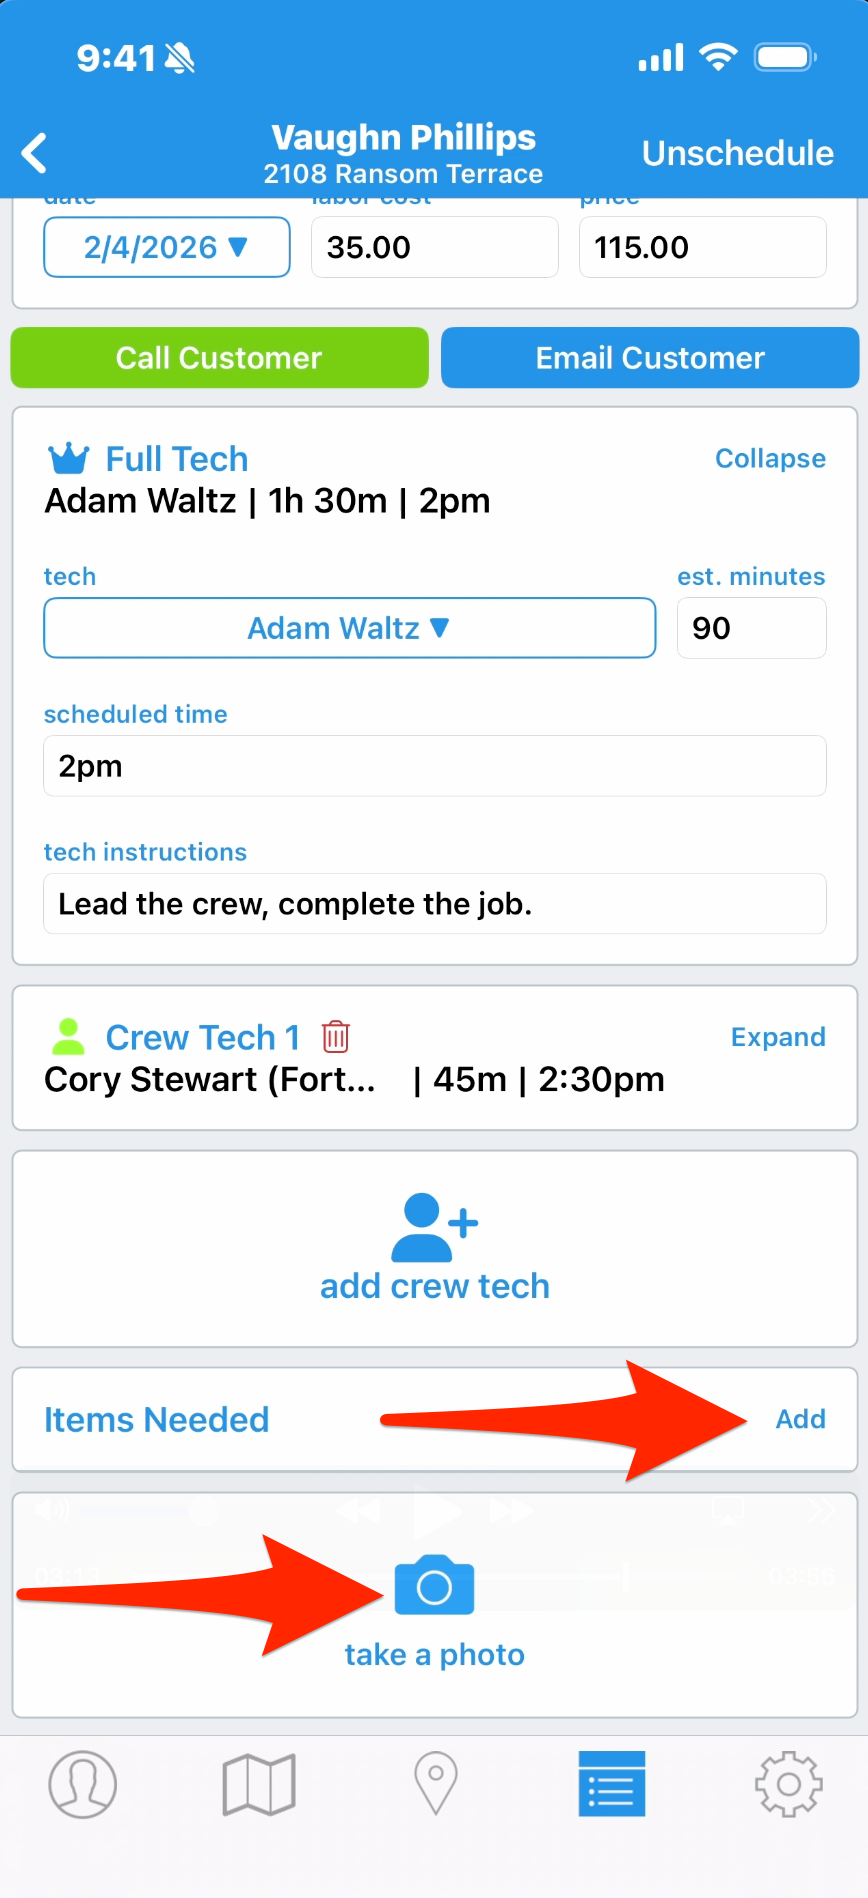
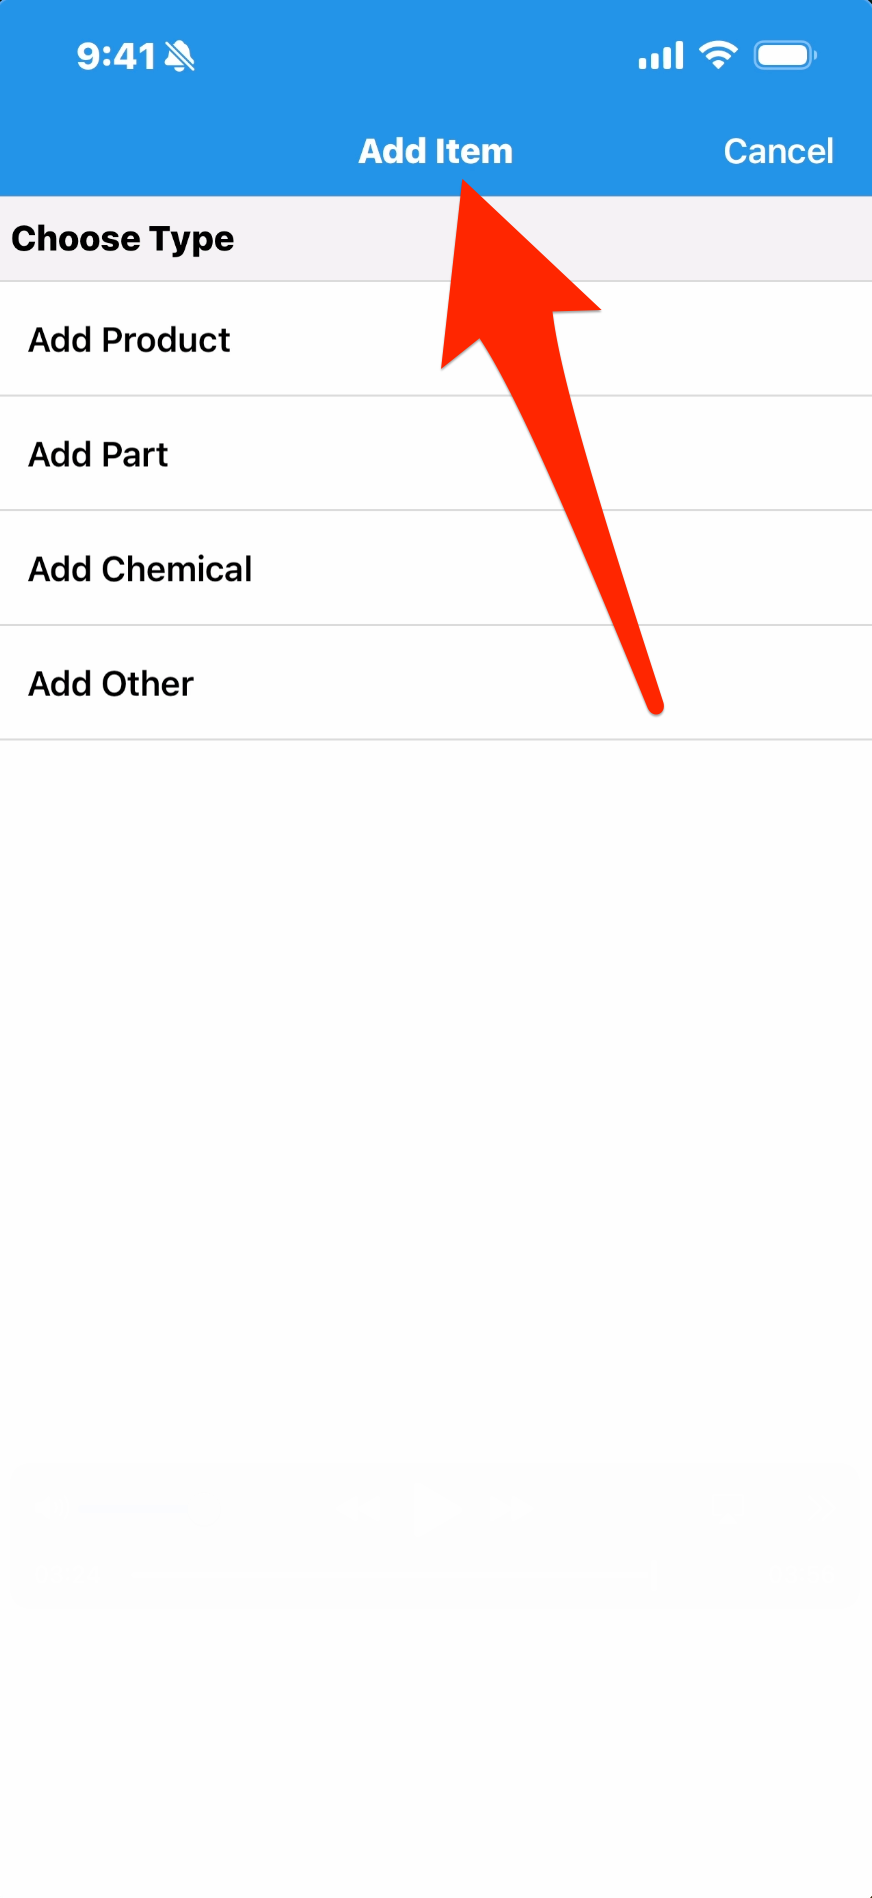
Navigating back to the work order, you’ll see there are additional things we can do. If there are any items needed attached to the work order type, they will automatically be here. However, you can add more here if you need them for this job. Tap Add, and you can add from your Products list, the list of equipment associated with this pool, a chemical, or Add Other gives you an open text box. Lastly, you can take photos live and attach them to the job.
- 7
-
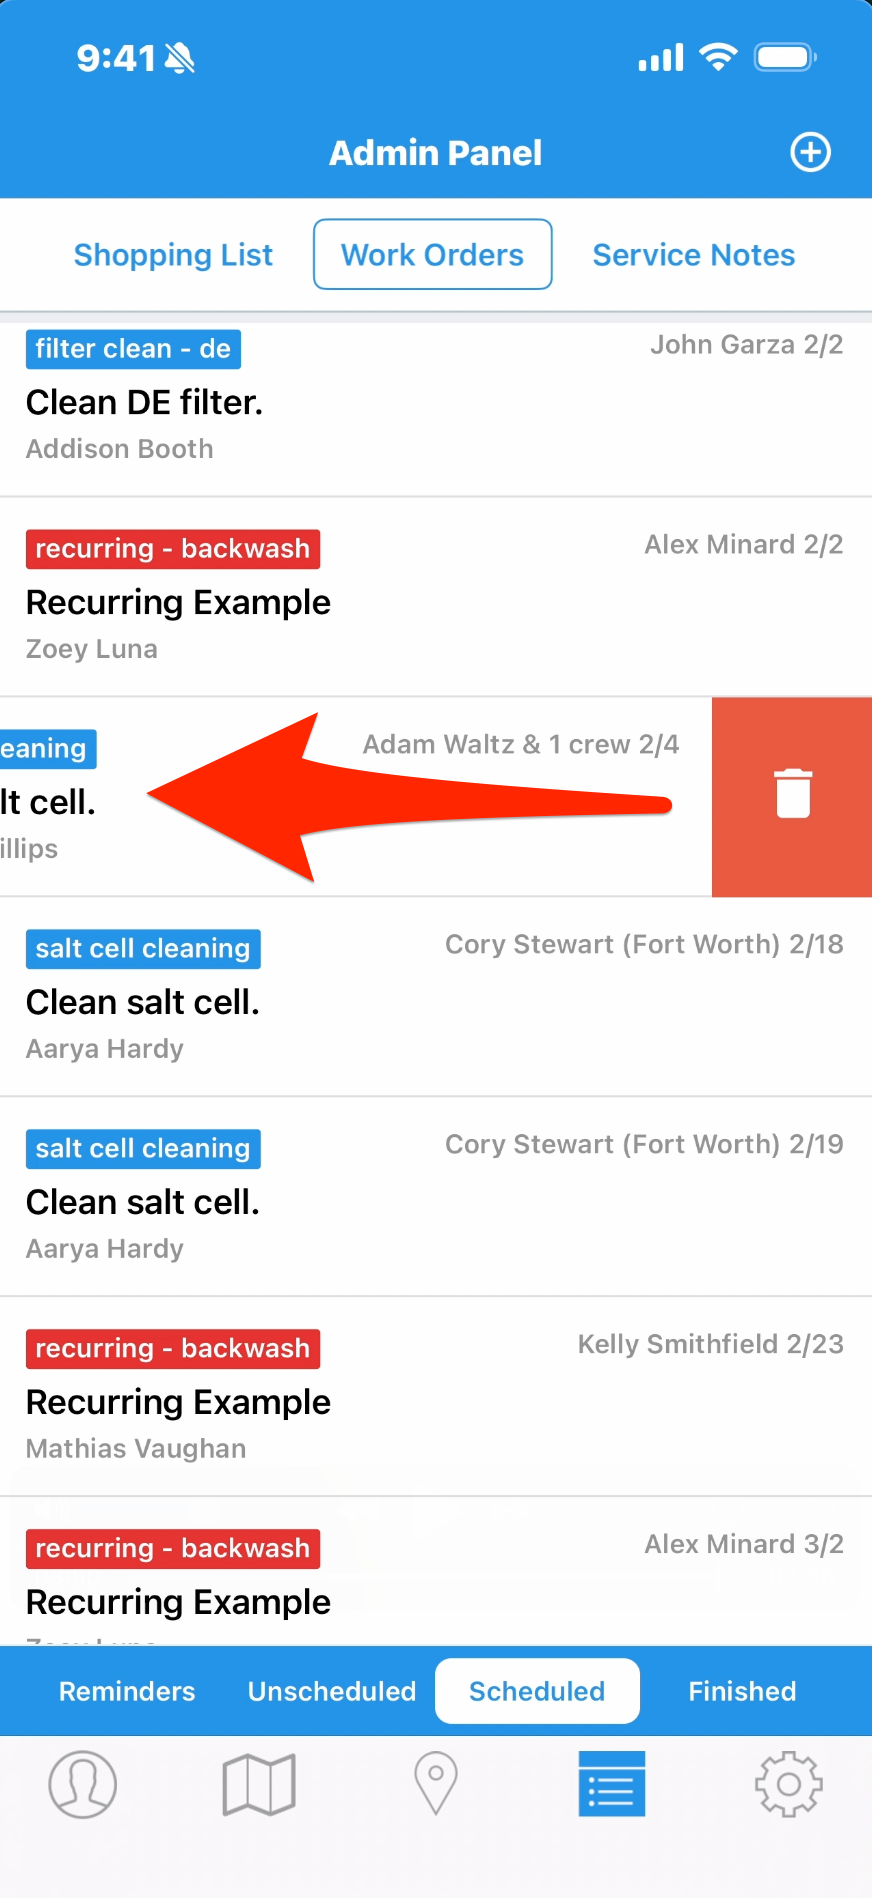
If you need to change anything, tap the work order and you’ll go back to the same screen. If you no longer need this job, swipe left to reveal a trash can icon, then tap and confirm, and it’s gone.