Add or Discontinue a Product (Web)
Watch the video or scroll down for step-by-step instructions.
Tiers: All
Before You Start:
- You can edit or delete products from your list at any time, with one exception. Once a product is marked as installed, it becomes part of the service history and can't be deleted. You can still edit the product and its details, or mark it as discontinued.
- You can only delete a product if it hasn't been added to the shopping list or marked as installed. If you've added it to the shopping list but haven't marked it as installed, remove it from the shopping list first, then delete the product.
- To delete or discontinue multiple products at once, check the box to the left of each product and use the bulk action options.

Add a product
Use these steps to create a custom product in your Skimmer catalog. Custom products work just like products from Skimmer's database. You can add them to shopping lists, mark them as installed, and bill for them on invoices.
To add a product:
- From the Settings section of the left navigation, select the Products option.
- From the Products page, click the Add product button.

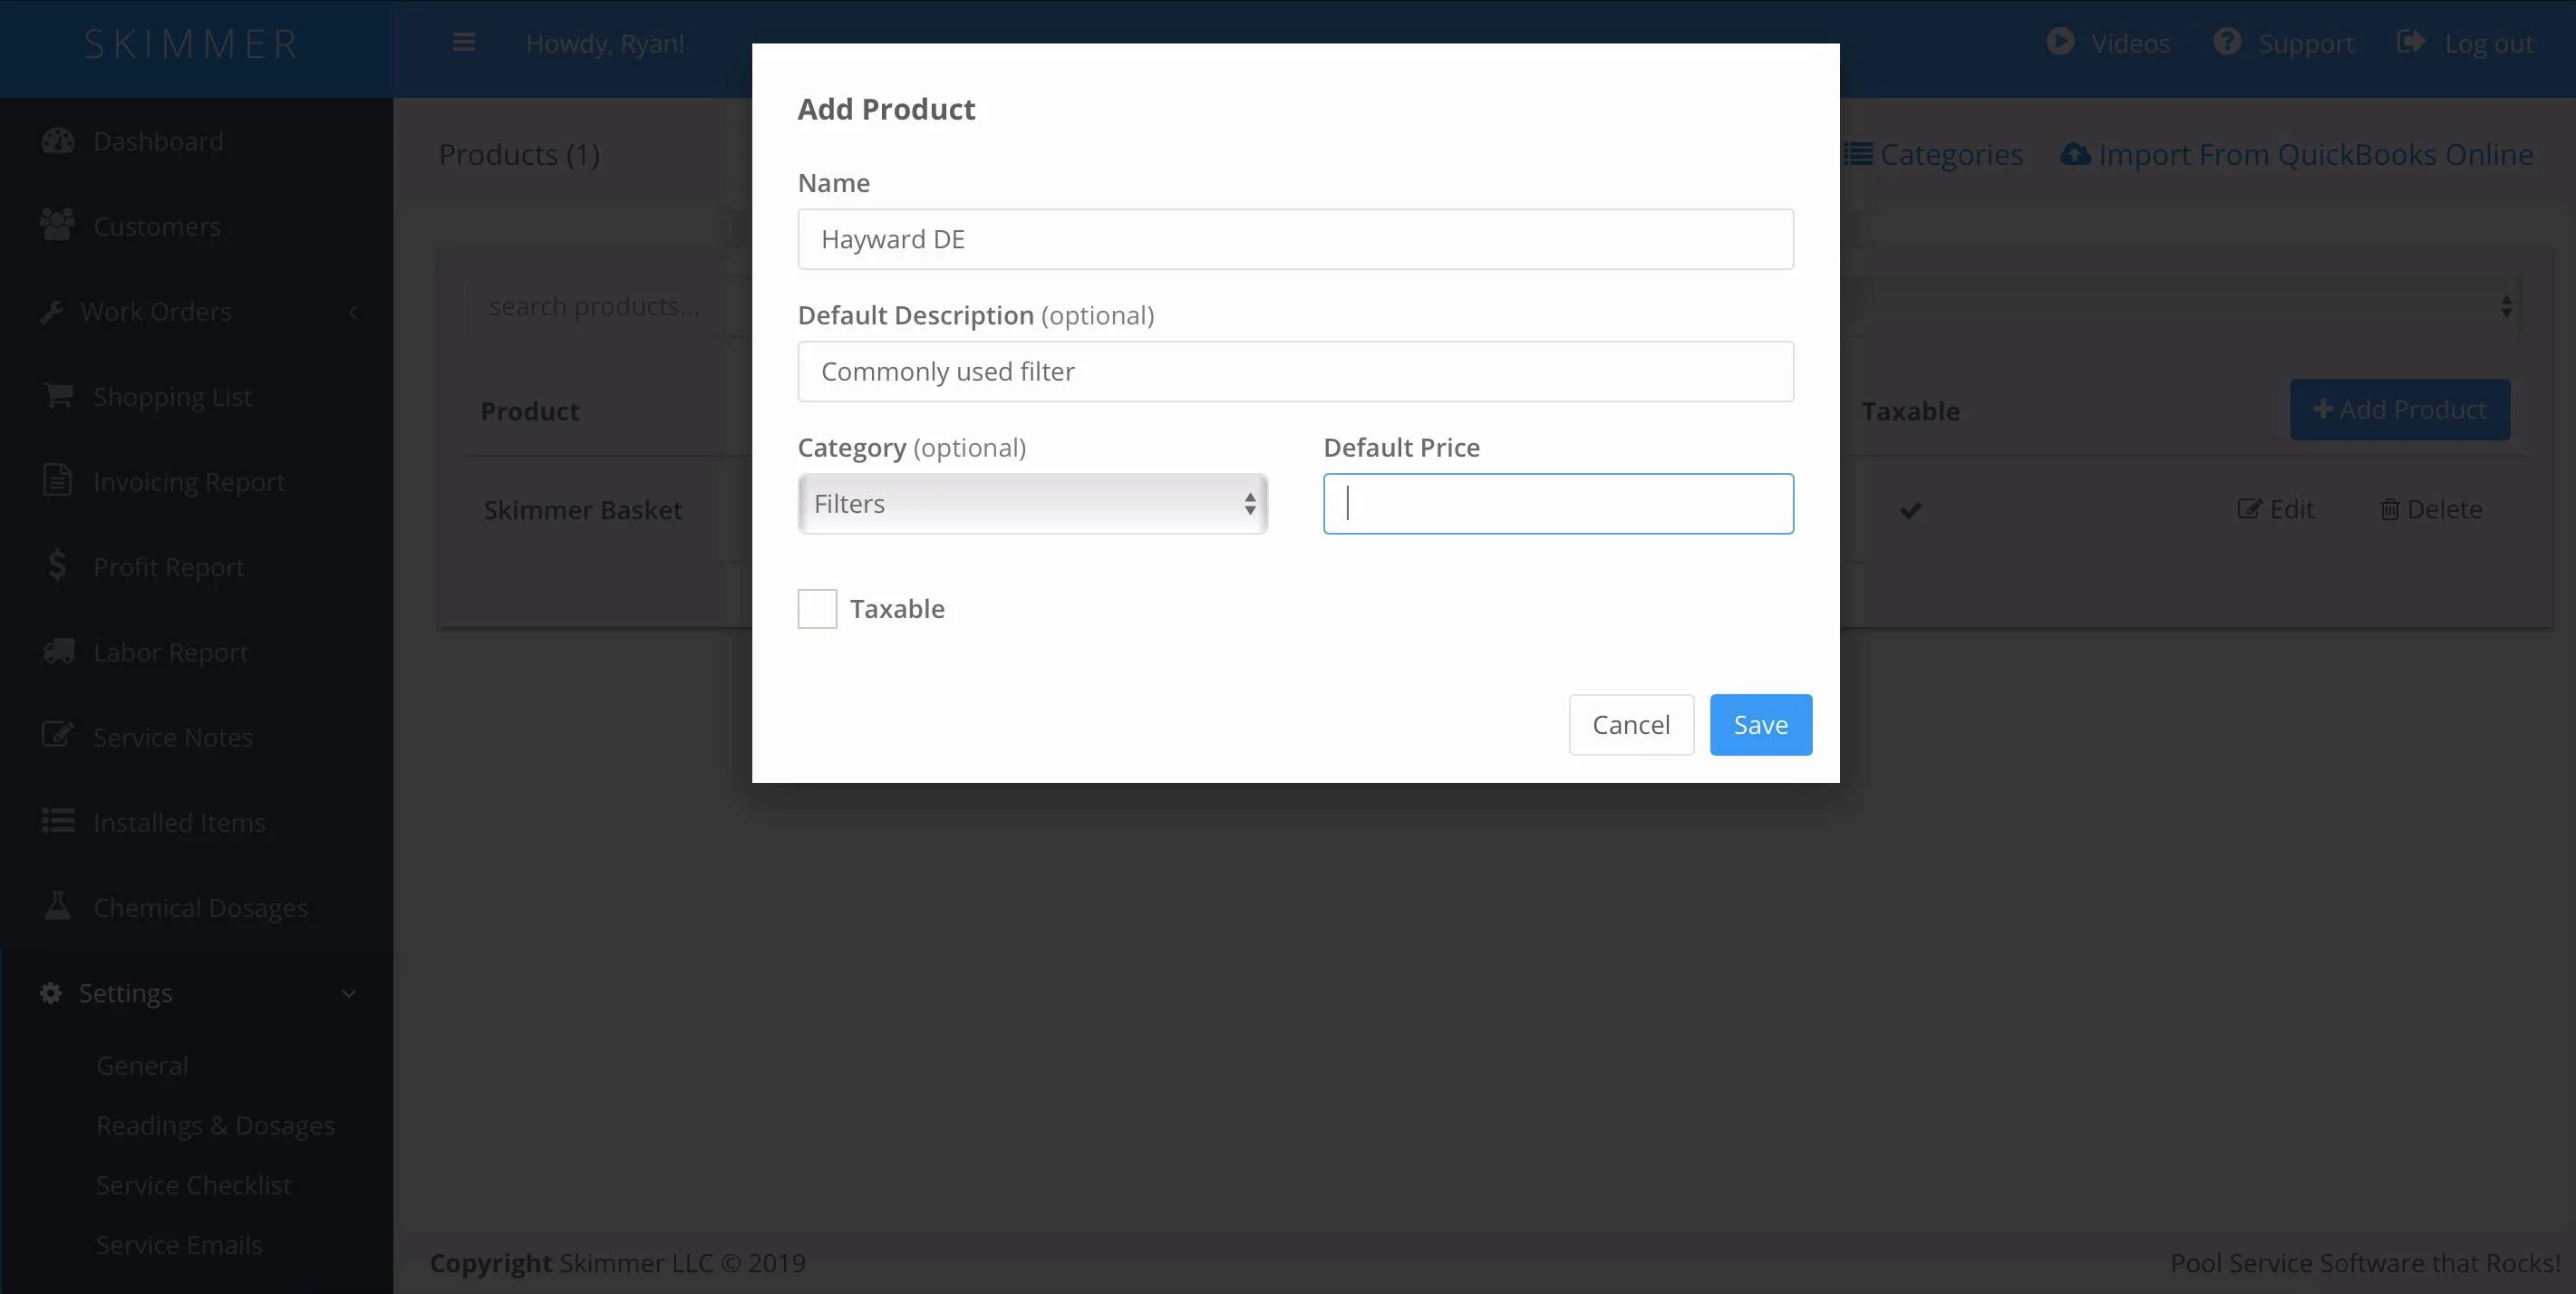
- From the Add Product window, populate the following fields:
- Manufacturer (MFG) # — (optional) the manufacturer's part or model number
- Name — the name that identifies the product in your catalog and on shopping lists
- Default description — (optional) a description that auto-populates when you add the product to a shopping list or invoice; editable per item
- Product category — (optional) the internal category used to organize products in your catalog
- Invoice category — (optional) the category used to group this product on customer invoices
- Cost — (optional) the amount you pay; used to calculate the default price when a markup type is set
- Markup type — (optional) determines how the default price is calculated; options are None, Fixed Amount, or Percentage
- Default price — the price charged to customers; auto-calculates or can be entered manually
- Taxable — when enabled, Skimmer applies the applicable tax rate on customer invoices
- Discontinued — when enabled, the product stays in your catalog but is filtered out of product selection screens (see Discontinue a product)
- Click Save.
Skimmer automatically assigns a product ID to each product — there's no field to enter one manually.
Add a product to your shopping list
You can add products to your shopping list in two ways: for general use, or for a specific customer.
To add a product for general use:
- From the Shopping List section on the left navigation, click the Shopping list option.

- Click the Add button and select the Add product option.
- Click the Product field and select the product you want to add.
- Make any updates to the product's description, quantity, or price. Changes apply to this instance only and don't affect the default.
- Click Save.
To add a product for a specific customer:
- From the Shopping List section on the left navigation, click the Shopping list option.
- Click the Add button and select the Add product for customer option.
- Click the Customer field and select the customer. If the customer has multiple service locations or pools, use the corresponding fields to select a specific service location or body of water.
- Click Next.
- Click the Product field and select the product you want to add.
- Make any updates to the product's description, quantity, or price. Changes apply to this instance only and don't affect the default.
- Click Save.
Once a product is marked as installed, Skimmer records the installation and includes it in your billing and reports.
Discontinue a product
Discontinuing a product removes it from dropdown menus throughout the web and mobile app. You can no longer add it to work orders, quotes, the shopping list, or invoices. To make it available again at any time, mark it as active.
Discontinuing a product doesn't affect its history. If it's already on a work order, quote, or the shopping list, it remains visible and usable there, discontinuing only prevents it from being selected going forward.
To discontinue a product:
- From the Settings section of the left navigation, select the Products option.
- From the Products page, click the edit product icon to the right of the product's price.
- From the Edit Product window, check the Discontinued box.

- Click Save.
Discontinued products remain visible in your product catalog and won't be removed from history. To reactivate a product, uncheck Discontinued and save.