Billing - Invoicing Settings
Watch the video or scroll down for step-by-step instructions.
Tiers: All
Before You Start: Auto Invoicing will not be covered here. Click here to for Skimmer's Auto Invoicing tutorial.

Step-by-step instructions . . .
- 1
-
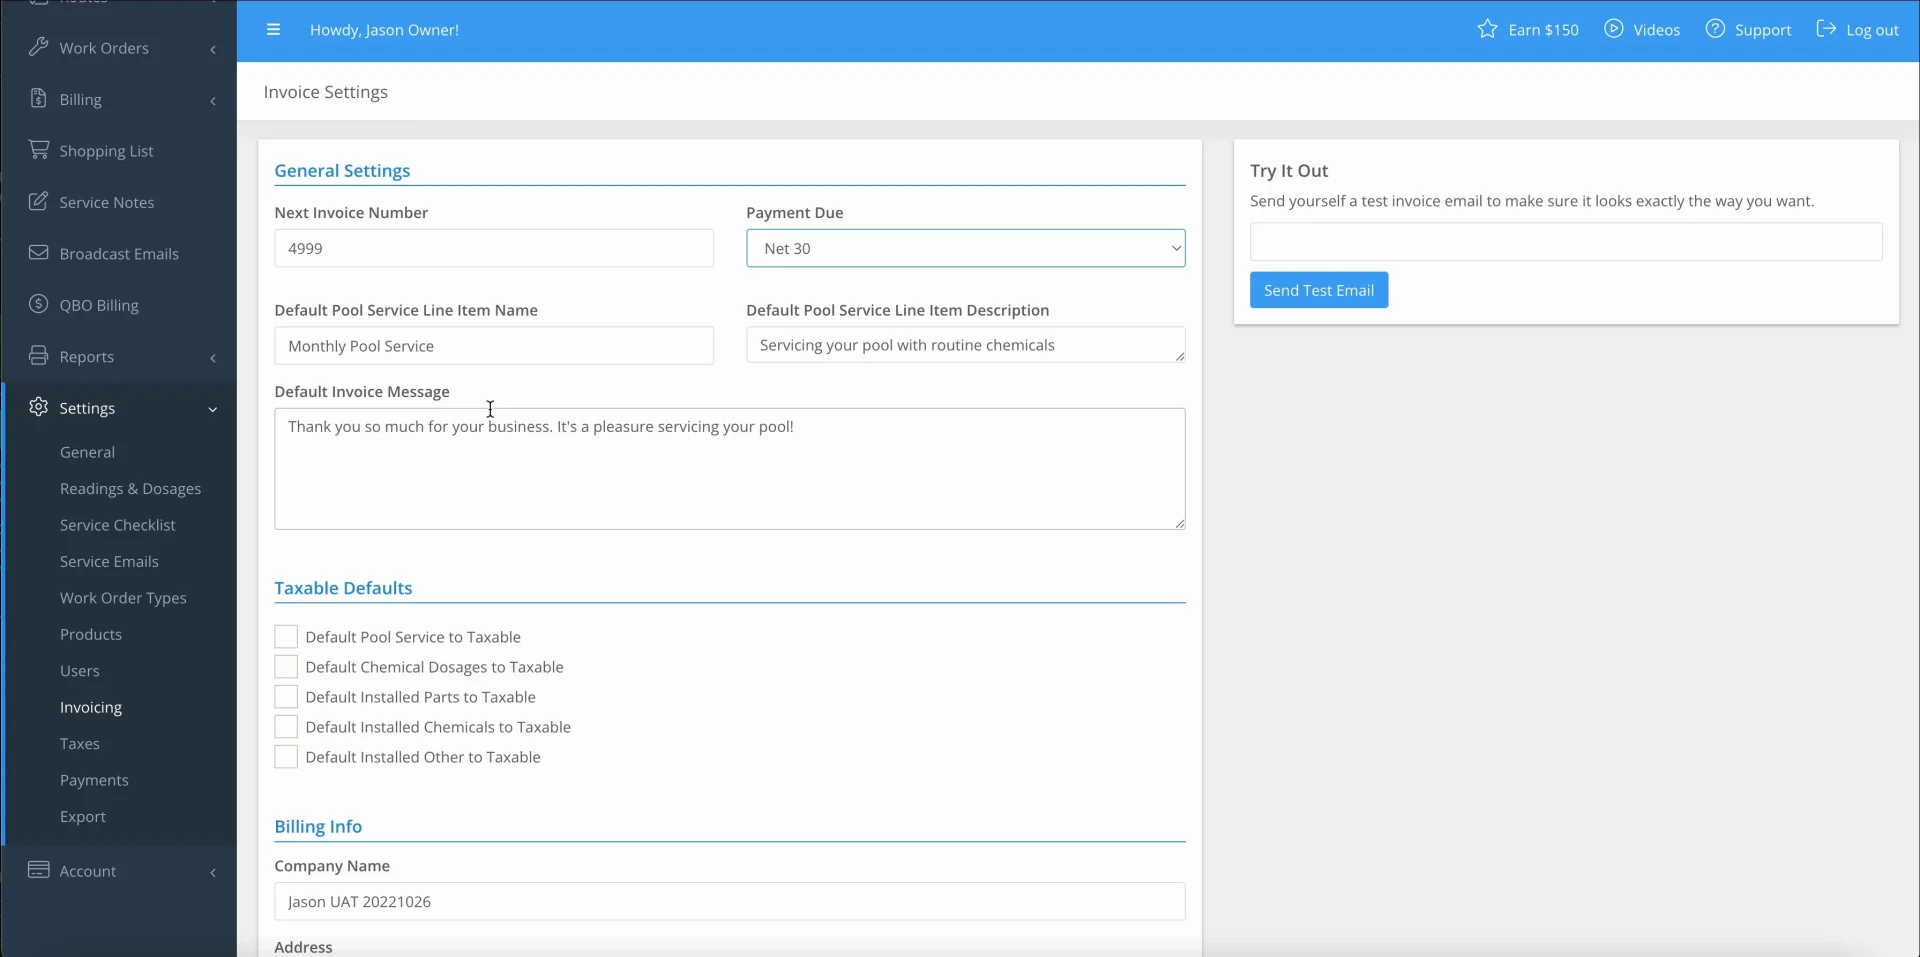
Select Settings > Invoicing.

- 2
-
Last Invoice Number shows the number assigned to the most recently generated invoice.


Next Invoice Number will show the number that will be assigned to the next invoice you generate, and will count forward for each subsequent invoice.

Under Payment Due, click the the dropdown and select when an invoice is due.
- The due date will automatically apply to the invoices generated.
- Upon Receipt means payment is due the same day as when the invoice was generated.
- Net 15 means payment will be due 15 days from the due date listed on the invoice. The same is true with Net 30 and so on.
- Payment due can be adjusted at any time, and adjusted in the invoice generator.


Enter Pay Days Before Due.
- Pay days before due applies to customers who are on Autopay, and helps specify when Autopay will trigger.
- For example, let’s say you have Payment Due set to Net15, and enter a 5 in Pay Days Before Due and you send the invoice on January 1. Payment would be due on January 15, but for customers on Autopay, the payment process will trigger on January 10th (5 days before the official due date).
- Enter a 0 in this box if you want Autopay to apply on the actual due date and not before,
- Leave the Pay Days Before Due box blank if you want Autopay to apply right after an invoice is sent.

Enter your Pool Service Line Item Name
- This will be the label for routine service.
- Changes can be made at any time from the invoice generator

Enter your Pool Service Line Item Description (optional).
- This will be the description for routine service.
- Changes can be made at any time from the invoice generator

Create a default Invoice Message Whatever you want to tell the customer by default. Again, this can also be edited per invoice or at invoice generation.
Select Taxable Defaults for routine service and chemical dosages (optional).

Enter company information under Billing Info.
- Billing info will appear at the bottom of every invoice when sent to your customer.

Complete the fields under Invoice Email Settings.

Click the checkboxes under Outstanding Invoice Reminder Emails, and select when you’d like each type of invoice reminder emails to be sent to your customer (optional).

Click Save when finished.