
Integrations Center
Manage your integrations in the Integrations Center
The Integrations Center is your home base for every integration Skimmer offers. Connect new integrations, check the status of the ones you already use, and see what's available if you upgrade.
To open the Integrations Center, click Integrations Center on the left navigation menu.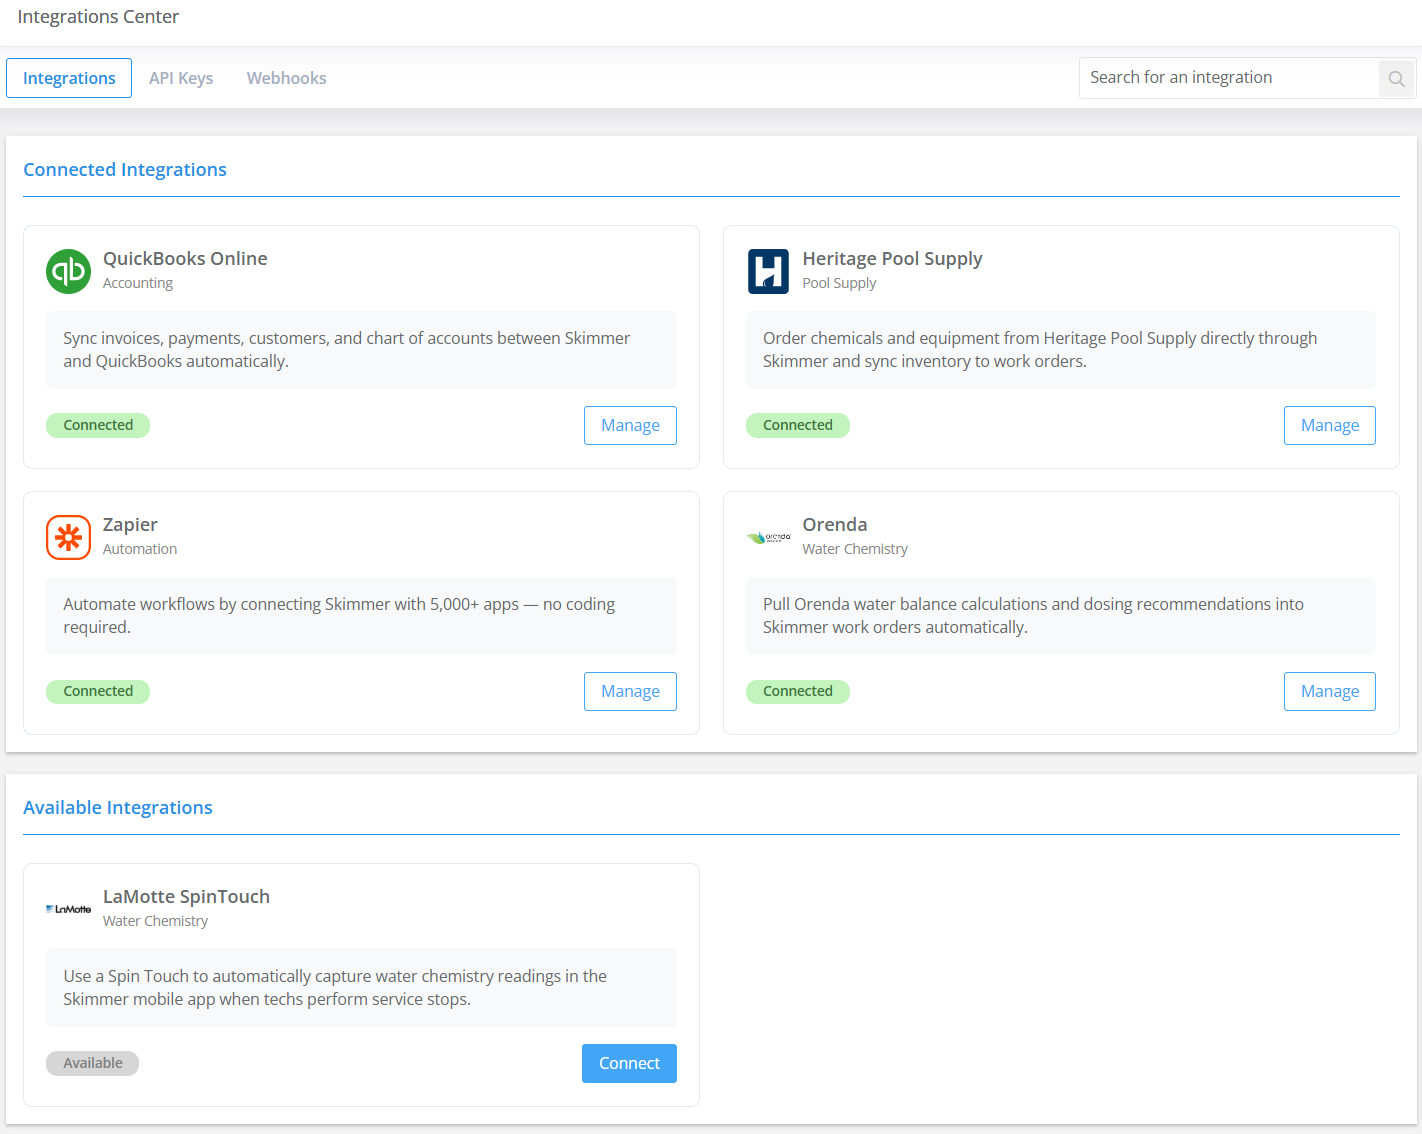
What you can do here
- View every integration available to your account, whether or not you've connected it yet, sorted into Connected integrations and Available integrations.
- Use the search field to quickly find a specific integration. It matches against each card's title, category, and description, and isn't case-sensitive.
- Check the connection status of any integration you're using.
- Select Connect or Manage directly on an integration's tile to set it up or open its settings.
- Browse integrations available at higher plan tiers, so you know what you'd get with an upgrade or add-on. Contact Skimmer Support for assistance upgrading.
Integrations available
| Integration | Available on |
|---|---|
| Heritage | All plans |
| QuickBooks Online (QBO) | All plans, QBO Billing requires an add-on |
| Zapier | Included with Scaling Up and above |
| LaMotte | Scaling Up and above |
| Orenda | Scaling Up and above |
Enterprise customers also get access to public API key management and webhook management from the Integrations Center. See below for details on both.
Manage your API keys
Enterprise accounts can create and manage their own public API keys from the Integrations Center. You no longer need to request a key from Skimmer Support.
Create an API key
You can create and name multiple keys, which is useful if you're connecting more than one system. It's good security practice to use a separate key for each application you connect, rather than reusing the same one everywhere. That way, if you ever need to cut off access for one connection — for example, if a contract with a developer or vendor ends — you can revoke just that key without disrupting anything else.
- Click Integrations Center on the left navigation menu.
- Click the API Keys tab.
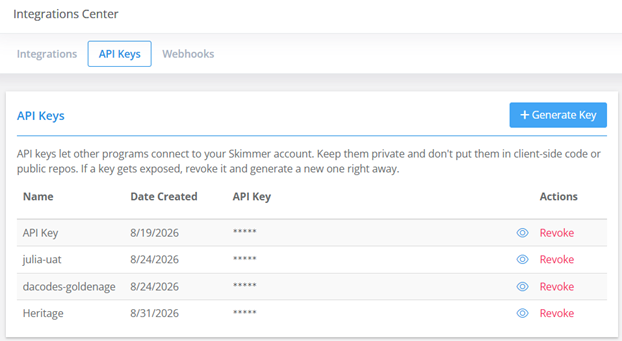
- Click the Generate Key button.
- In the Generate API Key window, enter a name for the key so you can identify it later.
- Click the Generate button to create the key and return to the API Keys tab.
- From the API Keys tab, click the eye icon to the right of the key to view it.
- Click the copy icon to copy it to your clipboard.
Revoke an API key
Select the Revoke option next to a key to disable it. Once you revoke a key, anything using it loses access to Skimmer, so update your integration with a new key first if you still need the connection.
Manage your webhooks
Webhooks send you live updates the moment something happens in Skimmer, so your other systems don't have to keep checking for changes. Manage them from the Webhooks tab on the Integrations Center page.
What you can build with webhooks
Webhooks work well for anything that needs real-time data, like:
- Triggering a review request as soon as a stop wraps up
- Keeping an inventory system in sync as items get requested, loaded, and installed
- Sending invoice and payment updates to your accounting software the moment they happen
- Feeding a custom dashboard or reporting tool with live status updates
- Syncing work orders with a project management tool as they're created, scheduled, and finished
Events you can subscribe to
- Service stop finished (coming soon)
- Work order finished
- Invoice created
- Invoice status update (coming soon)
- Payment added
- Payment refunded
- Customer created (coming soon)
- Customer status change (coming soon)
- Customer suspended (coming soon)
Access webhook management
- Click Integrations Center on the left navigation menu.
- Click the Webhooks tab.
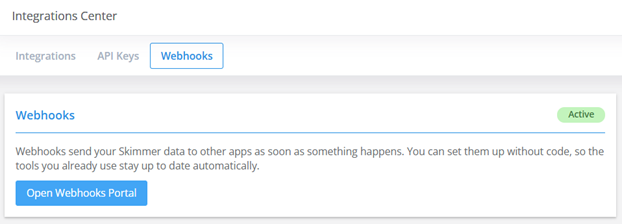
- Click the Open Webhooks Portal button to access Skimmer's webhook management tool.
Tools in the Webhooks Portal
- Svix Help: click the Help icon f more information on working with webhooks.
- Endpoints: set up an endpoint with the URL you want webhook events sent to.
- Event catalog: look up any event to see its definition and the payload you can expect from it.
- Logs: see what's been sent from your webhooks, so you can confirm they're firing as expected.